You can import, export, mark attendance, and view attendance summary and also by members and hours on iCeleraite business manager dashboard by simply following the steps below;
Getting Started On Importing Attendance
Log in to your iCeleraite Business Manager account.
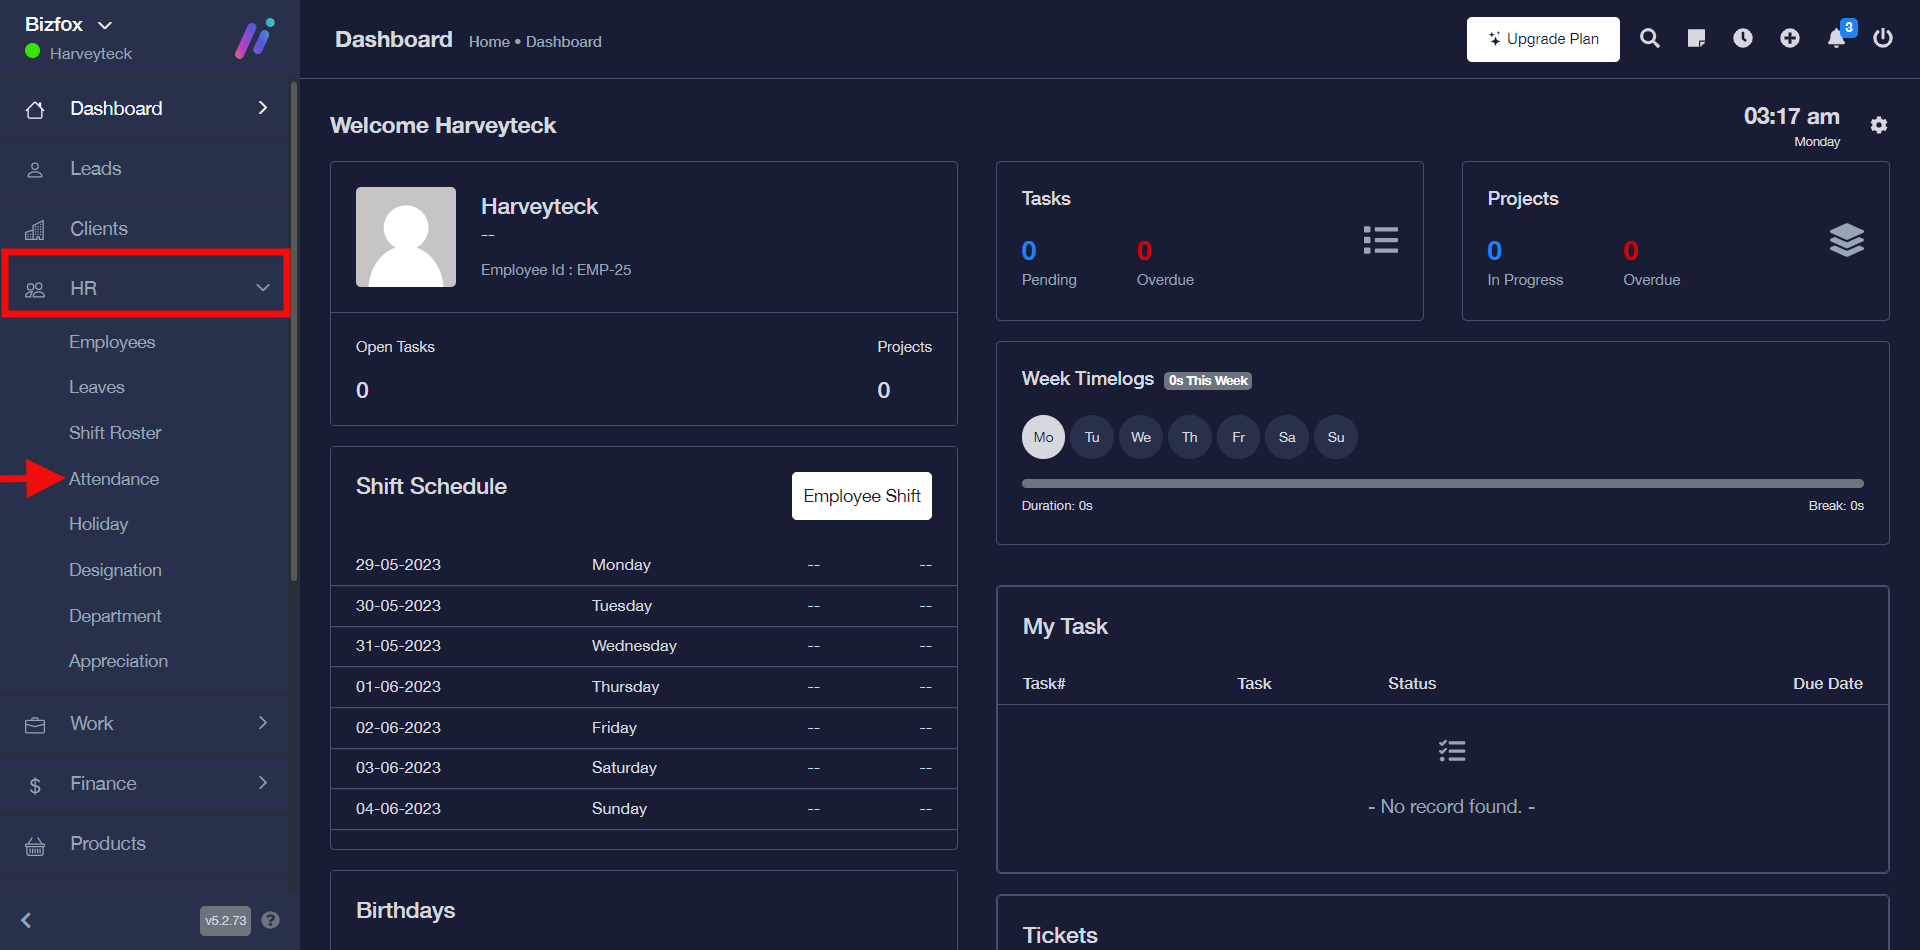
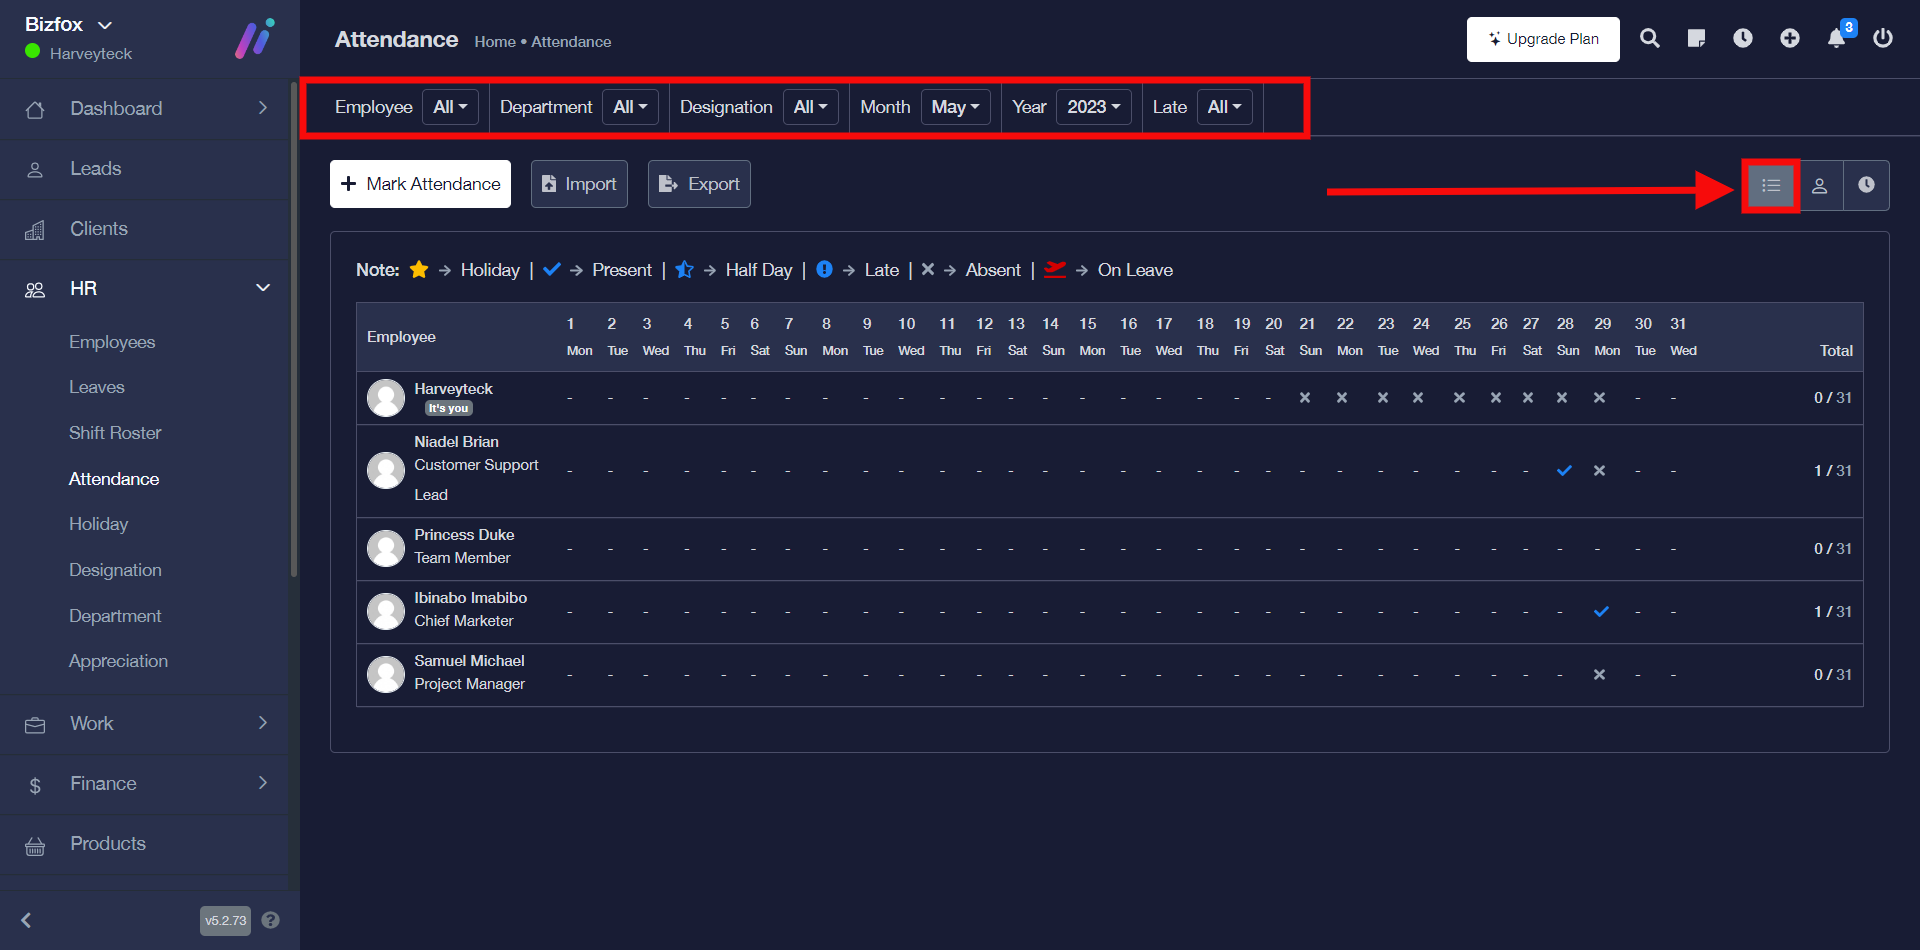
STEP 1: In the left-hand menu, click on “HR” and in the dropdown go ahead to click on “Attendance” as shown in the screenshot below;
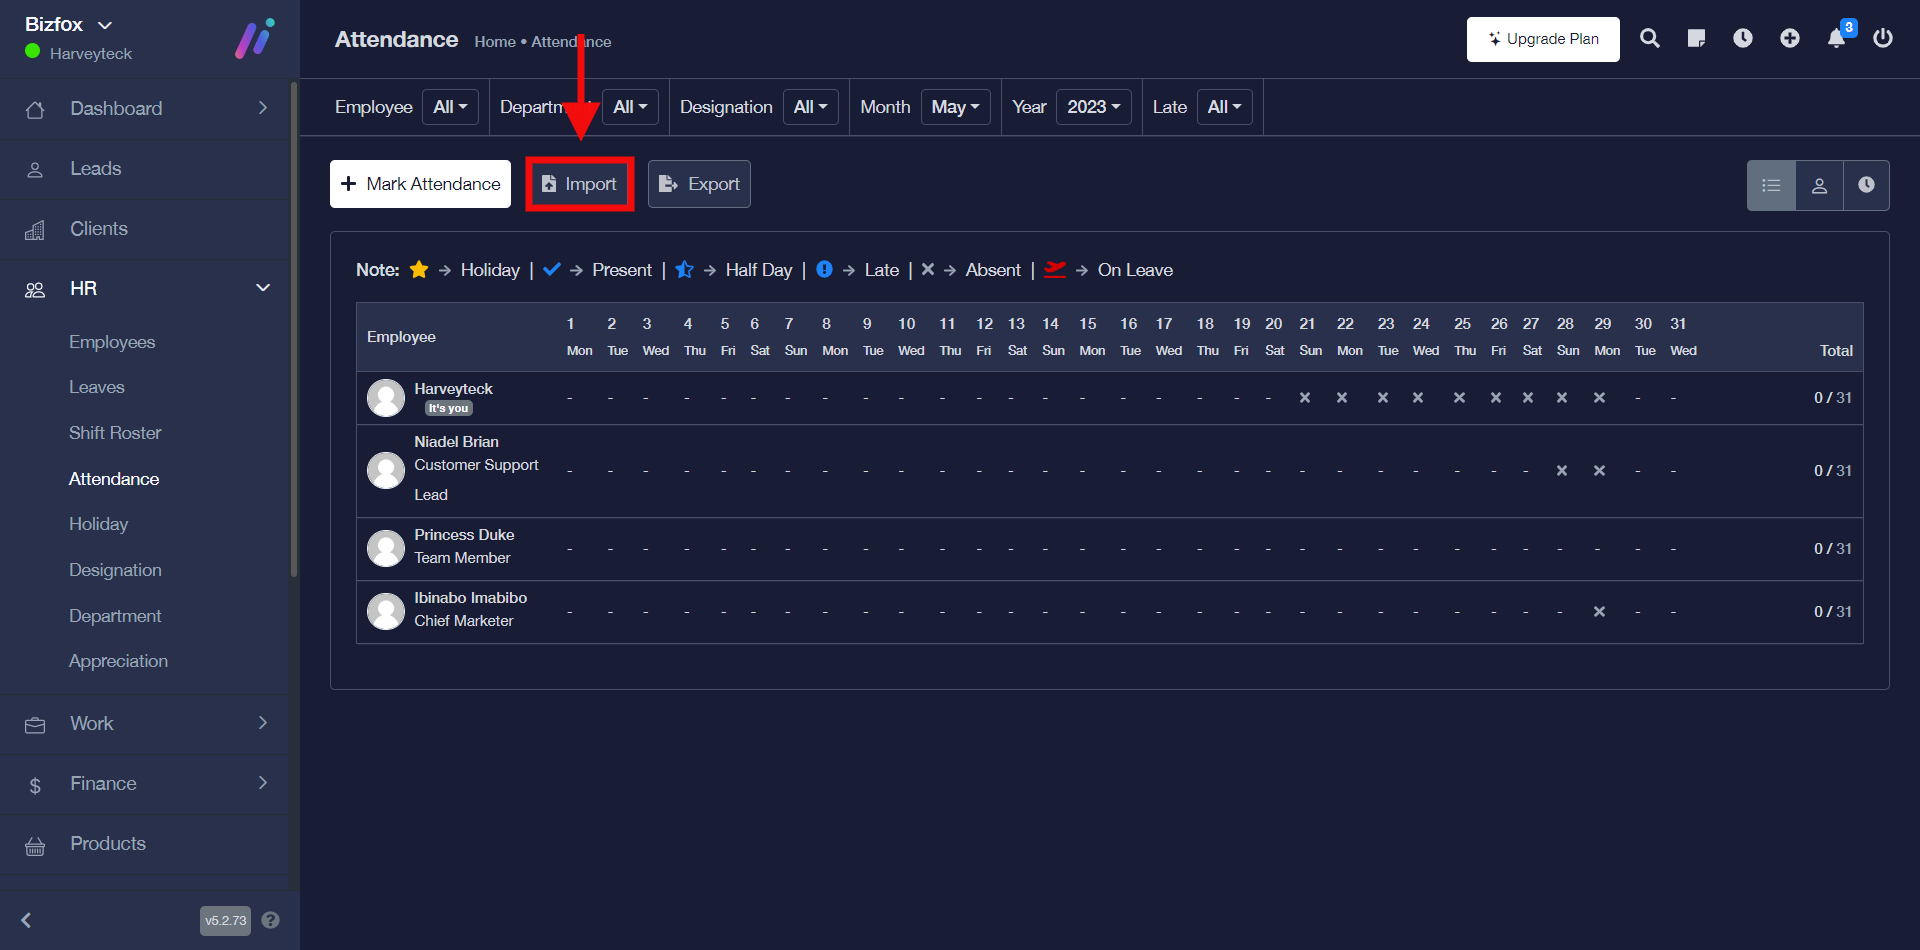
STEP 2: Go ahead to click the “import” button, after which you will see a window where you can import your attendance file either in a xls, xlsx, or csv.
STEP 3: Click the upload file area to import your attendance file, you can decide to either turn on or off the button that shows file contains headings row option. Once you’ve uploaded the file you can go ahead to “click the upload and move to next step” button.

Note: Follow the instruction of the date and time format you should have in your attendance Excel file you wish to upload.
STEP 4: You will see a pop-up notification stating that the data uploaded successfully, as you can see in the screenshot below there are five columns. You can edit any column of your choice and select a field and click the “save” button for the respective columns.
Note: Two columns must have the required fields which are “email and clock in” after which you can skip the rest of the columns if you do not wish to add any other field.
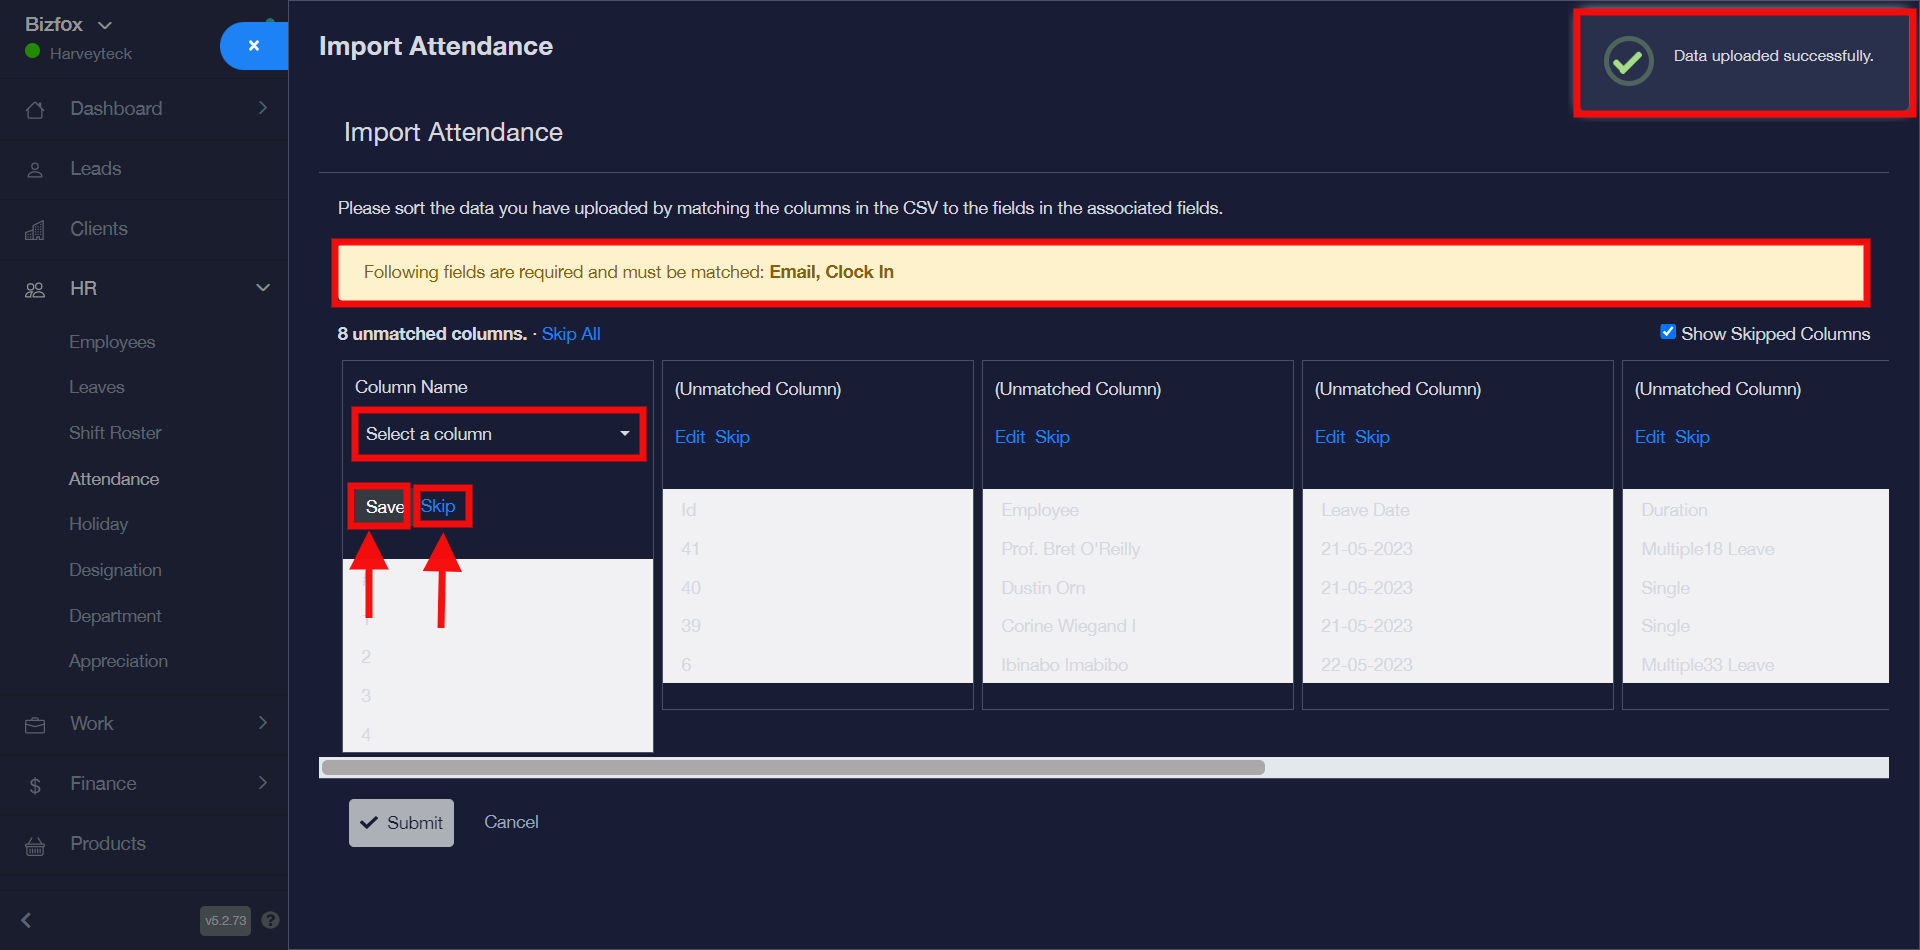
You will see a pop-up stating that you have successfully matched all the columns then you can go ahead to click the “submit” button.

After clicking on the sumbit button, you will see the success pop-up message stating that the import process has started and in a few seconds you will also get another success pop-up message stating the import has been completed.

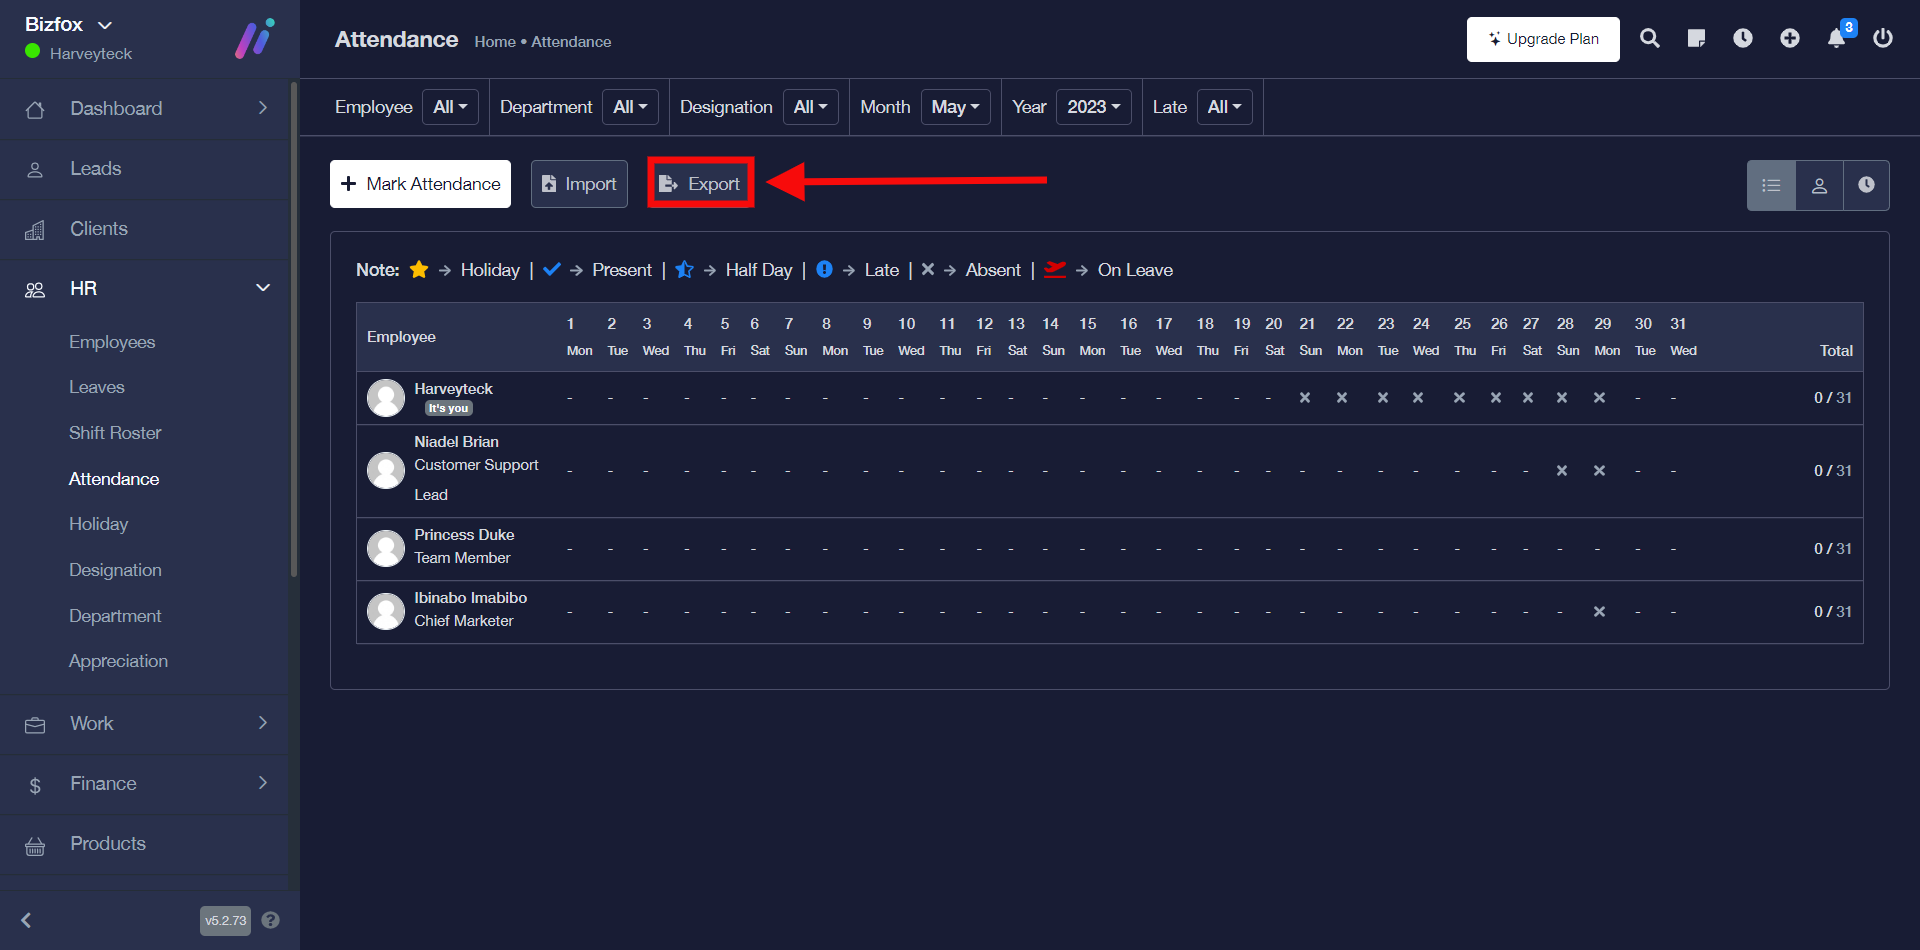
How To Export Attendance List In Excel Format (xlsx)
You can export attendance list by simply following the instructions below;
STEP 1: Click on the “export” button, after which you will get an option to save the xlsx file format on your computer.
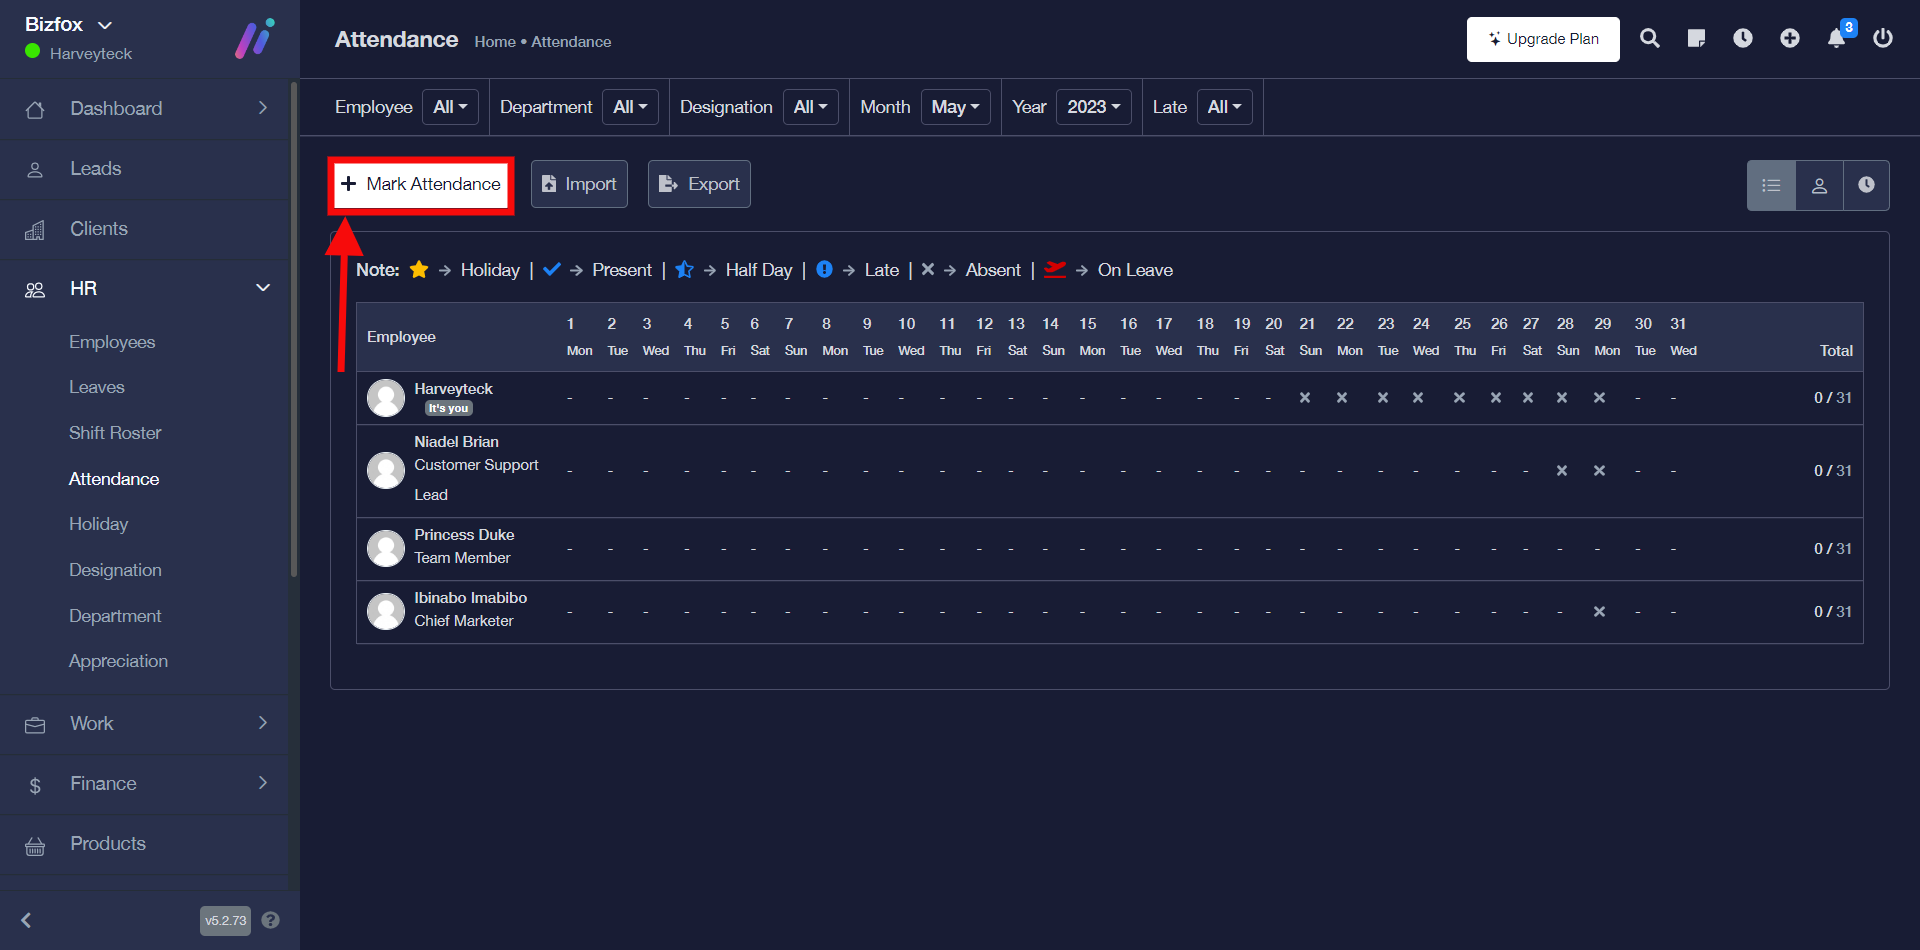
How To Mark Attendance
You can mark attendance list by simply following the instructions below;
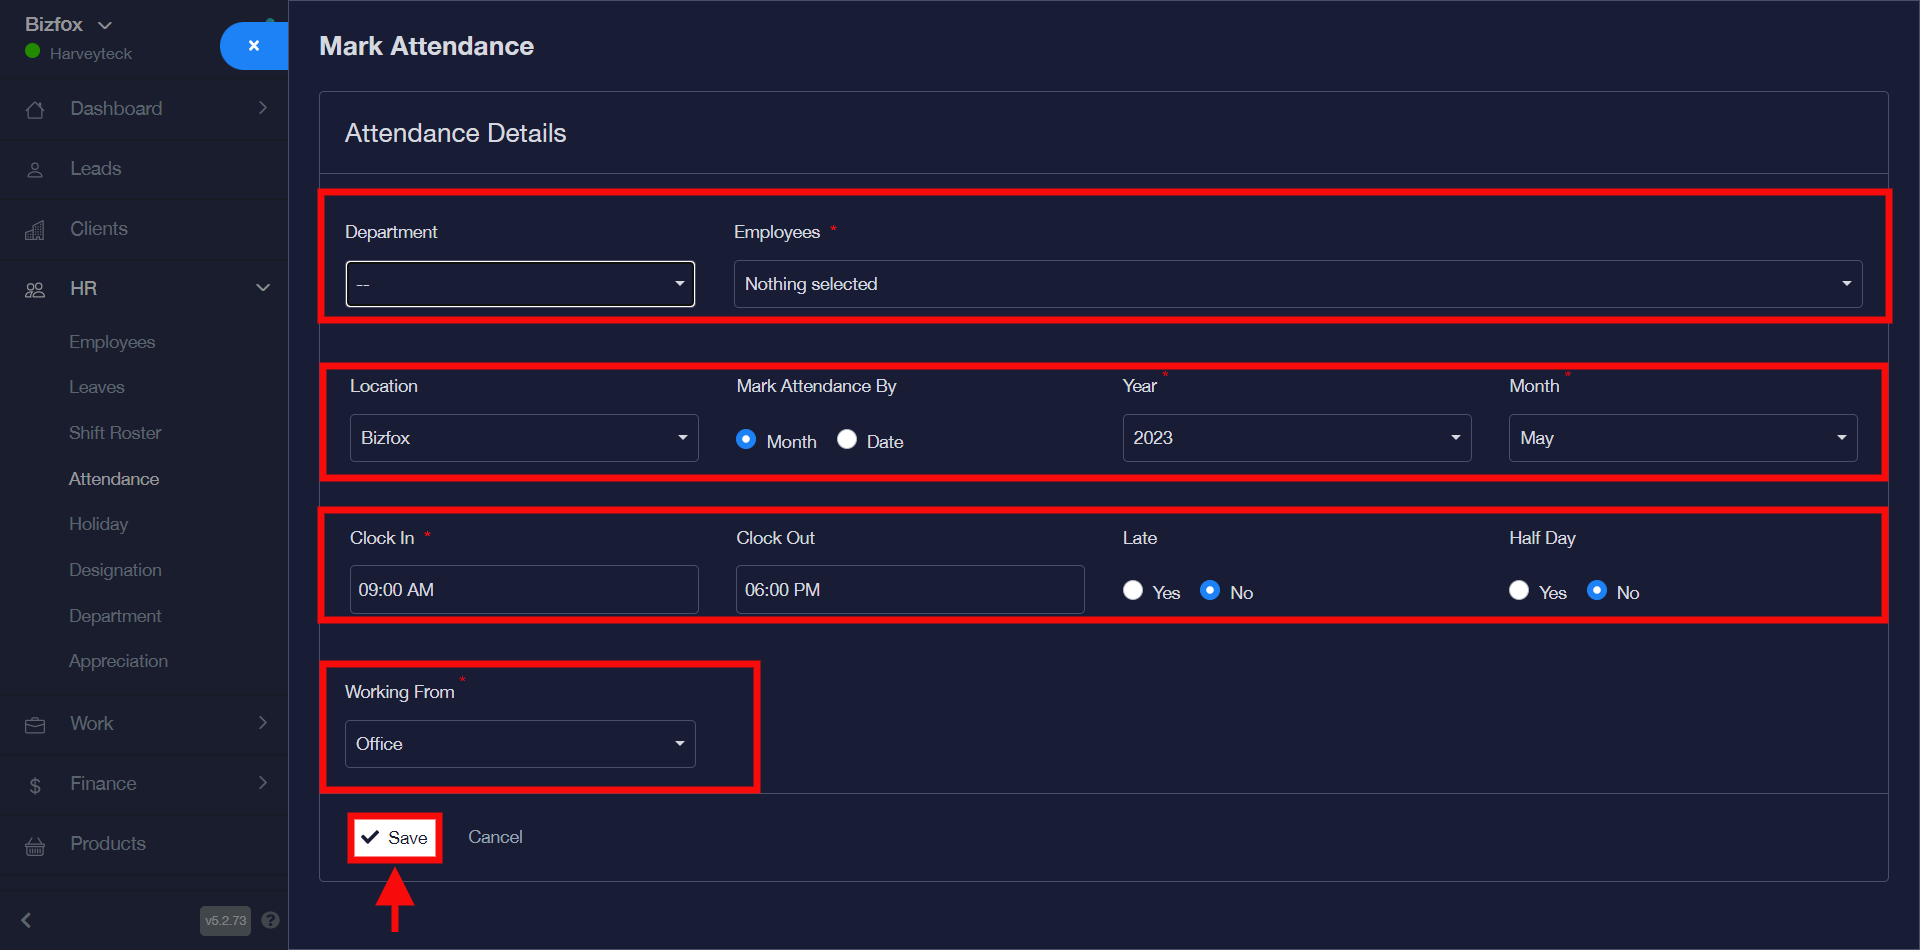
STEP 1: Go ahead to click the “mark attendance” button, after which you will see a window where you can enter attendance details for any department and employee of your choice.
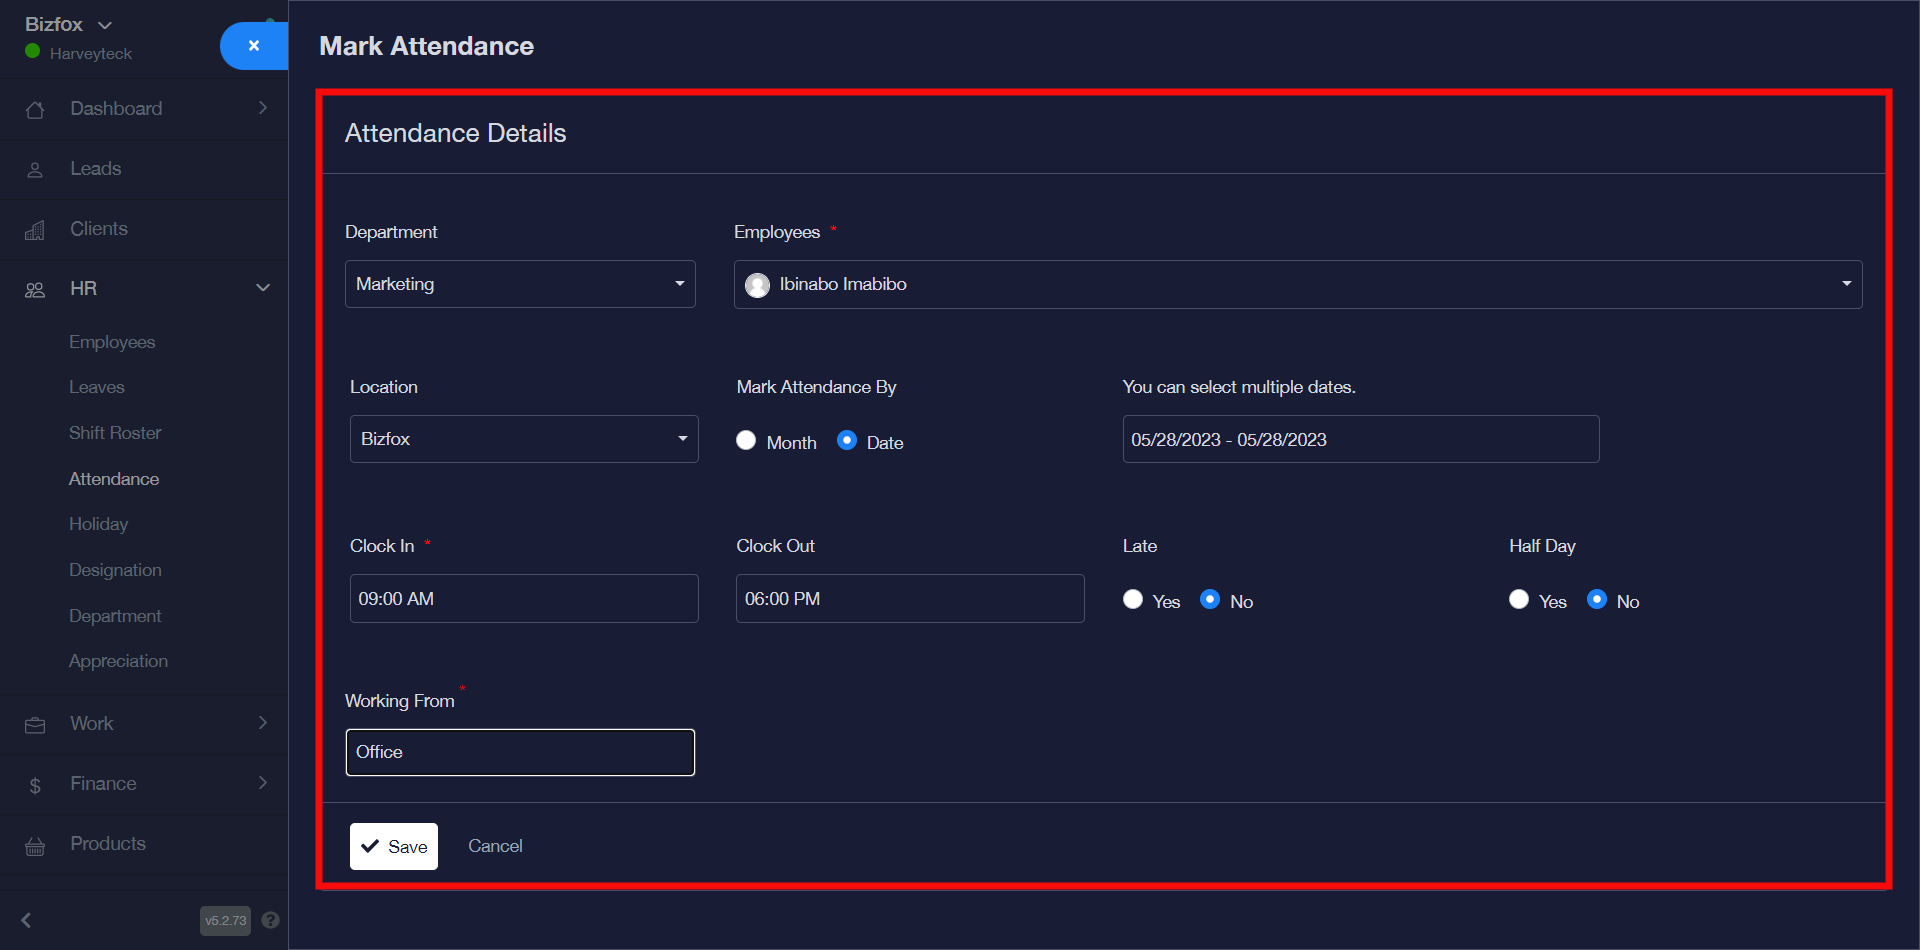
STEP 2: You can go ahead to select the department and employee(s) you’d like to mark attendance for, after which you can select the business location and choose to either mark attendance by month or date, select clock in and clock out time as well as the late and half day option then the working from office or home option then you can click the “save” button.
I have successfully entered the respective details of the employee’s attendance I would like to mark as shown in the screenshot below;
How To View Attendance Summary
You can view attendance summary when you carefully follow the instructions below;
STEP 1: Go ahead to click the “summary” icon, the summary is the default page you see once you visit the “attendance” submenu on the left-hand menu. You can also filter the result by department, employee, designation, and more.
How To View Attendance By Members
You can view attendance by members when you carefully follow the instructions below;
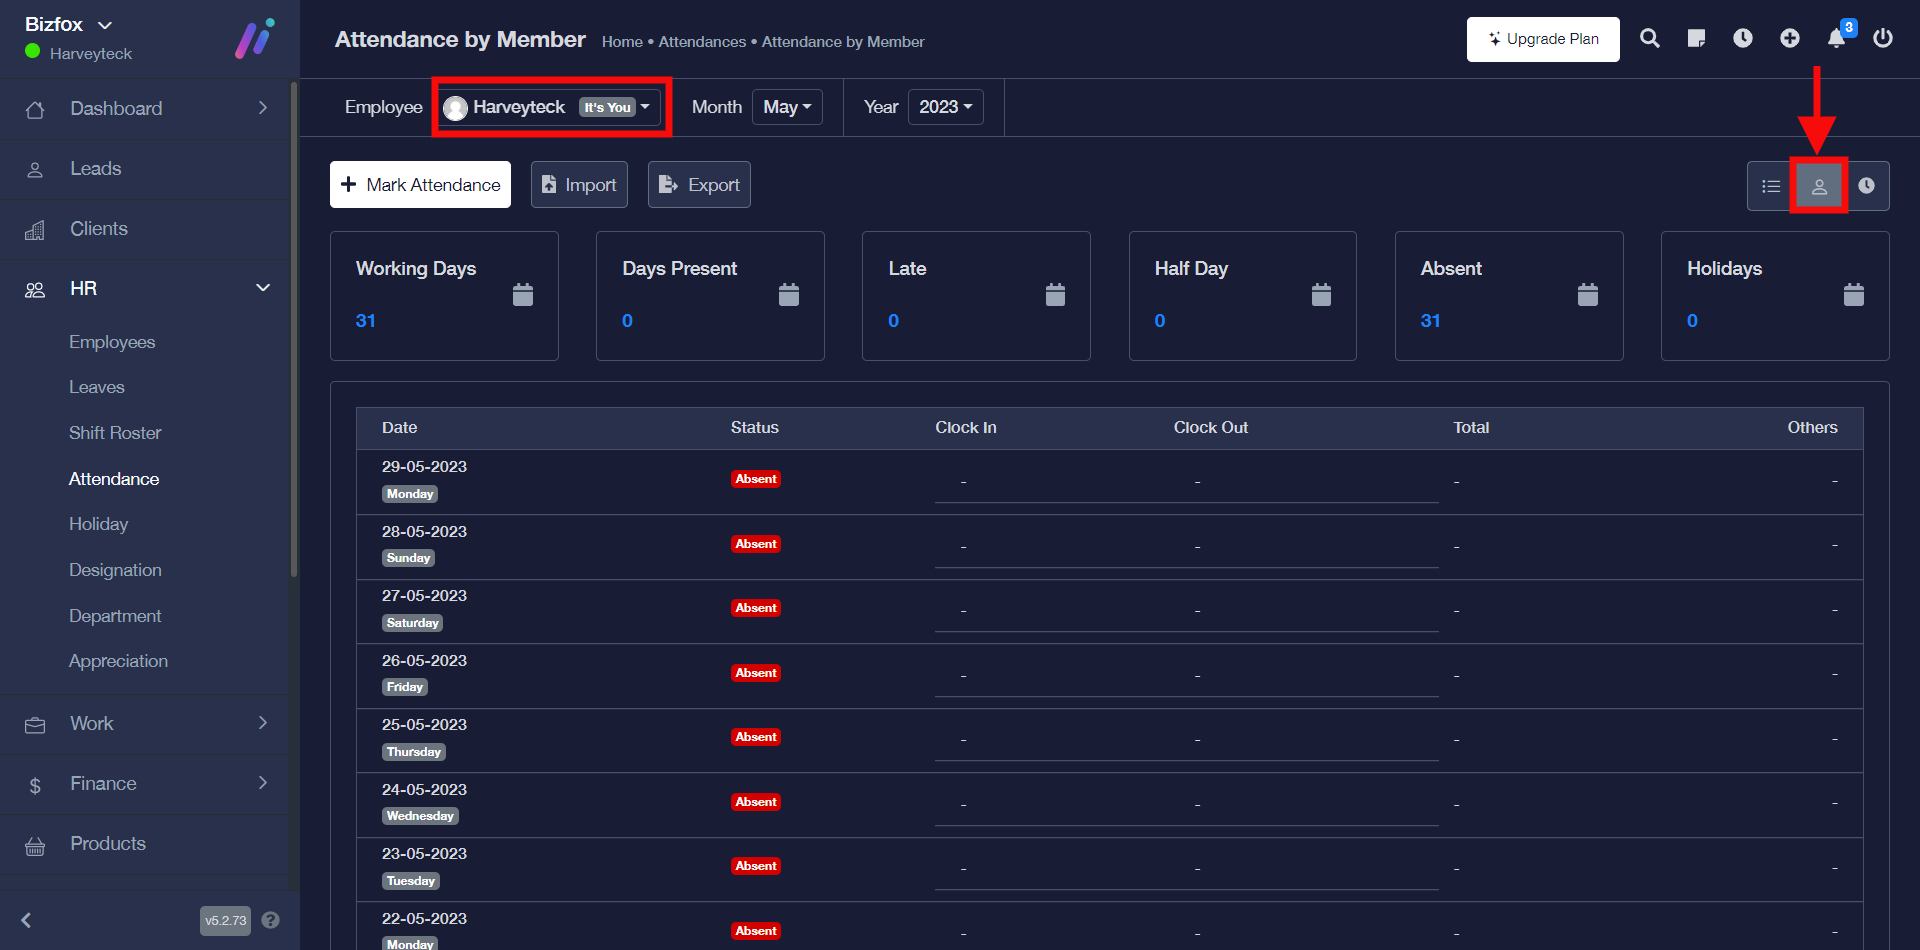
STEP 1: Go ahead to click the “attendance by member” icon. You can filter the result by employee, month, and year.
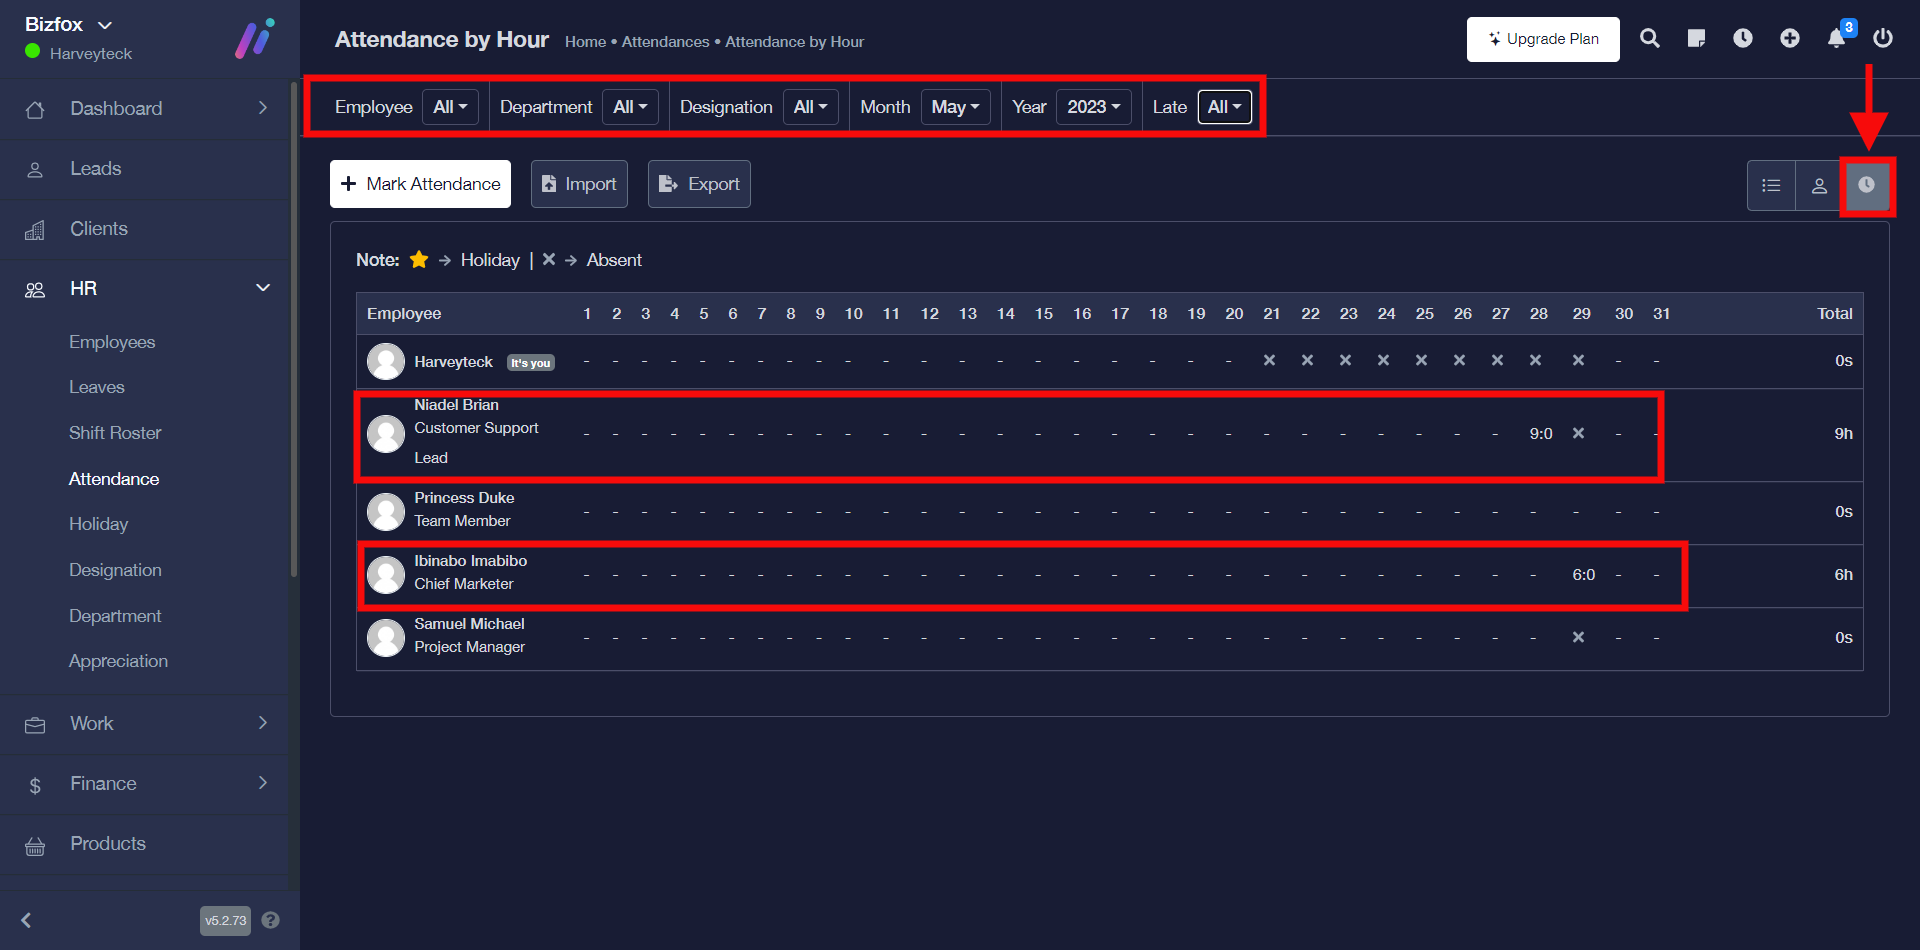
How To View Attendance By Hours
You can view attendance by hours when you carefully follow the instructions below;
STEP 1: Go ahead to click the “attendance by hours” icon. You can also filter the result by department, employee, designation, and more.
As you can see in the screenshot below different employees have their respective arrival /departure times in the attendance table.