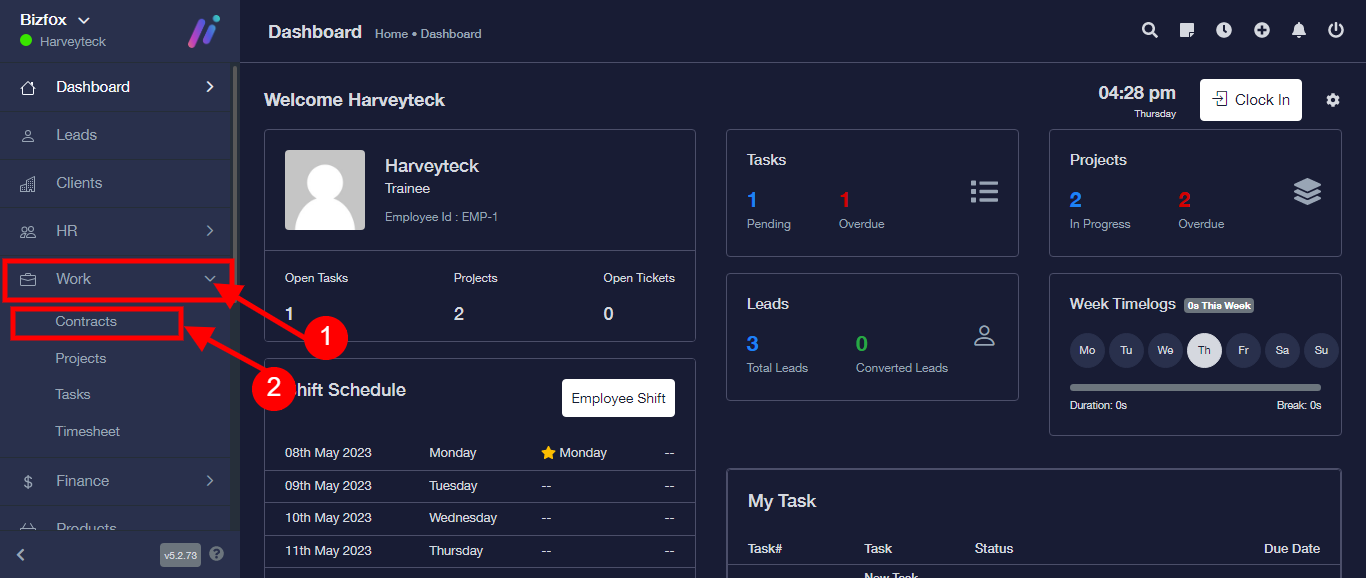
Step 1: After you’ve logged into your Business manager account, it leads you to the dashboard and there you get to see the left nav-bar and a table. On the left-nav bar click on “WORK” dropdown, It takes you to “CONTRACT” Click on “CONTRACT”
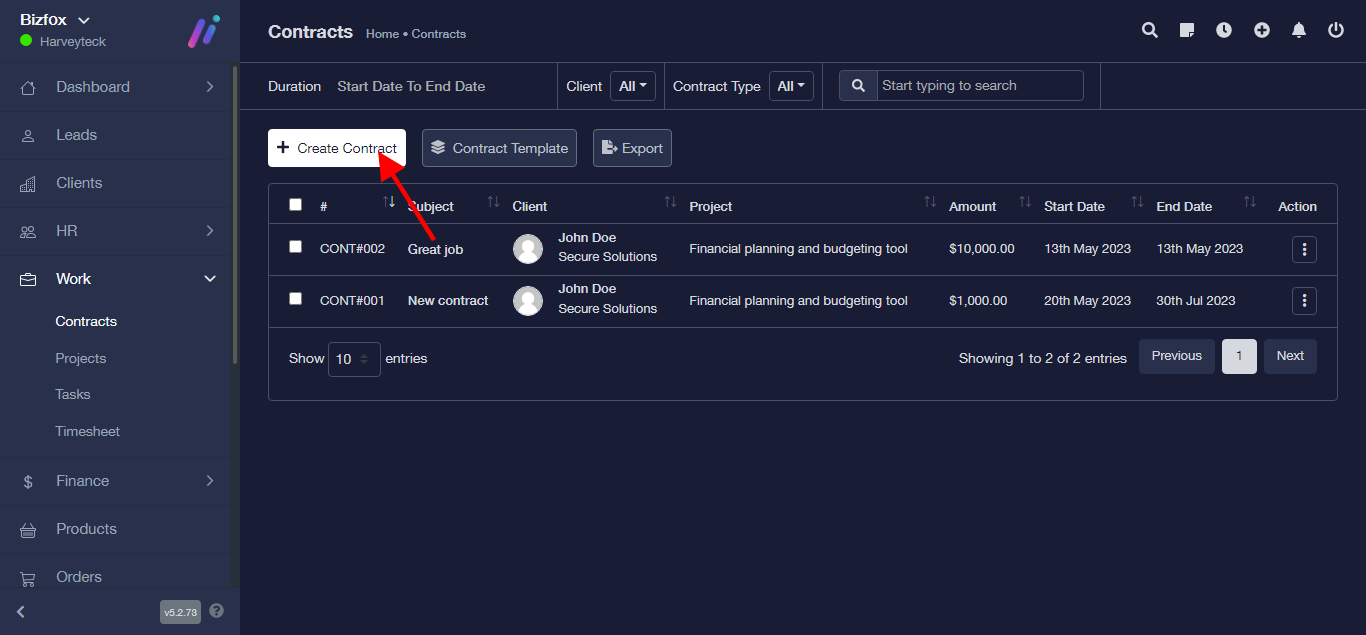
Step 2: After clicking on “CONTRACT”, It takes you to a new page, where you click on “CREATE CONTRACT”
Step 3: Upon clicking on “CREATE CONTRACT”, It takes you to a new page, where you fill in the contract details “CREATE SUBJECT”
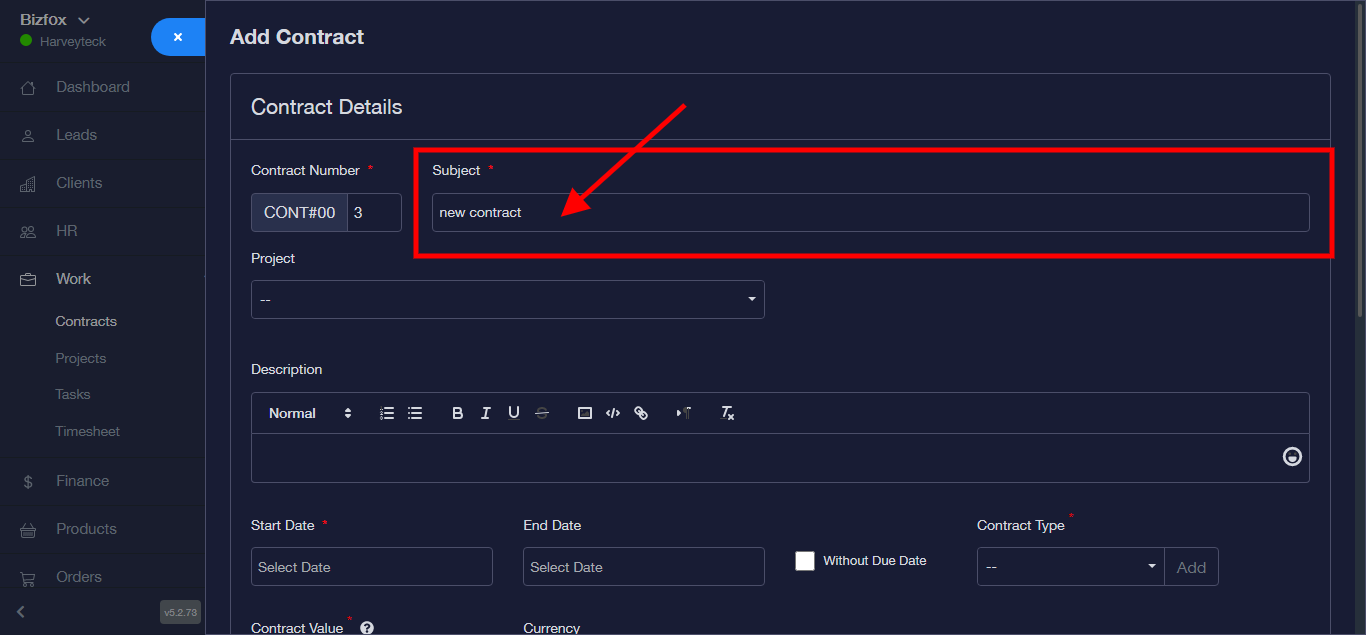
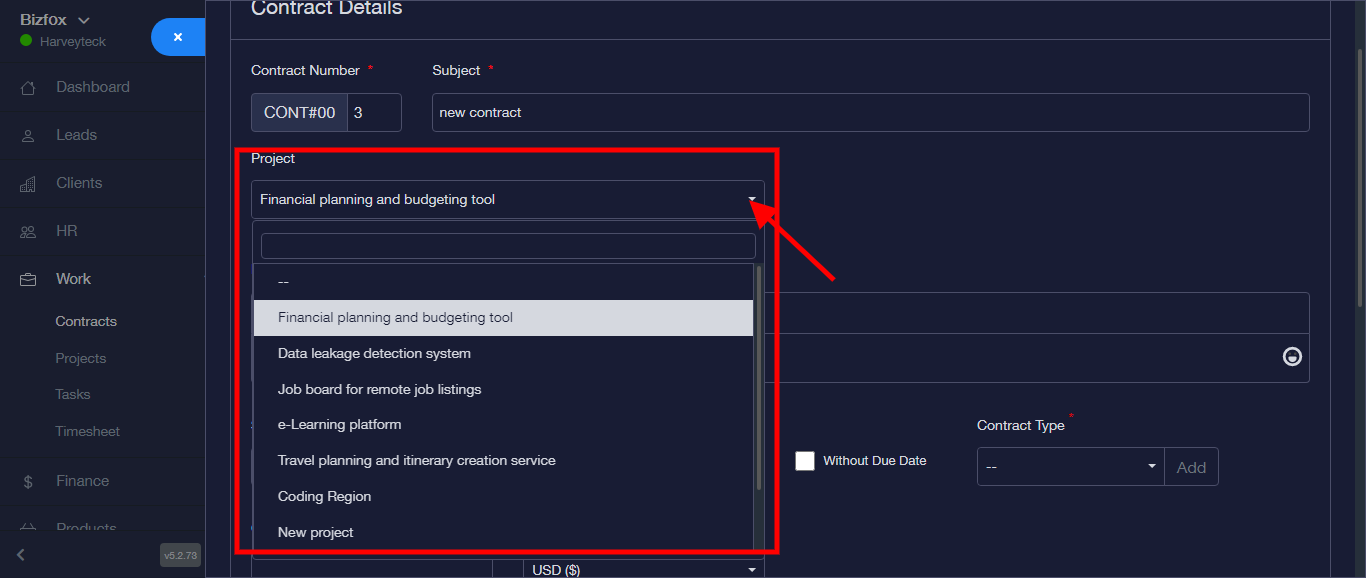
Step 4: Select “PROJECT” from the dropdown
Step 5: fill in the contract “DESCRIPTION”

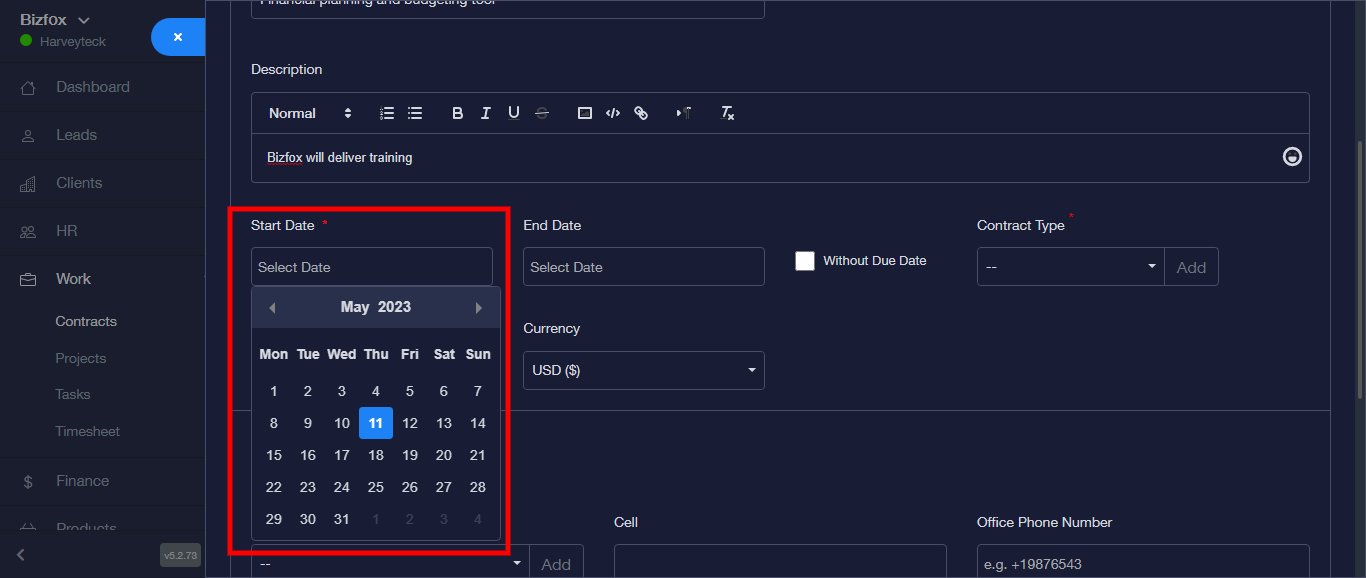
Step 6: fill in the “START DATE”
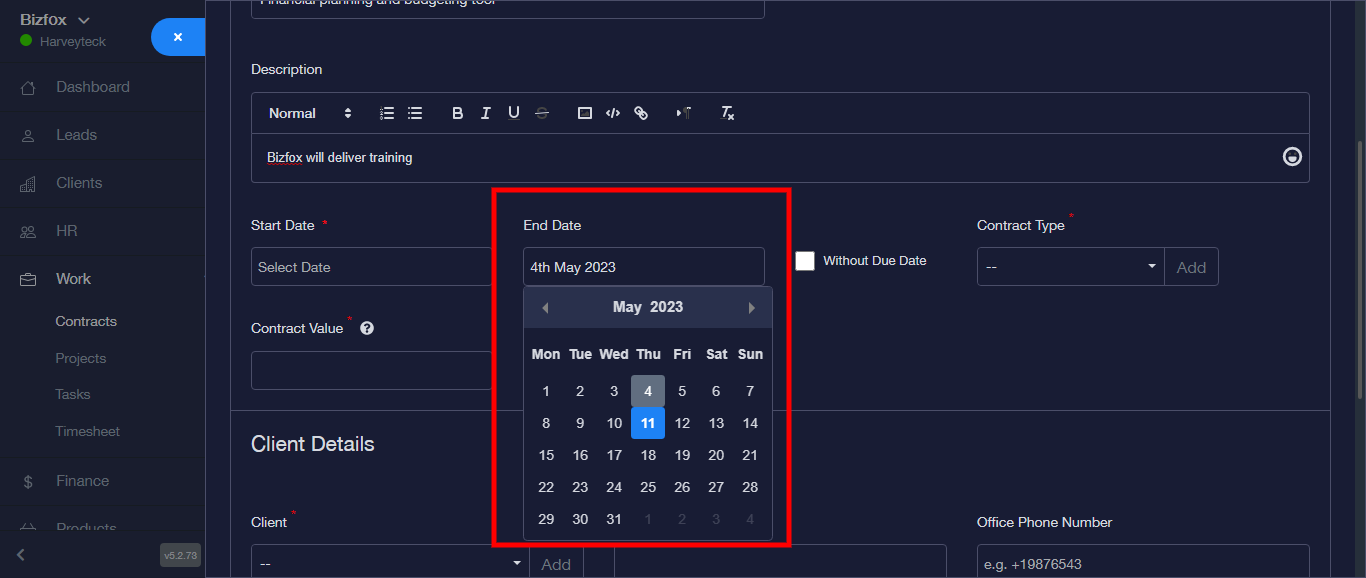
Step 7: fill in the “END DATE”
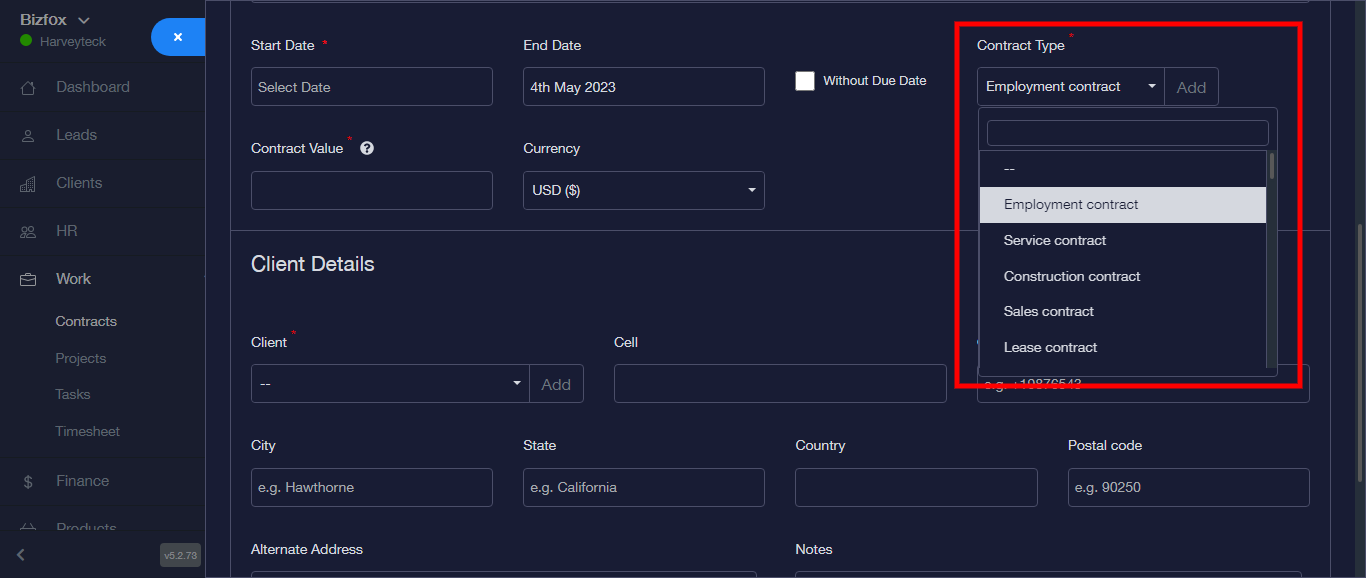
Step 8: fill in the “CONTRACT TYPE”
Step 9: fill in the “CONTRACT VALUE” and “CURRENCY”
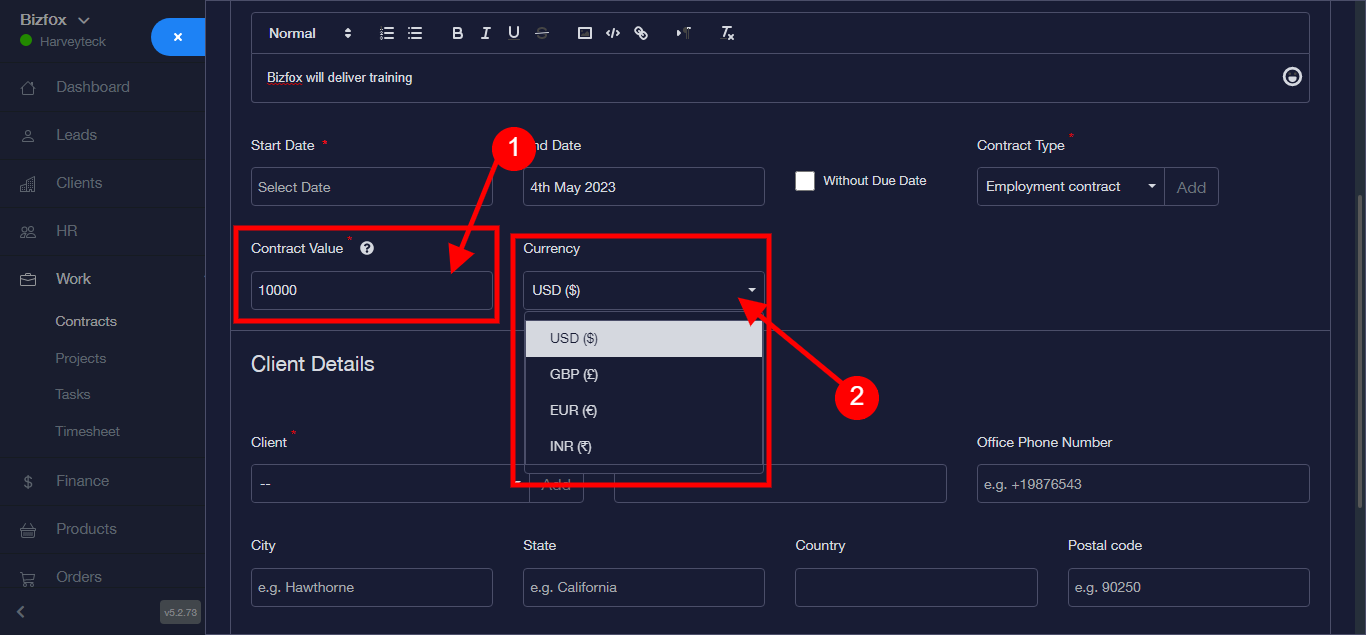
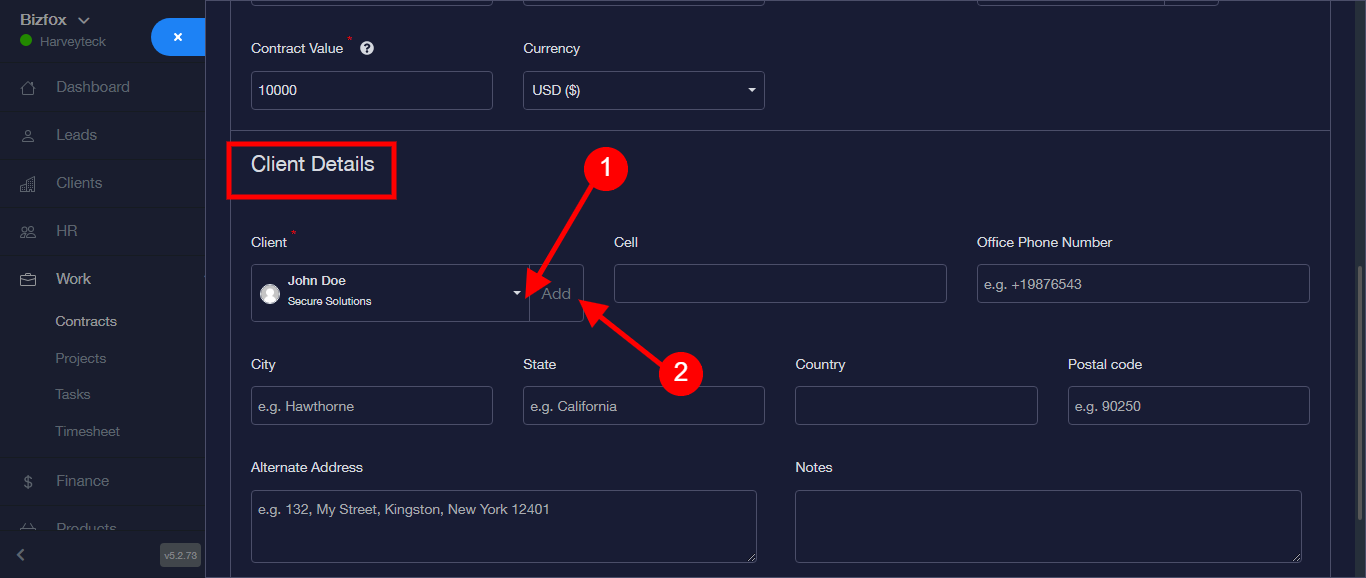
Step 10: Move To The “CLIENT DETAILS” and add clients from the dropdown, in a case where you do not have an already existing client, you click on the “ADD” button
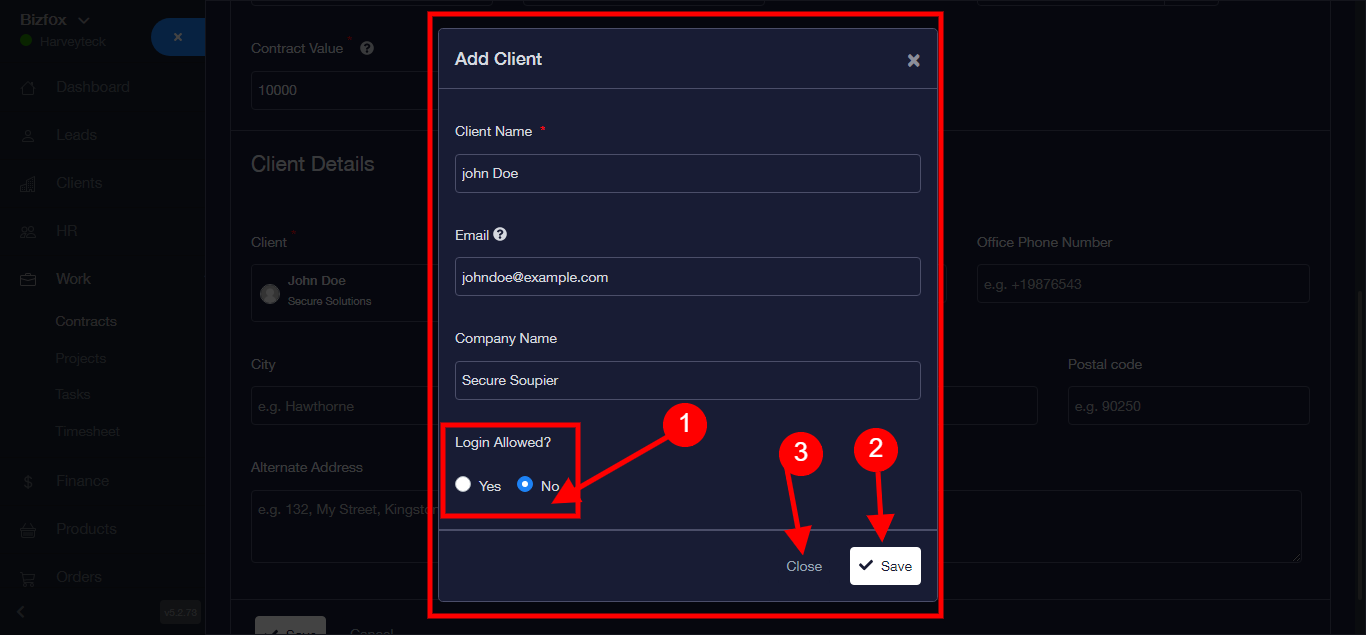
Step 11: Upon clicking on “Add”, fill in the popup form. Select either the “YES” or “NO” button that’s if you want to allow login. Click on the “SAVE” button after filling the appropraite details.
N/B: You can click “CLOSE” button to close the form/modal if you do not wish to continue with the form
Step 12: Upon adding client details, click on “save” button you will get a success message.
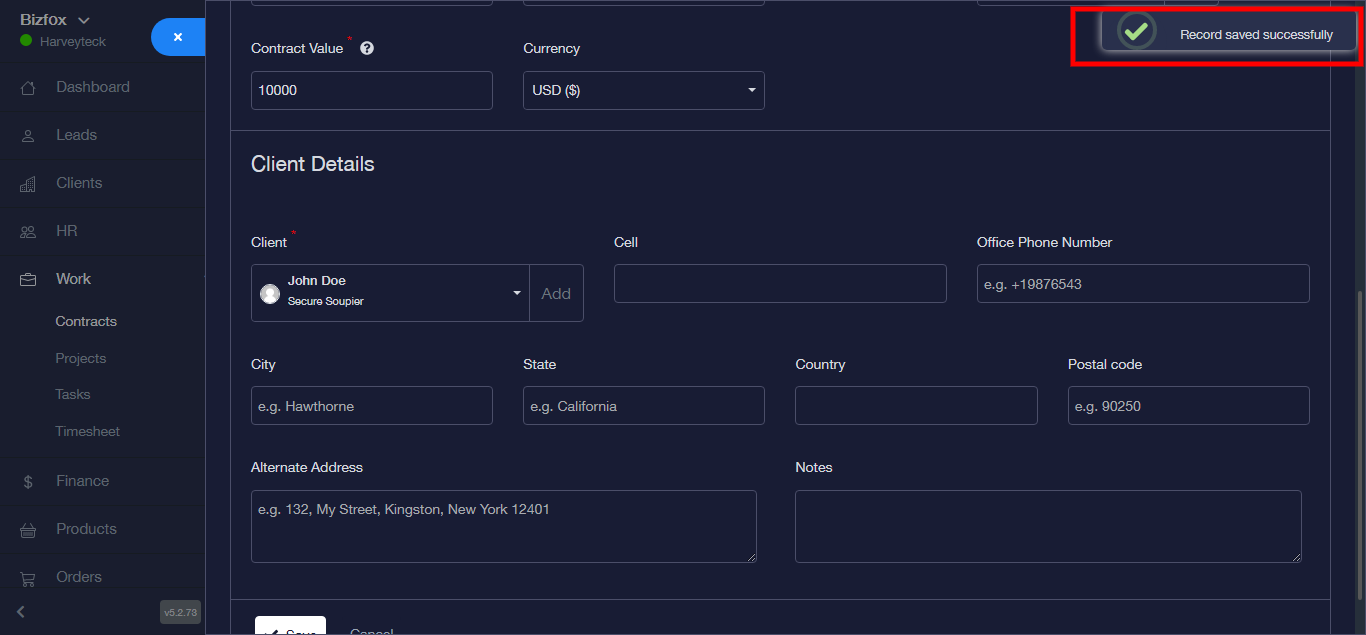
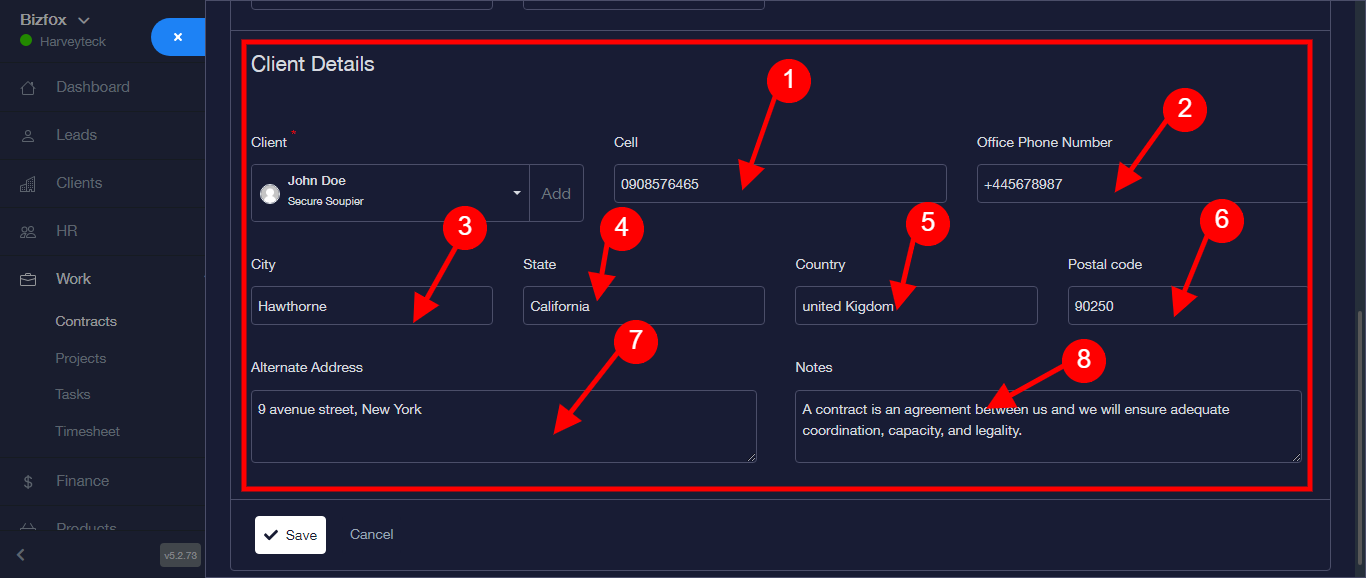
Step 13: Fill in the following: Cell, Office Phone number; City; State; Country; Postal Code; Alternate Address; and Notes.
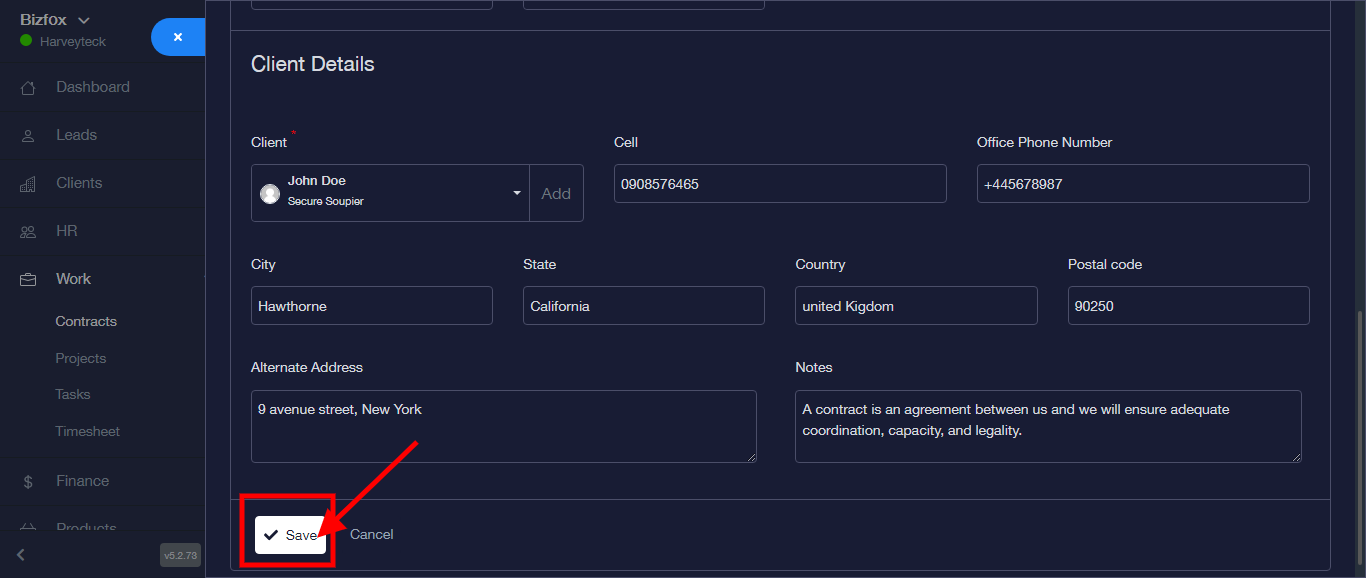
Step 14: Click on the “SAVE” button
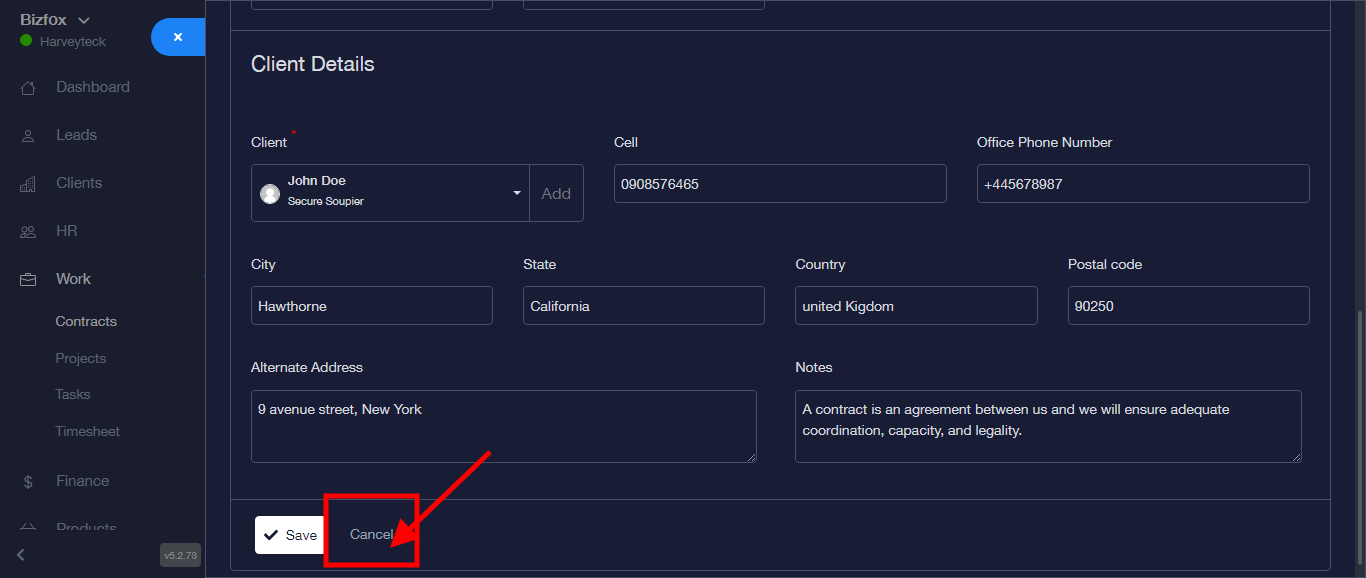
N/B: You can Click on the “CANCEL” button to cancel contract
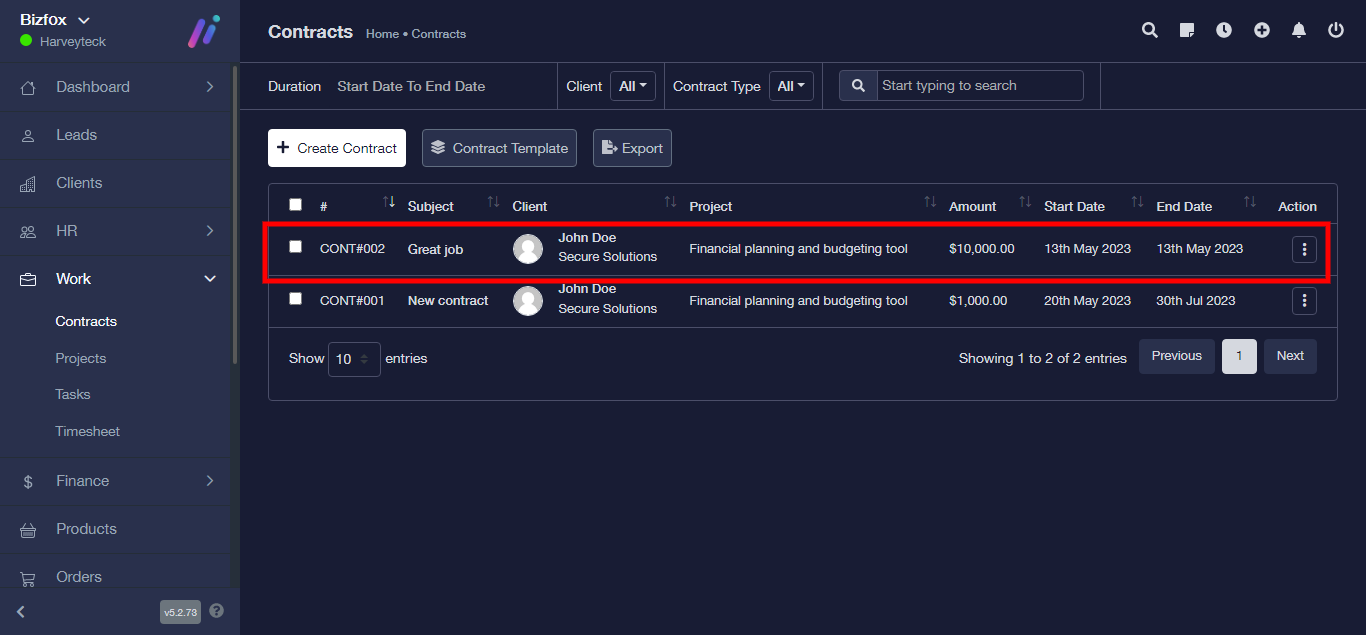
Step 15: Upon clicking on the save button, Contract is saved.
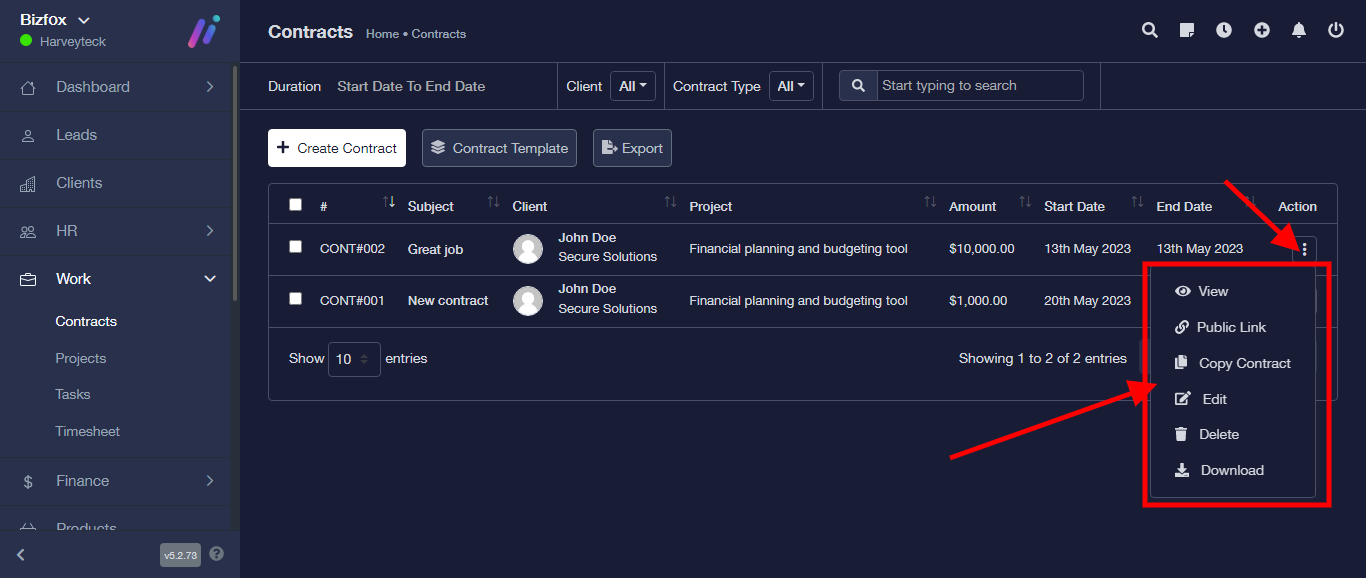
Step 16: At the top right-hand side, you find the toggle button for different actions.
Like: “View” to view contract
“Public Link” to get the contract link
“Copy Contract” to copy contract
“Edit” to edit already existing contract
“Delete” to delete Contract
“Download” to download Contract