STEP 1: Log in to your iceleraite account.
STEP 2: Click on the “Icon” at the top of your dashboard
STEP 3: Click on “Integration” from the drop-down options.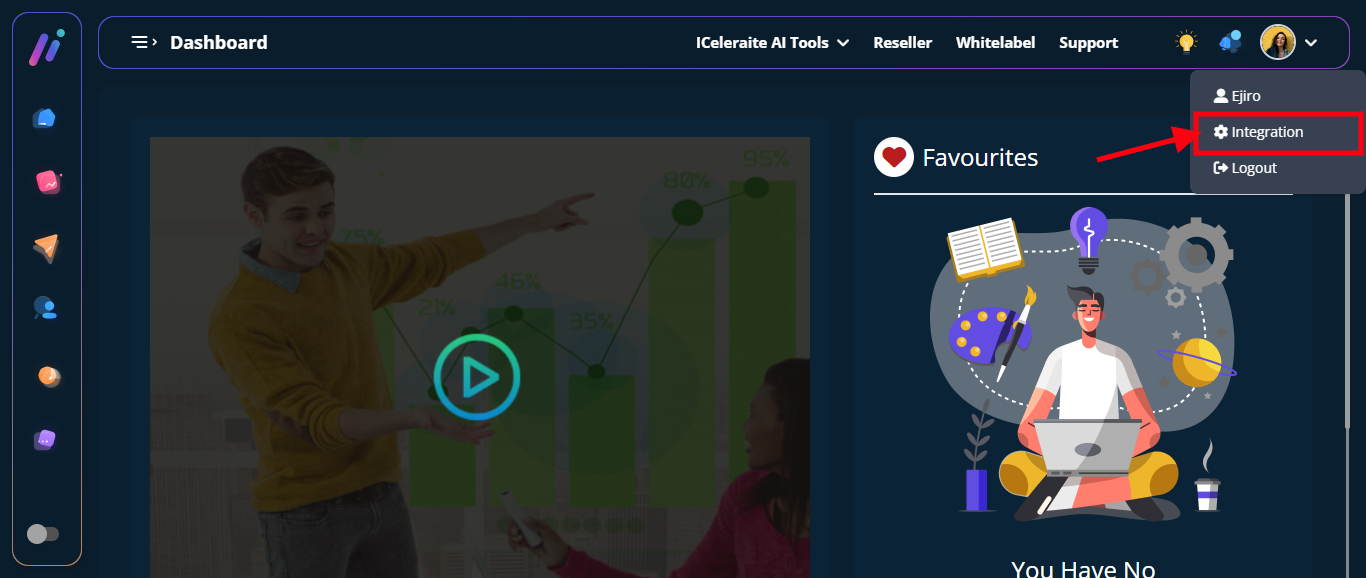
STEP 4: Click on “View Integration”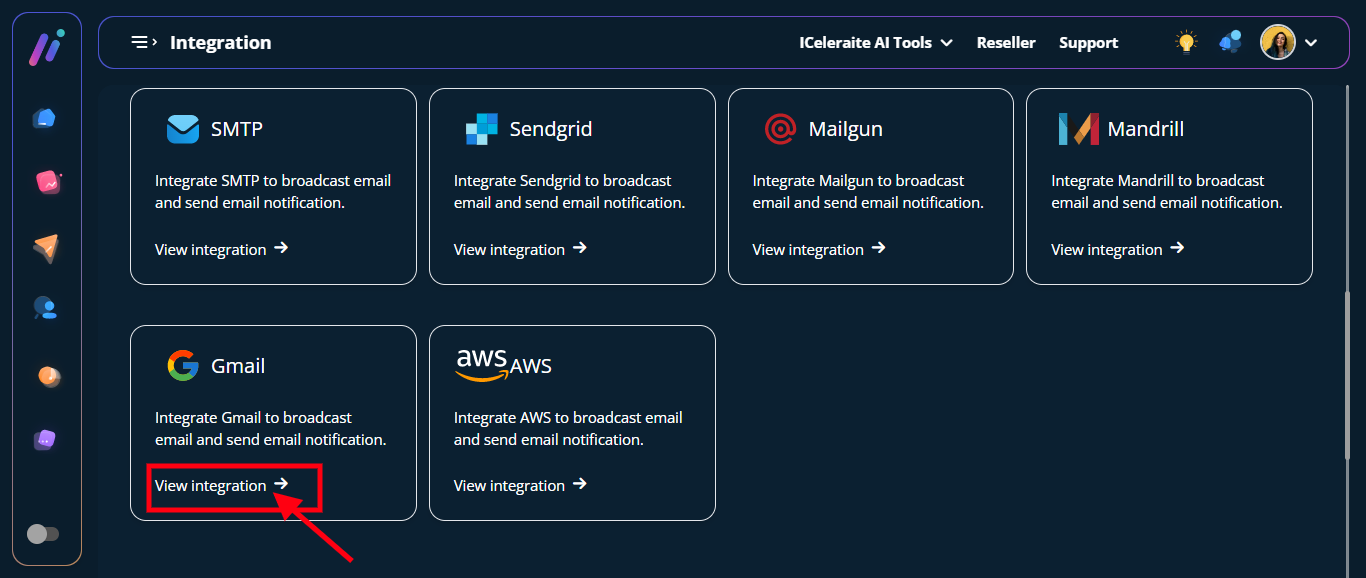
STEP 5: Click on the “New SMTP” option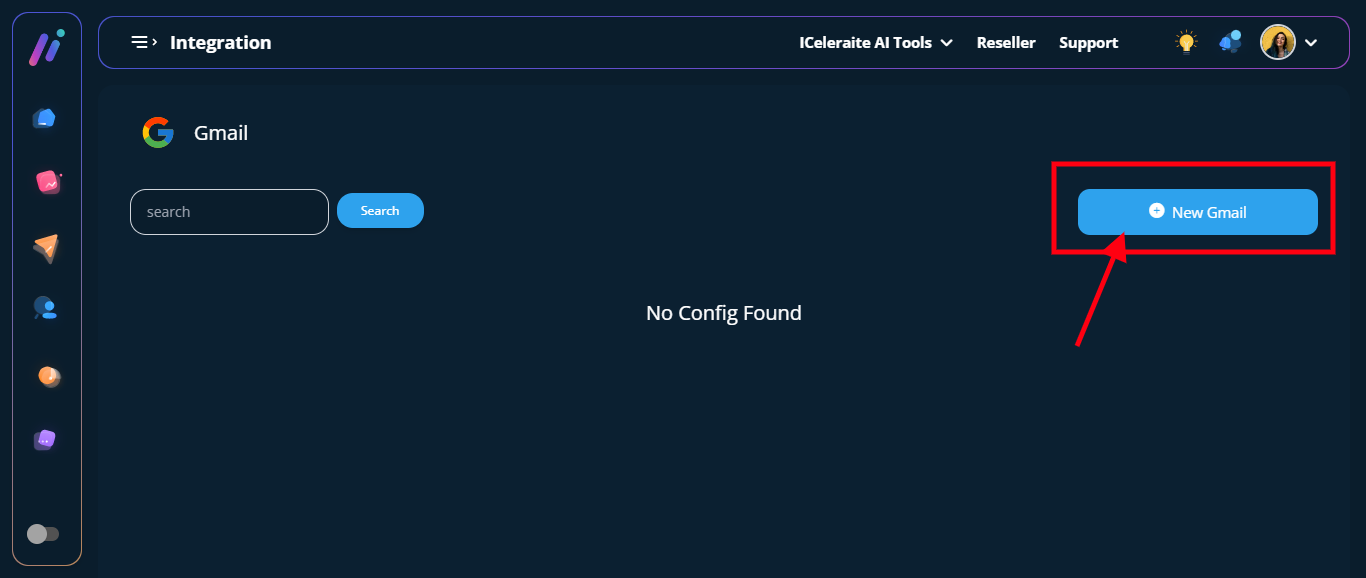
STEP 6: From the option below, enter the new Gmail information needed, as shown below.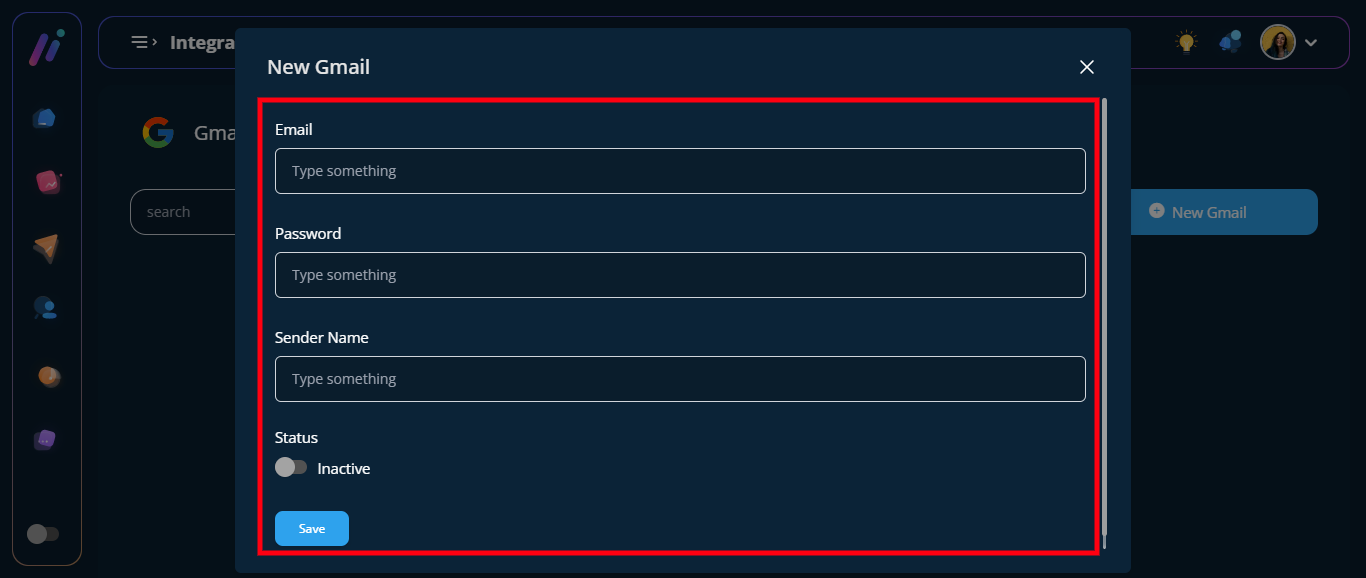
==> Email field: in the field enter an Email address.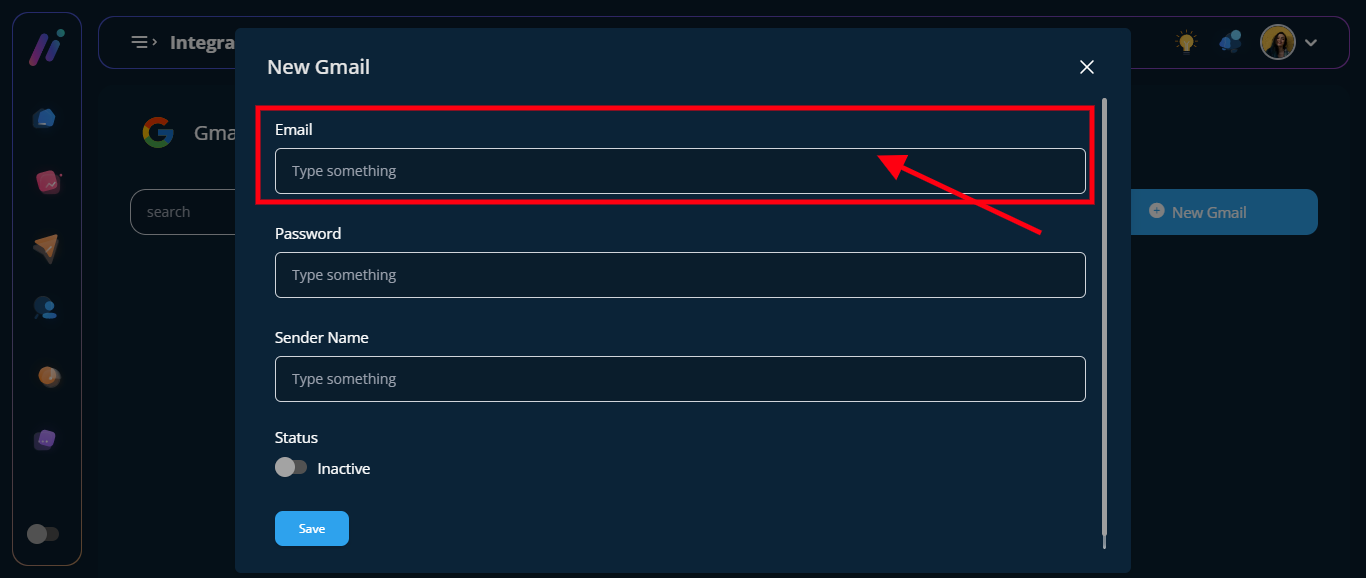
==> Gmail password: in the “Gmail Password” field enter your Gmail Password.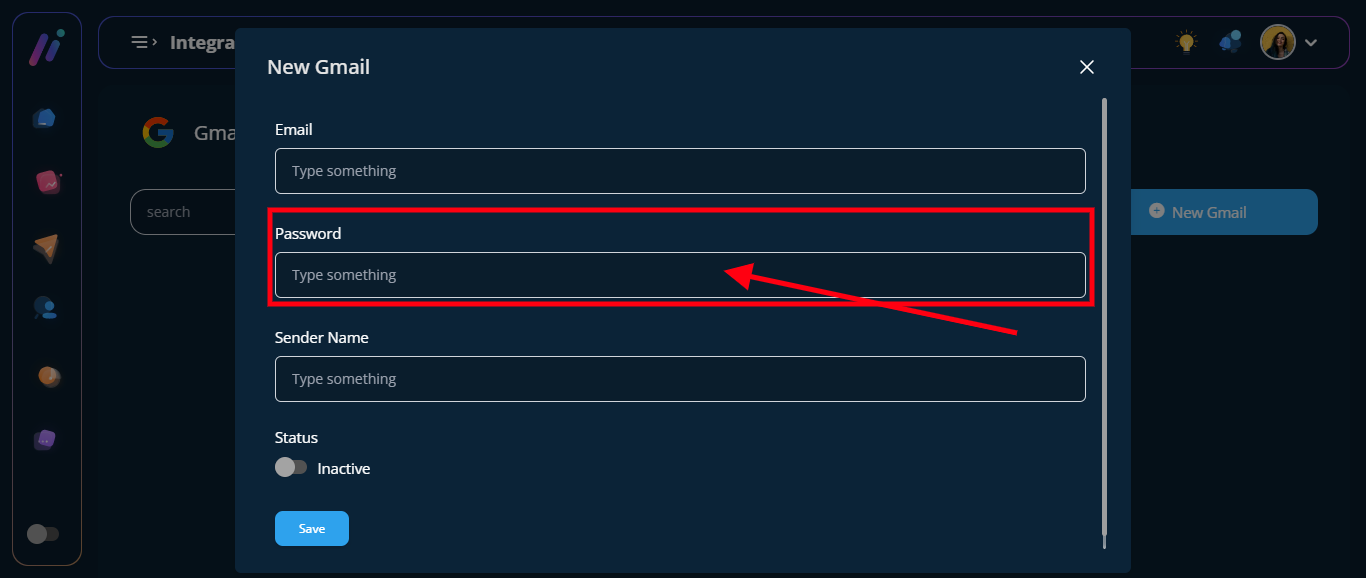
Google has made a new update, so you have to use a password created during app authentication. Kindly follow the Actions below to get the password to us for your Gmail integration. Please note that the sending limit is 100.
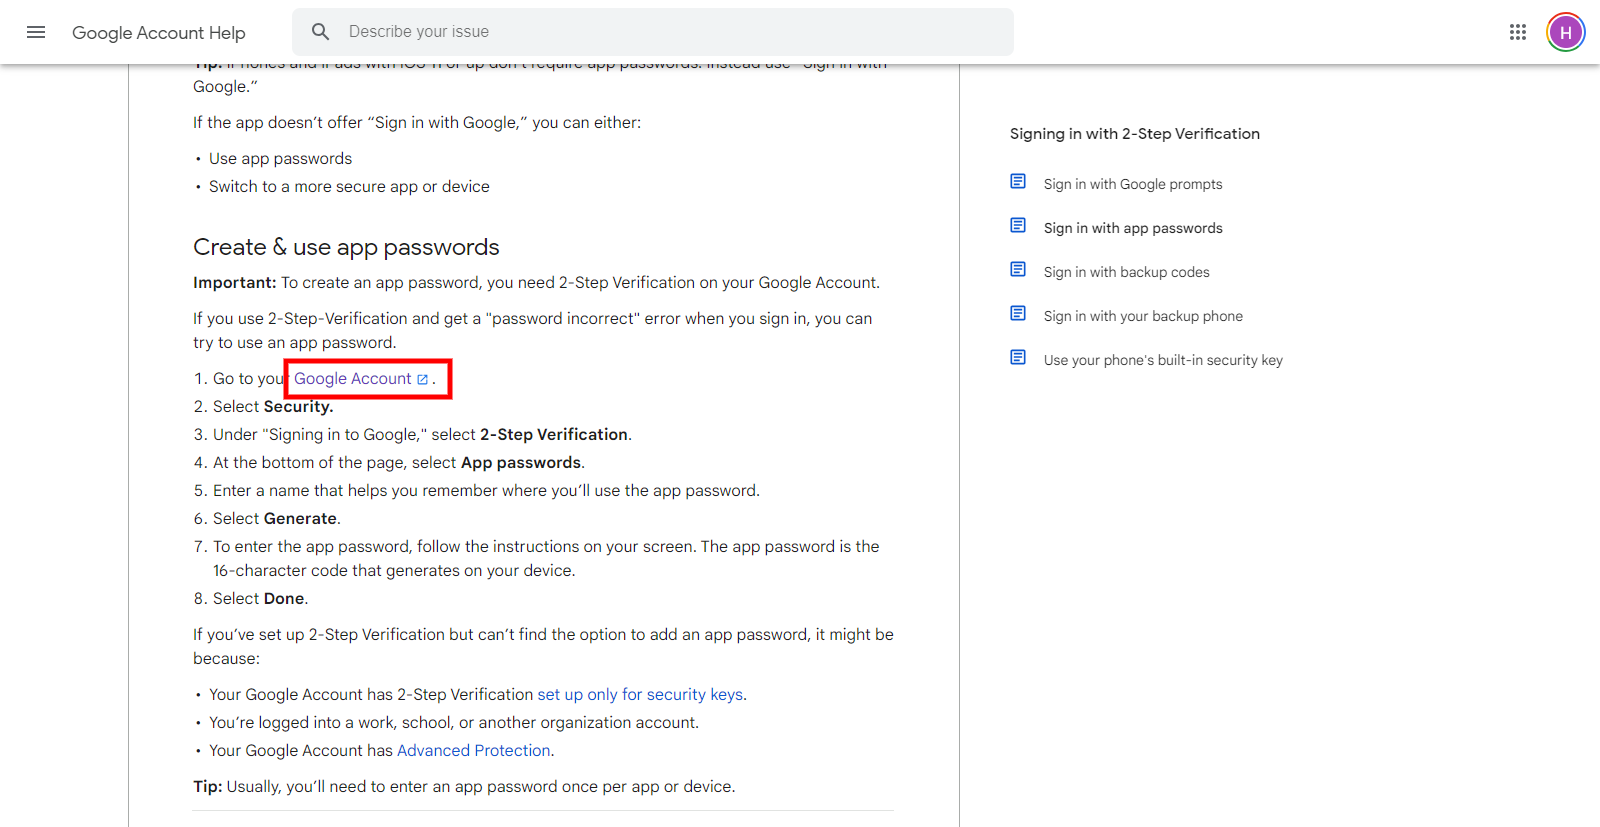
Action 1: Click on this link to your Google account to help.
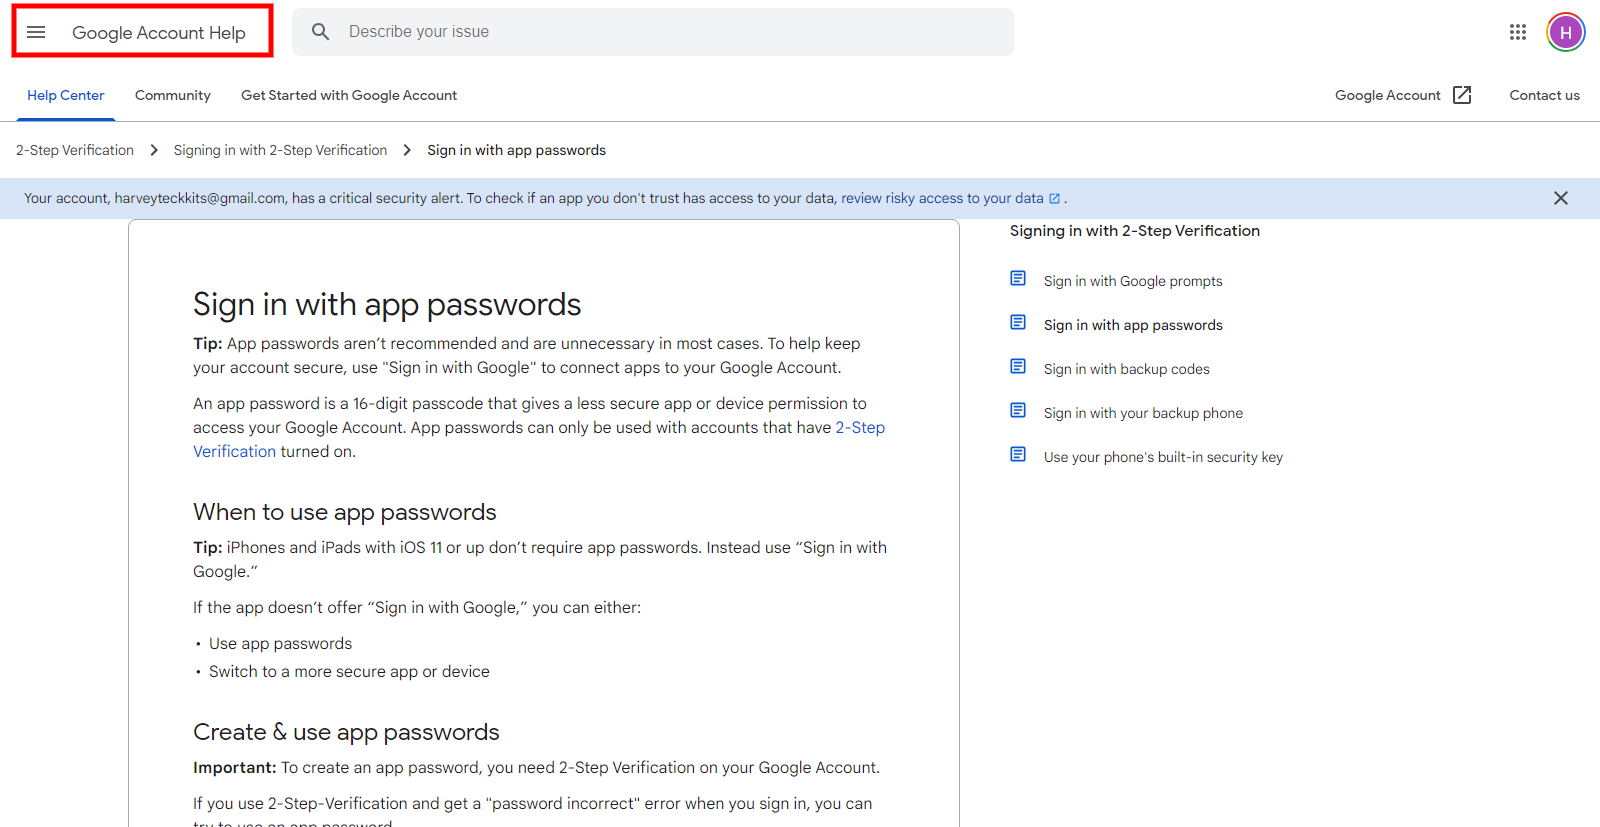
Action 2: Click on the Google Account link
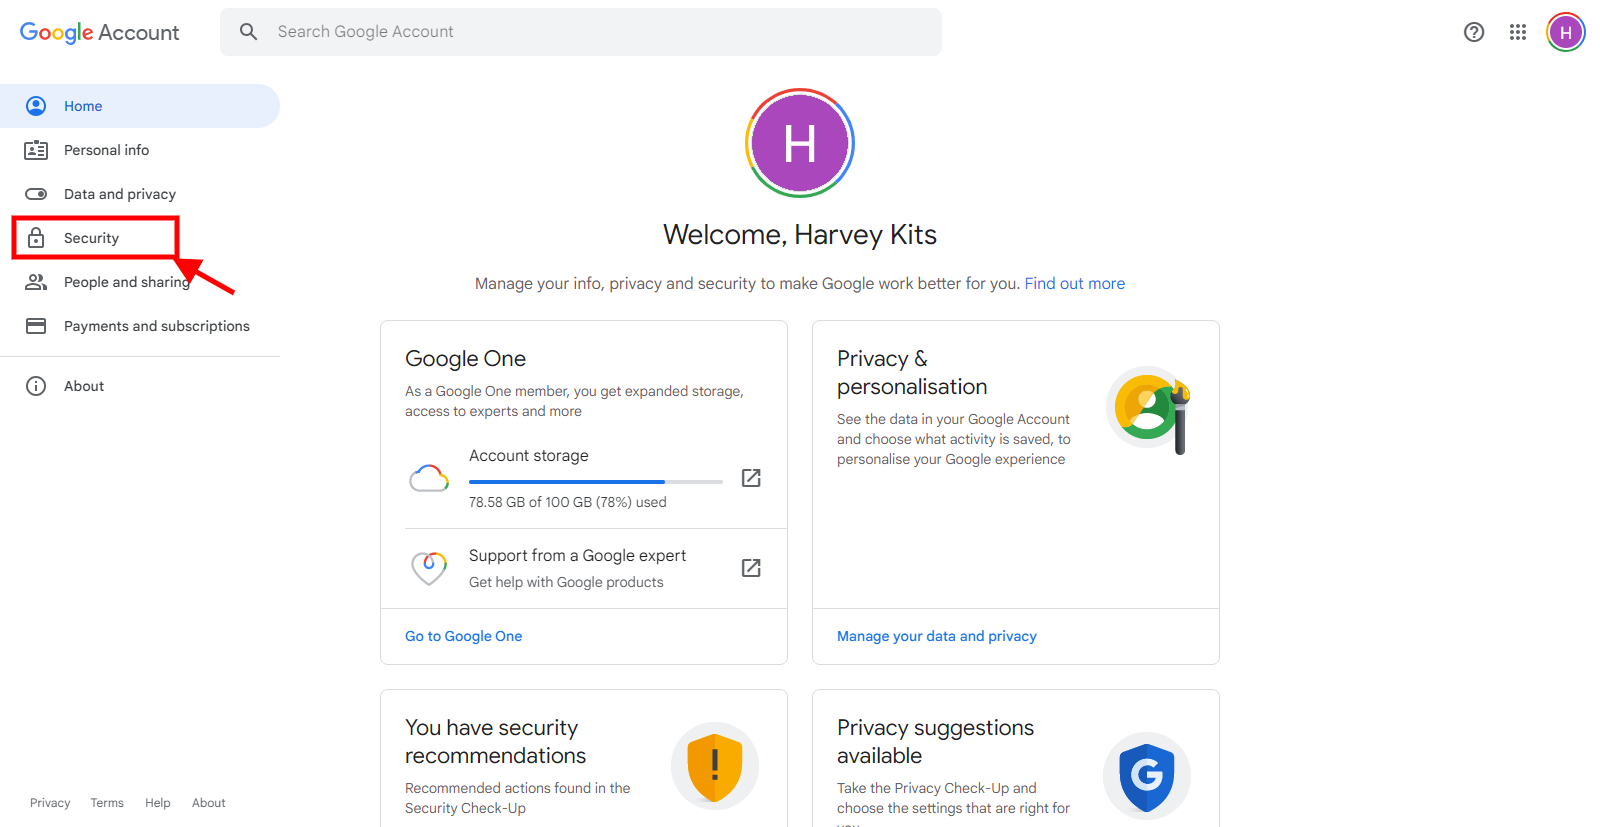
Action 3: Click on security in the left-hand side menu
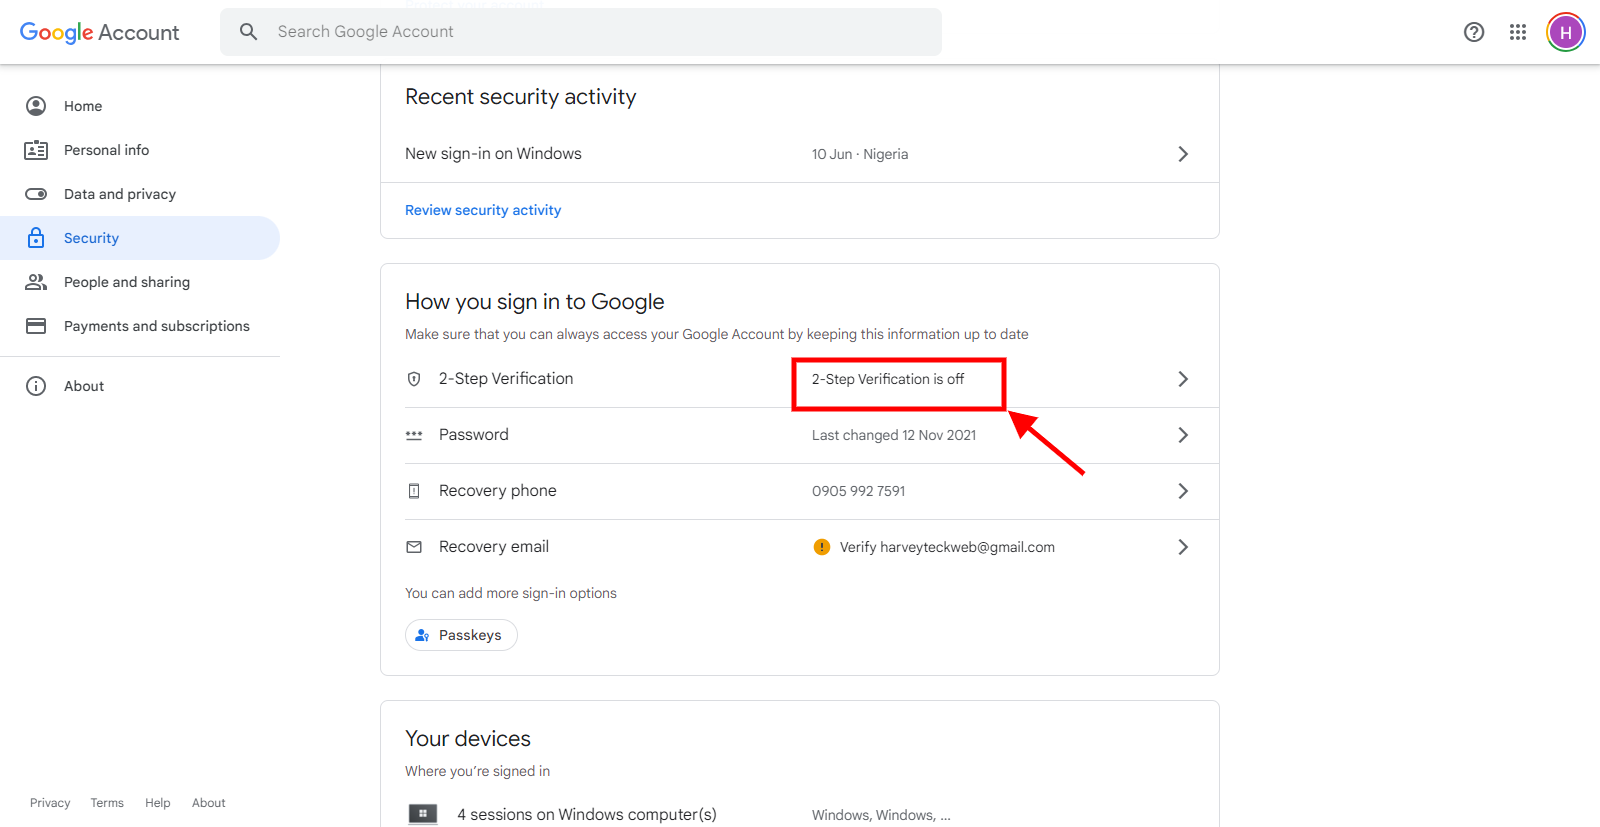
Action 4: Click on 2-step verification (if indicated off)
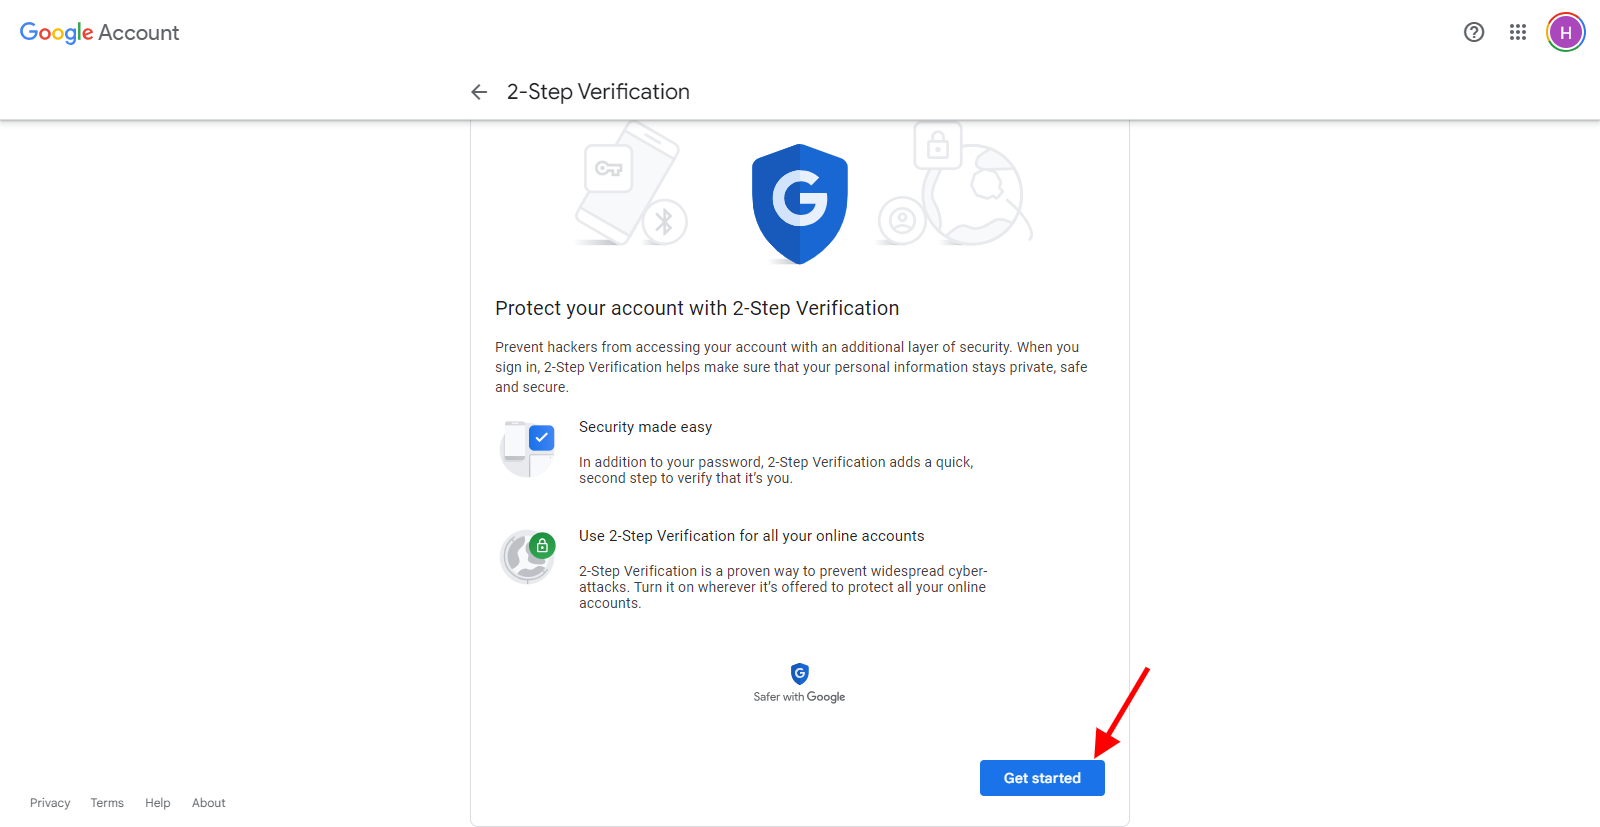
Then click on the Get started button
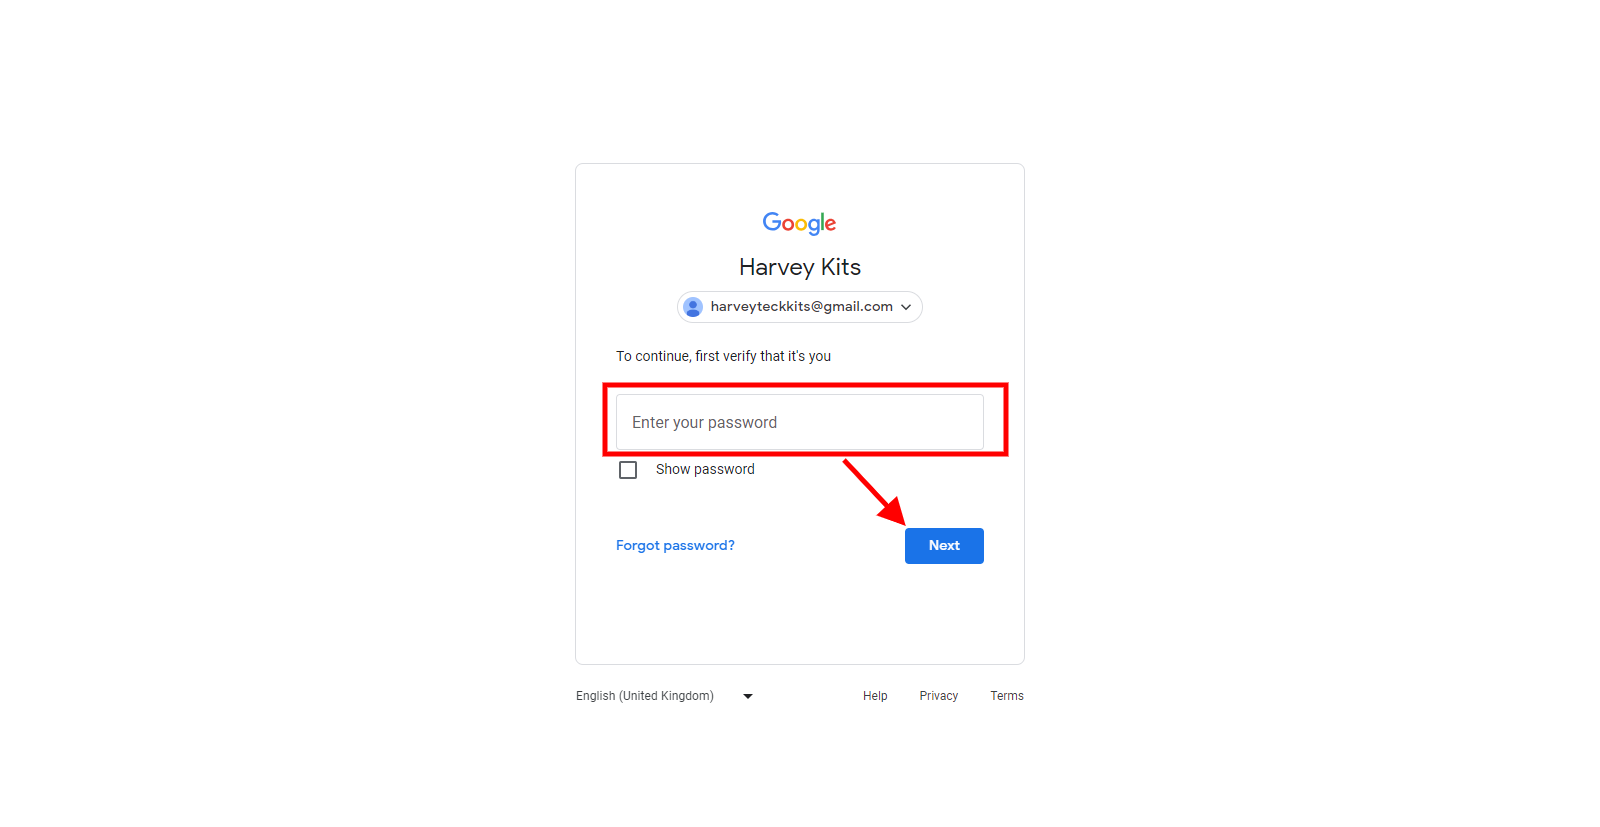
You will be redirected to the Gmail login form to enter your password

Enter your password and click on the next button
Enter your phone number to get verification for the authentication
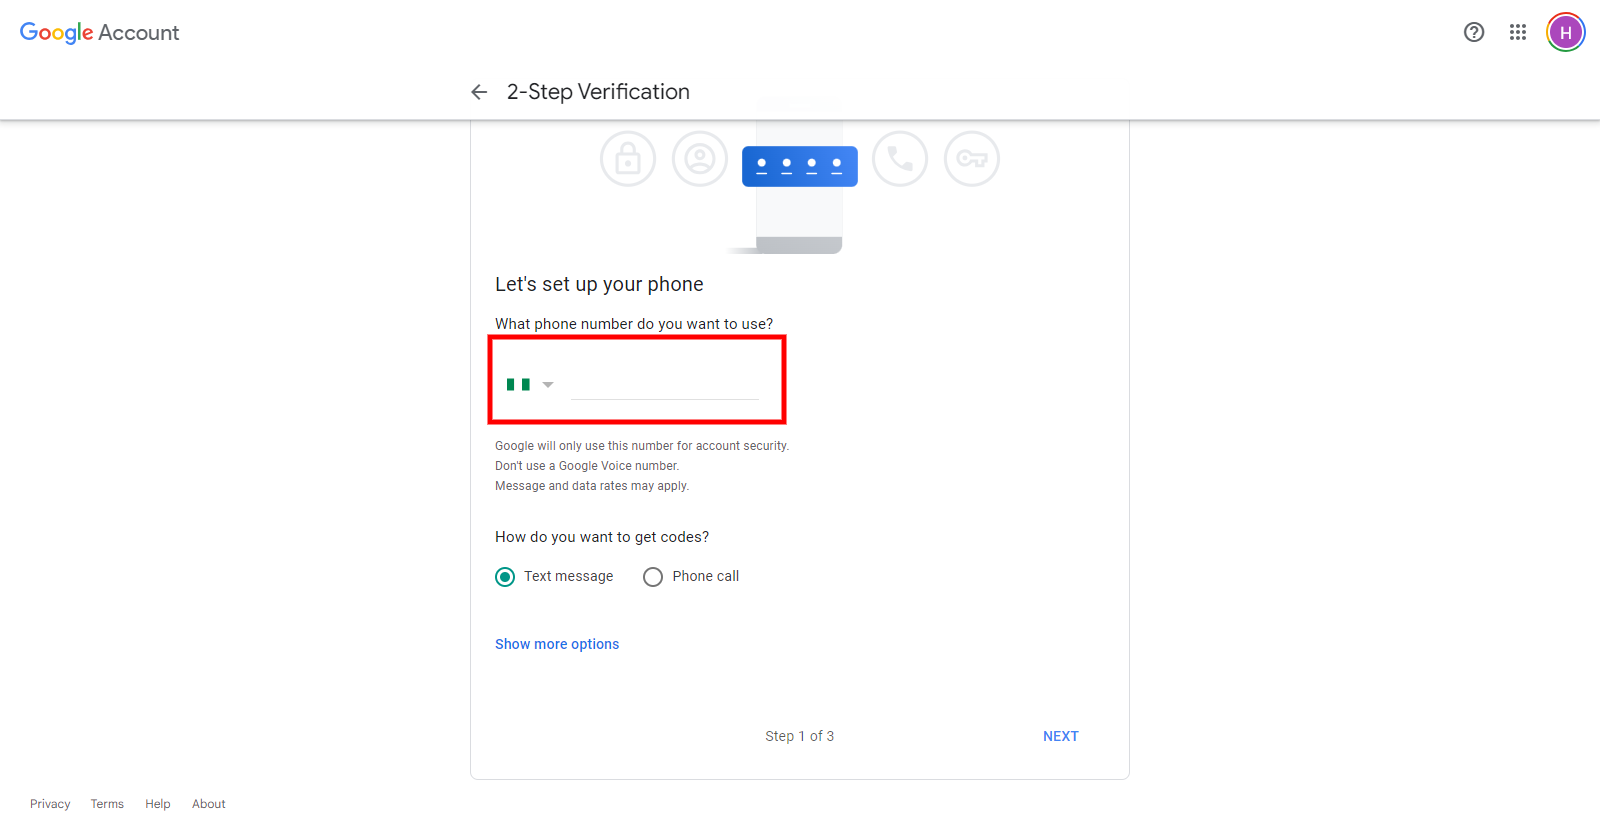
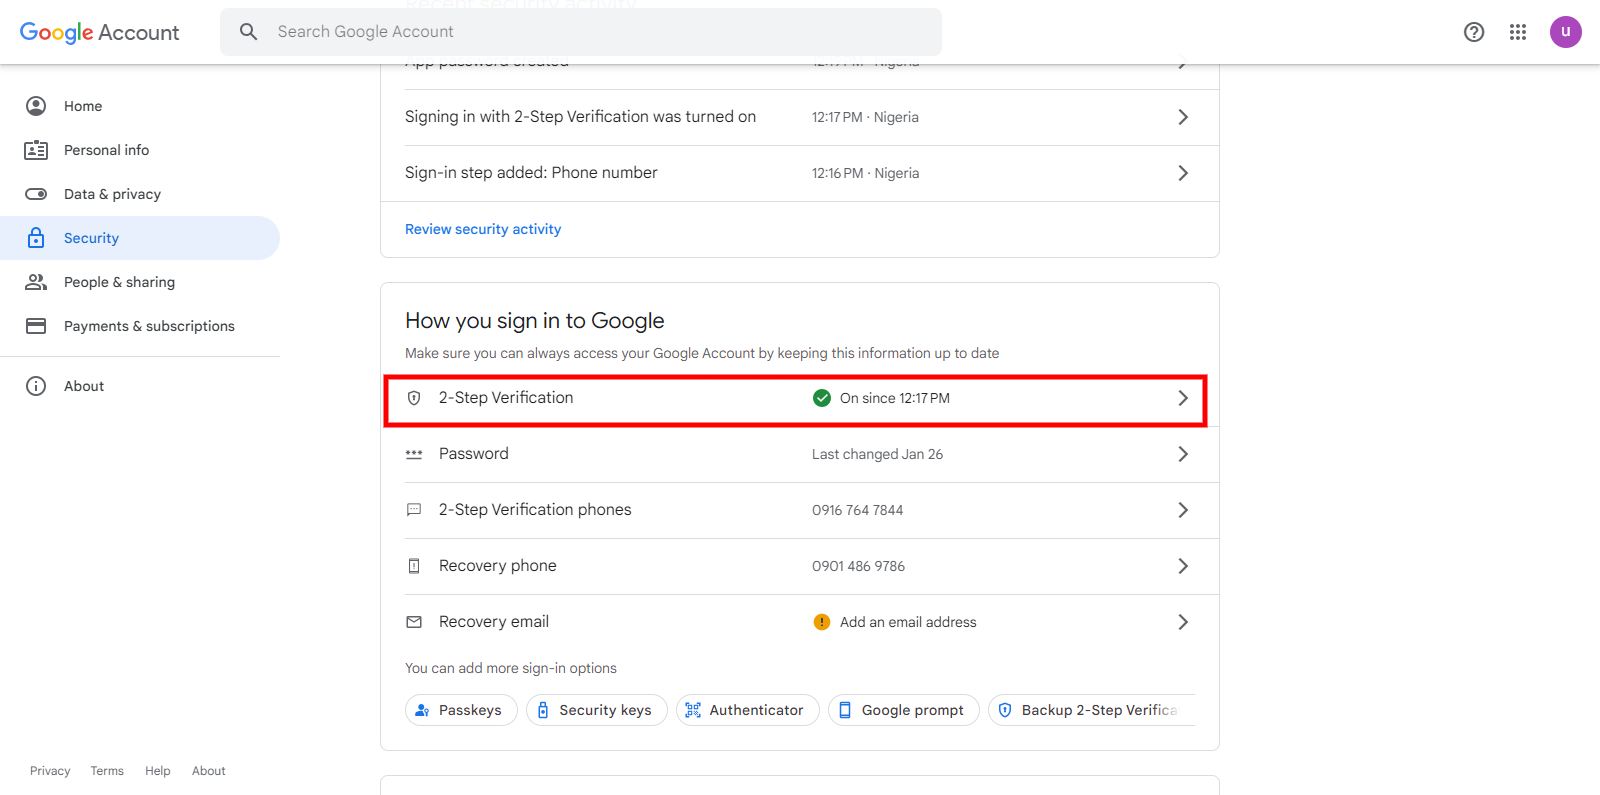
You will then enter the verification code and click next. You will see this when it is on
Then click on it and scroll to the App password section
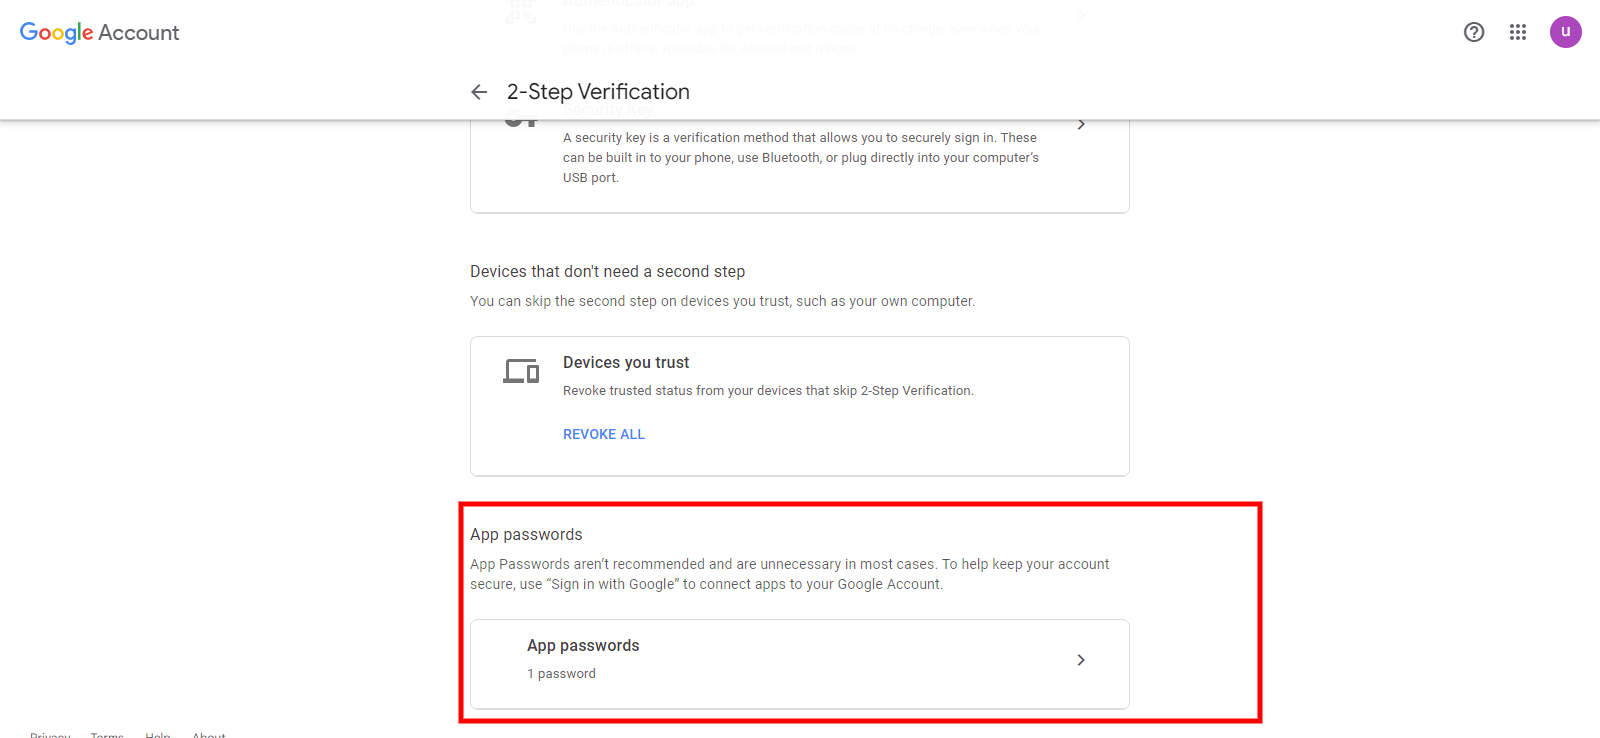
Now click on the app password tab
![]()
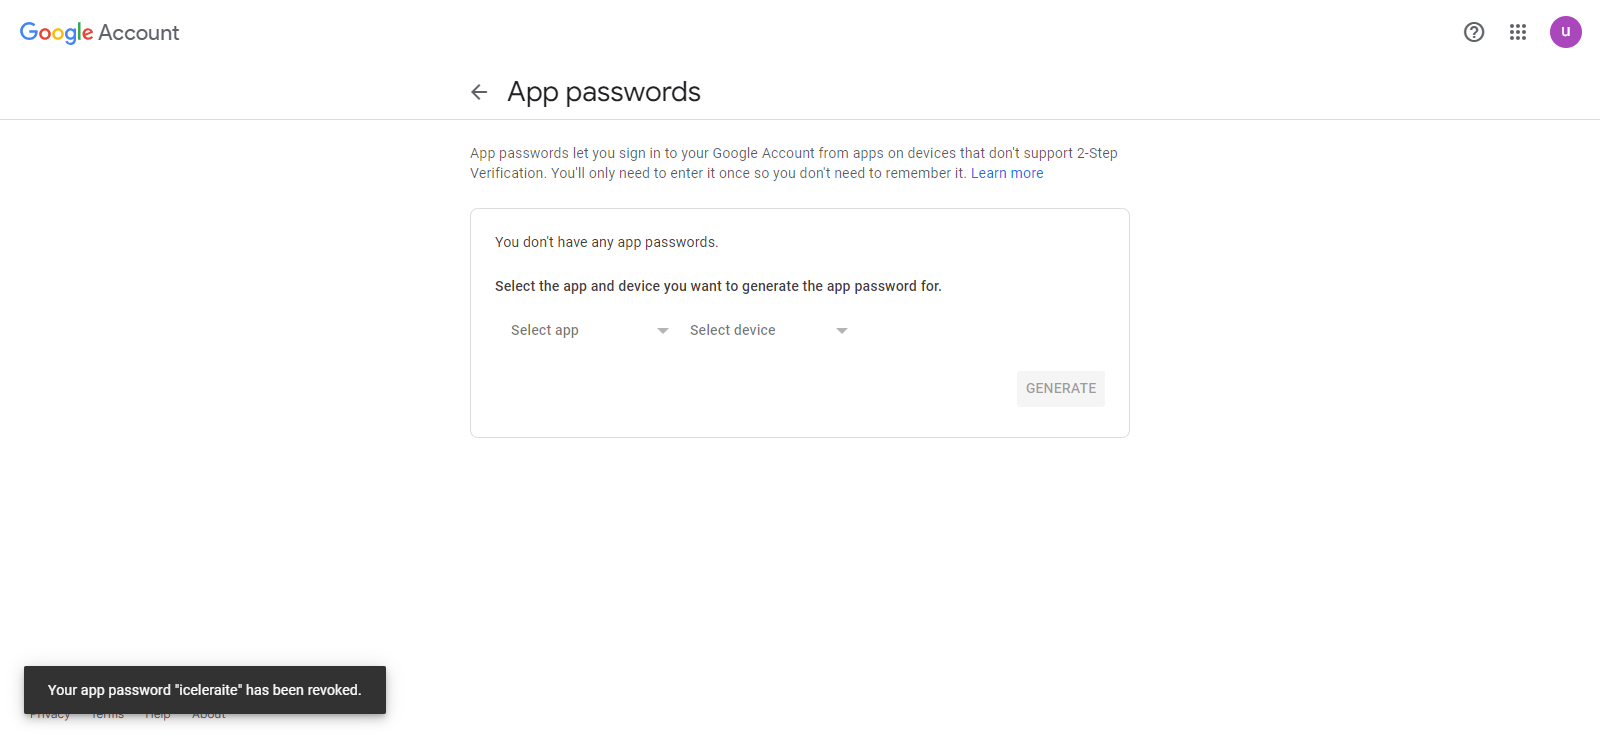
You will be taken to this page to generate the app password
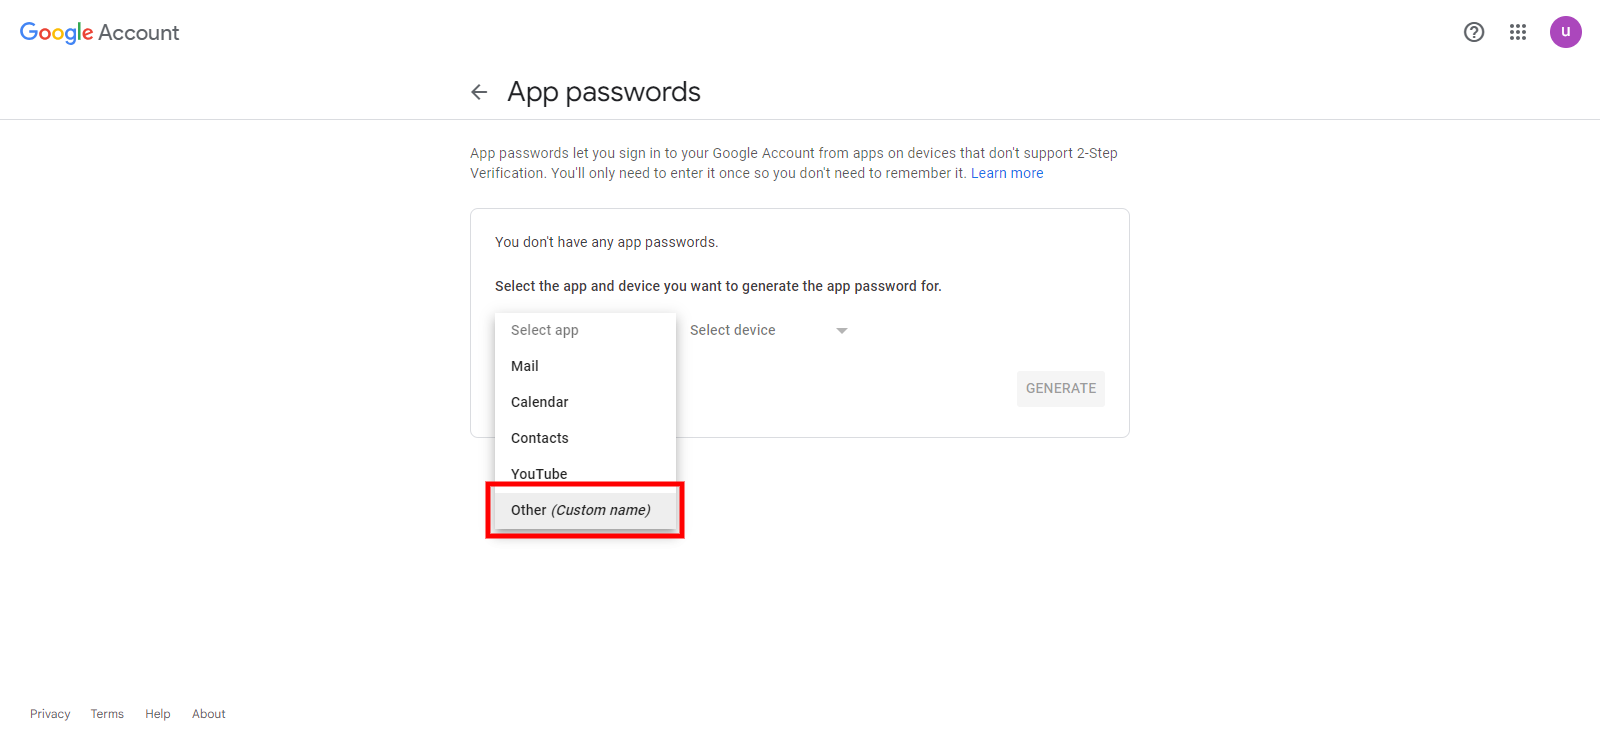
For the Select app field choose the “other(custom name)”
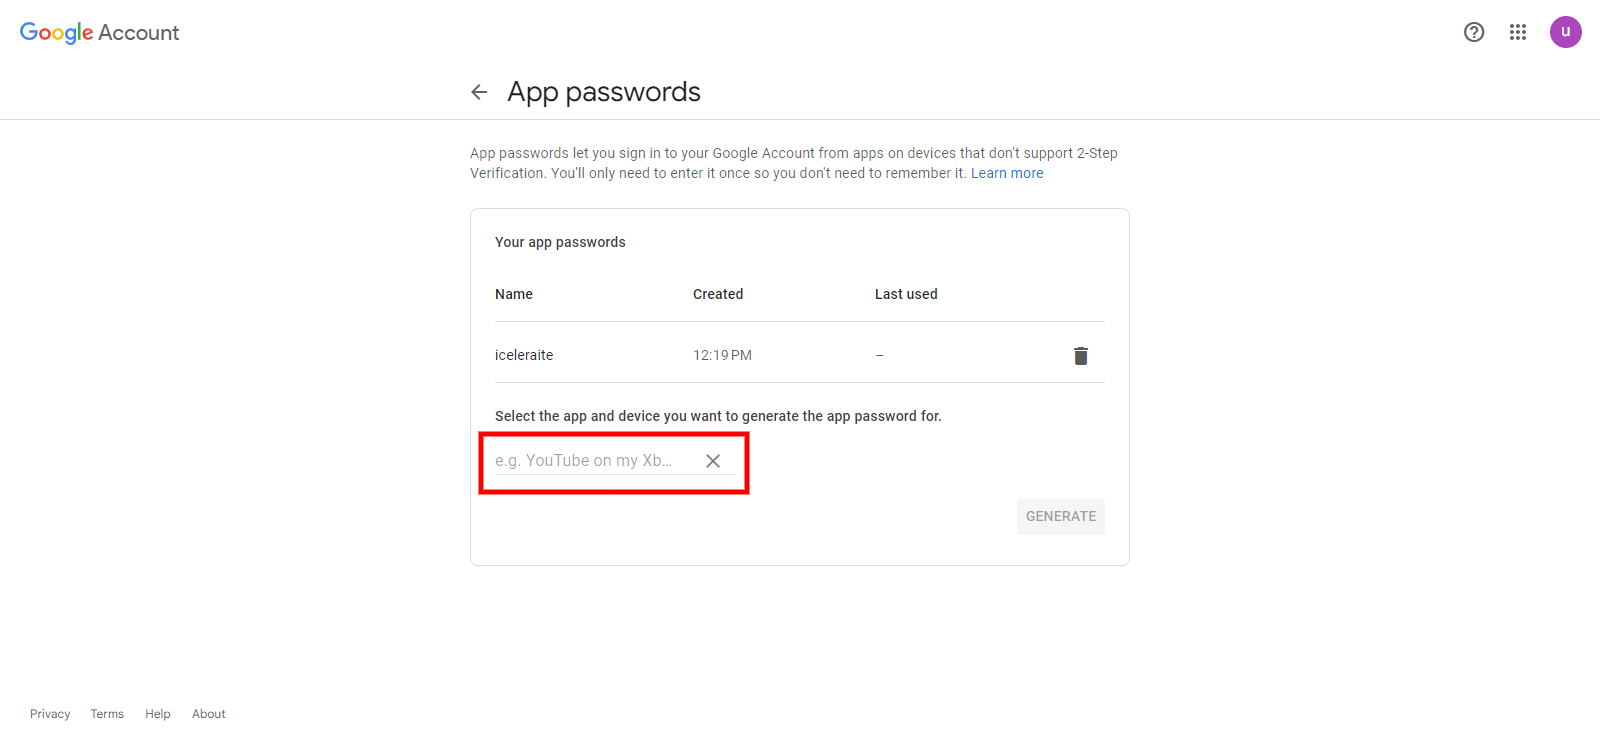
Enter a name for the app. You may use iceleraite as the app name
click on the generate button
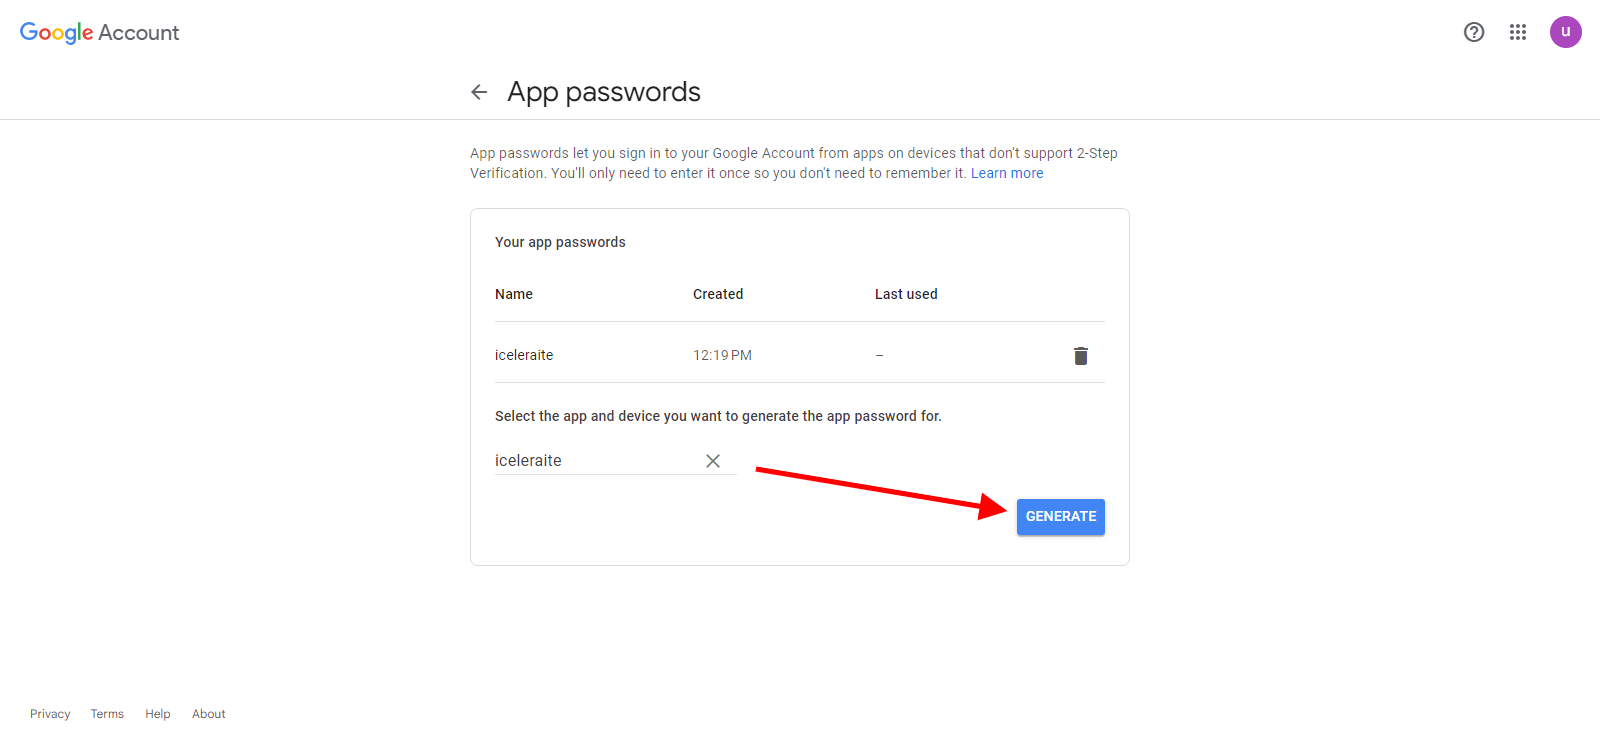
Your app password will be generated
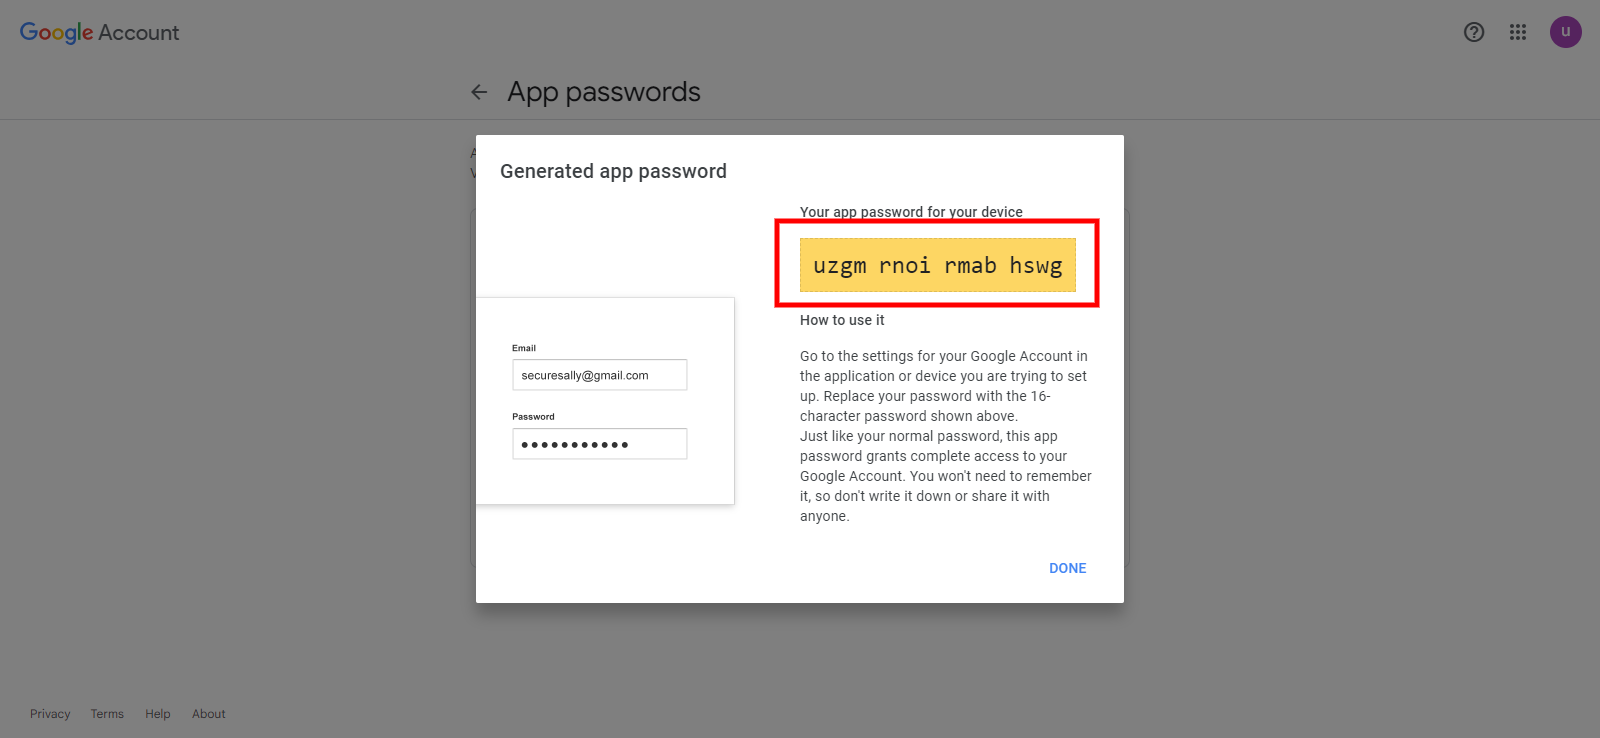
Copy the password and enter it into the password field in the Gmail integration
==> Sender Name: in the “Sender Name” field enter the sender name.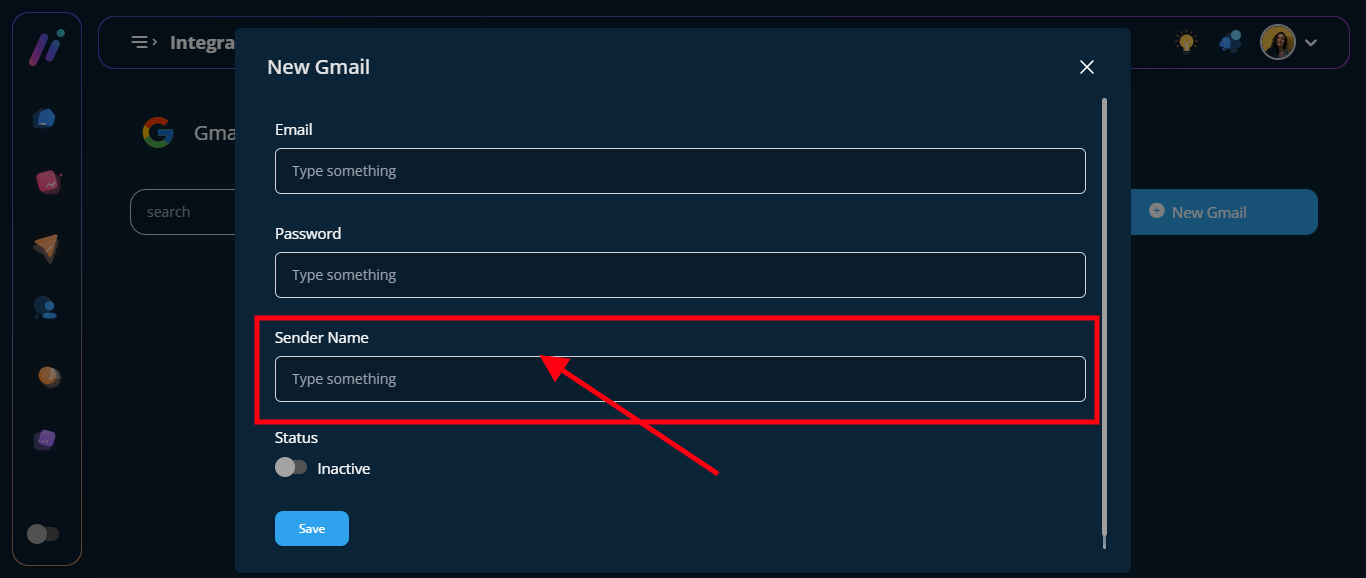
==> Turn on the “Status Toggle Button”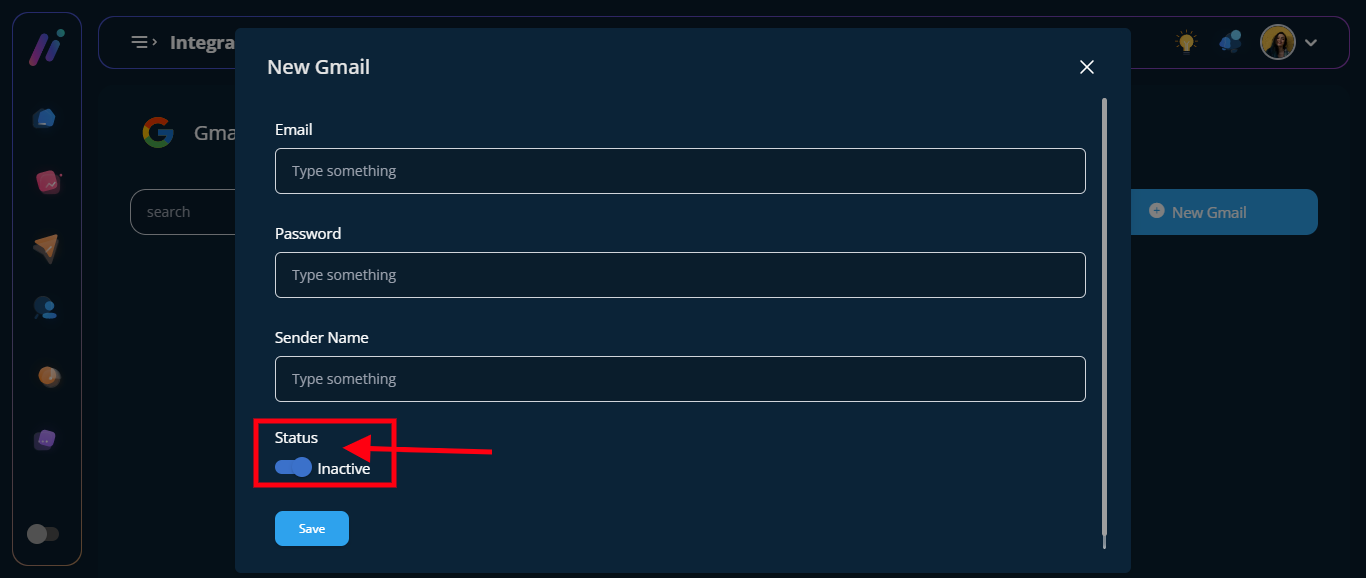
STEP 7: Click the “Blue Save Button”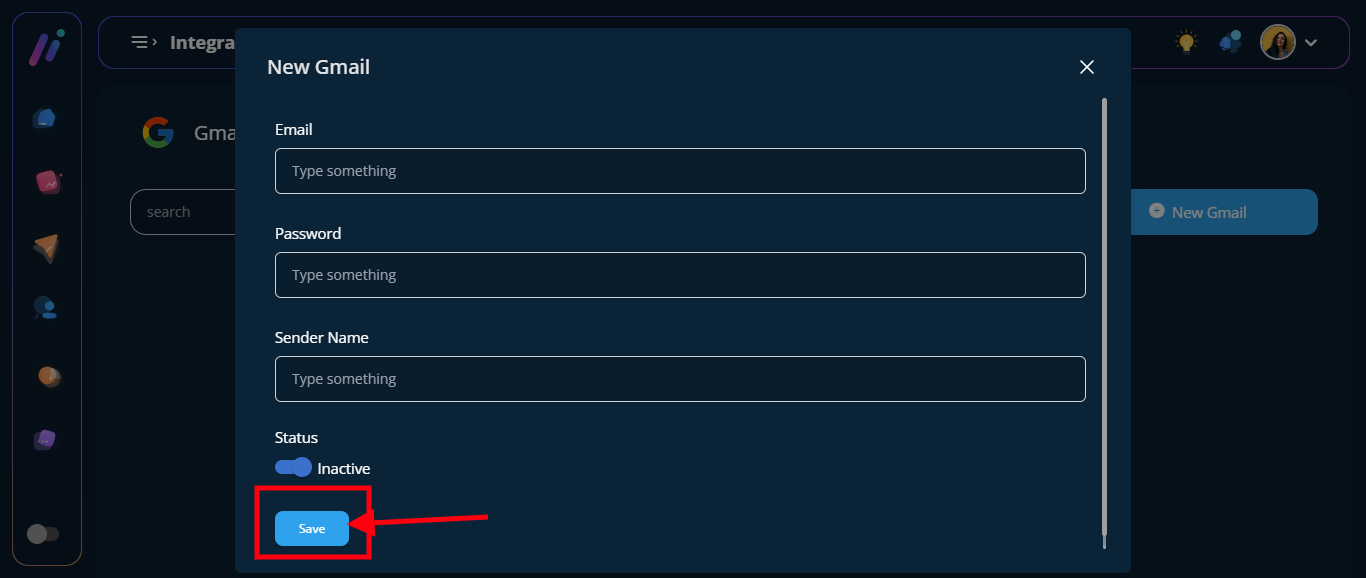
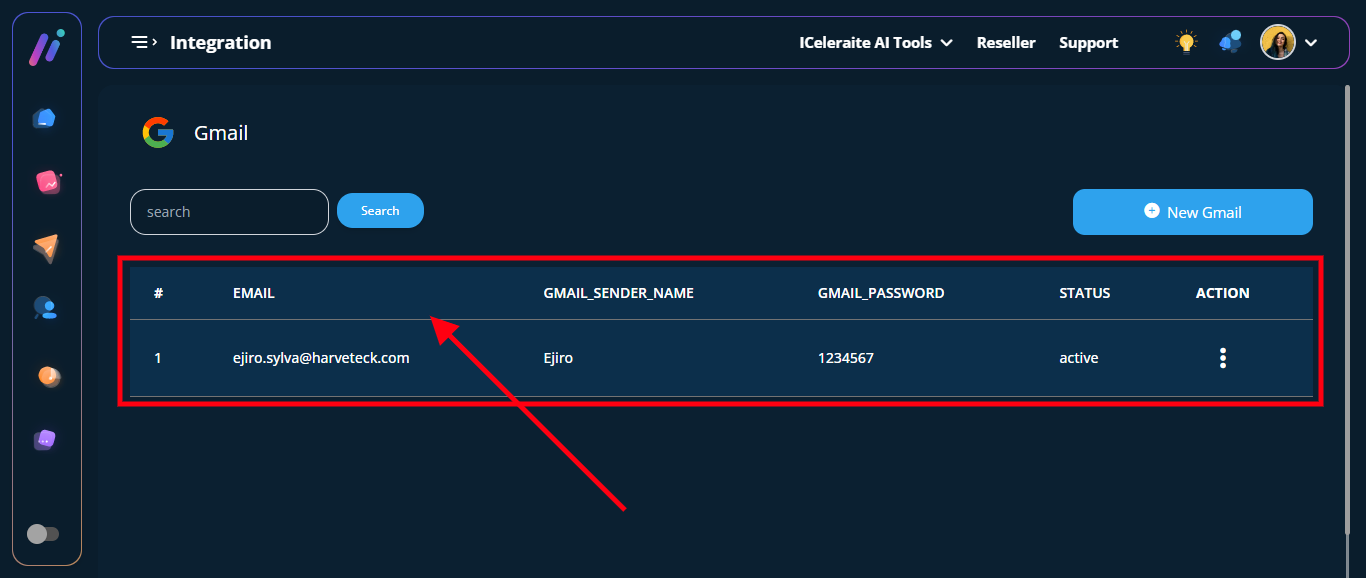
STEP 8: Configuration was saved successfully
View Gmail