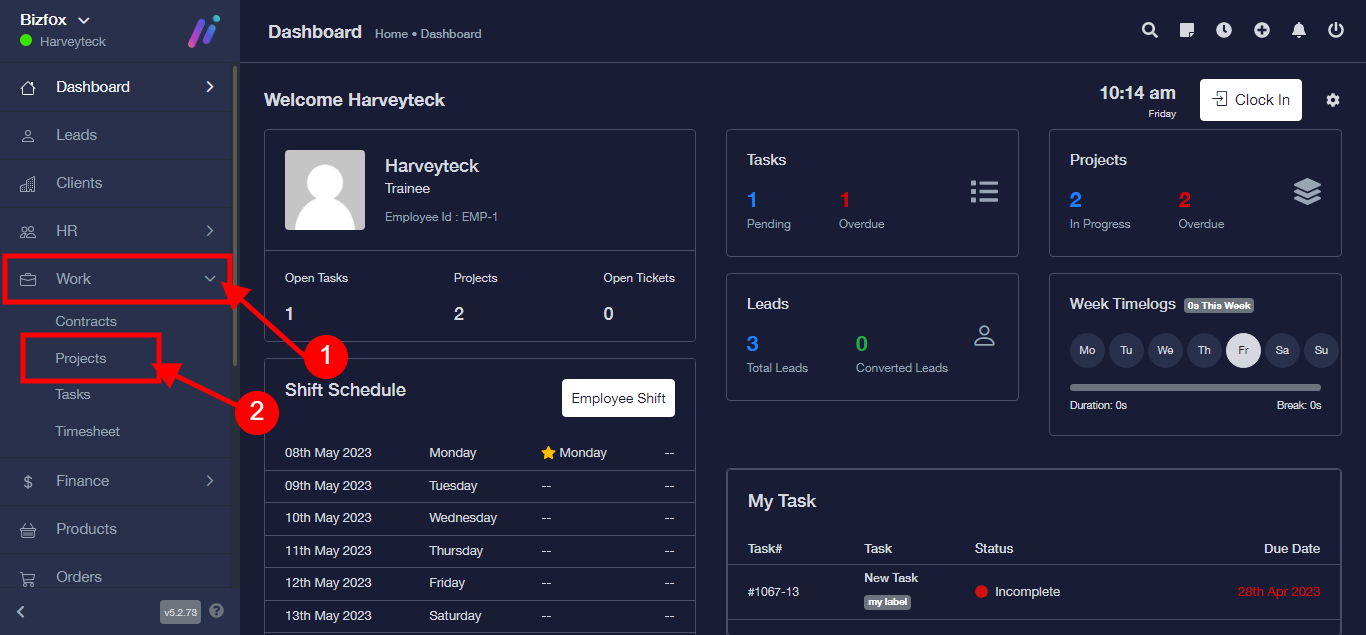
Step 1: After you’ve logged into your Business manager account, it leads you to the dashboard and there you get to see the left nav-bar and a table. On the left-nav bar click on “WORK” dropdown, It takes you to “PROJECT” Click on “PROJECT”
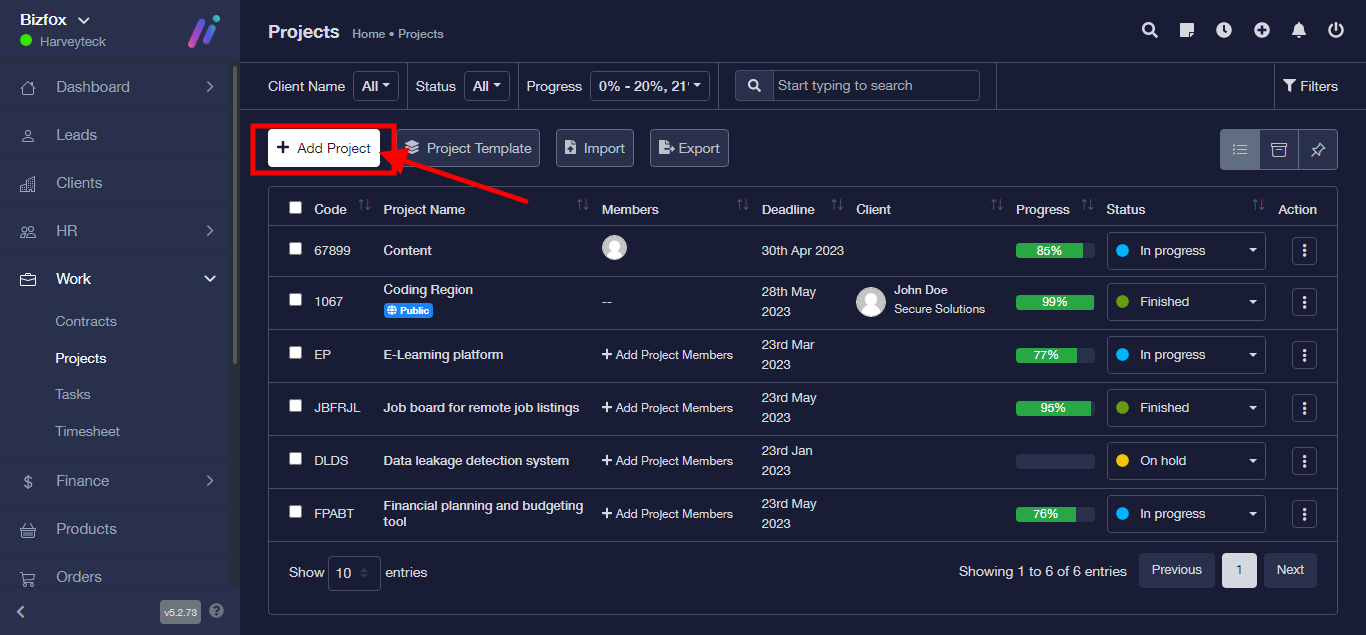
Step 2: Click on “Add Project”
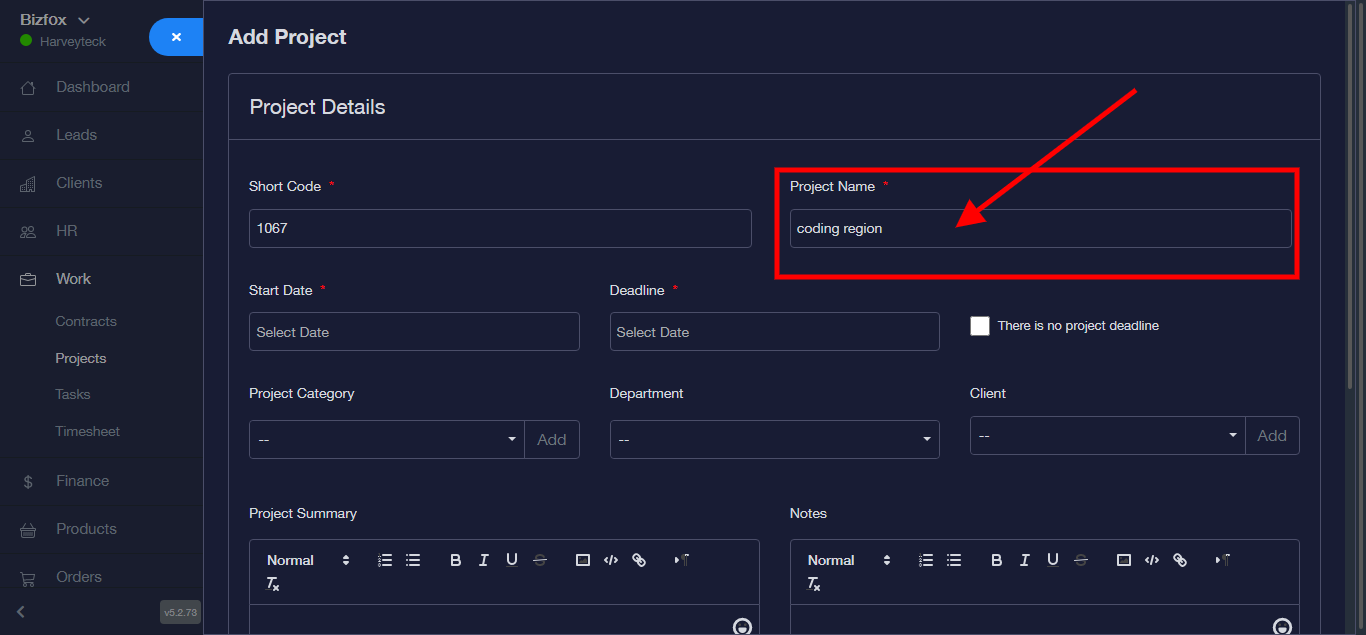
Step 2: It takes you to a new module, Enter project short code.
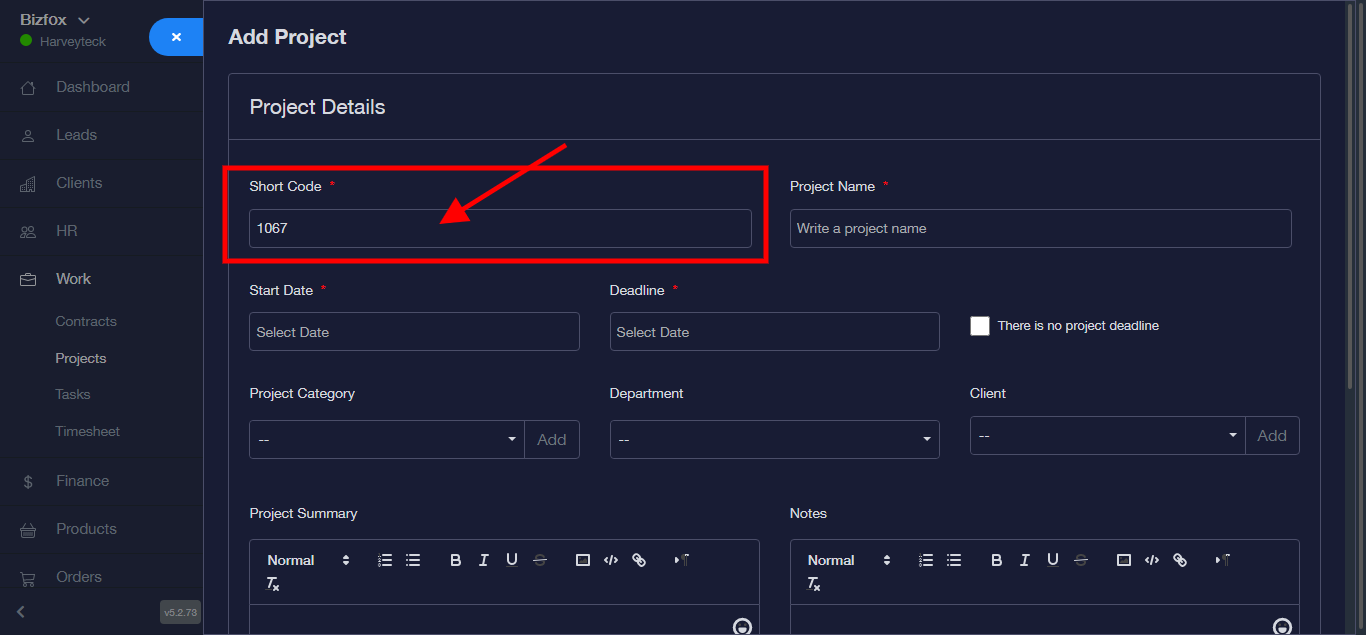
Step 3: Enter Project Name.
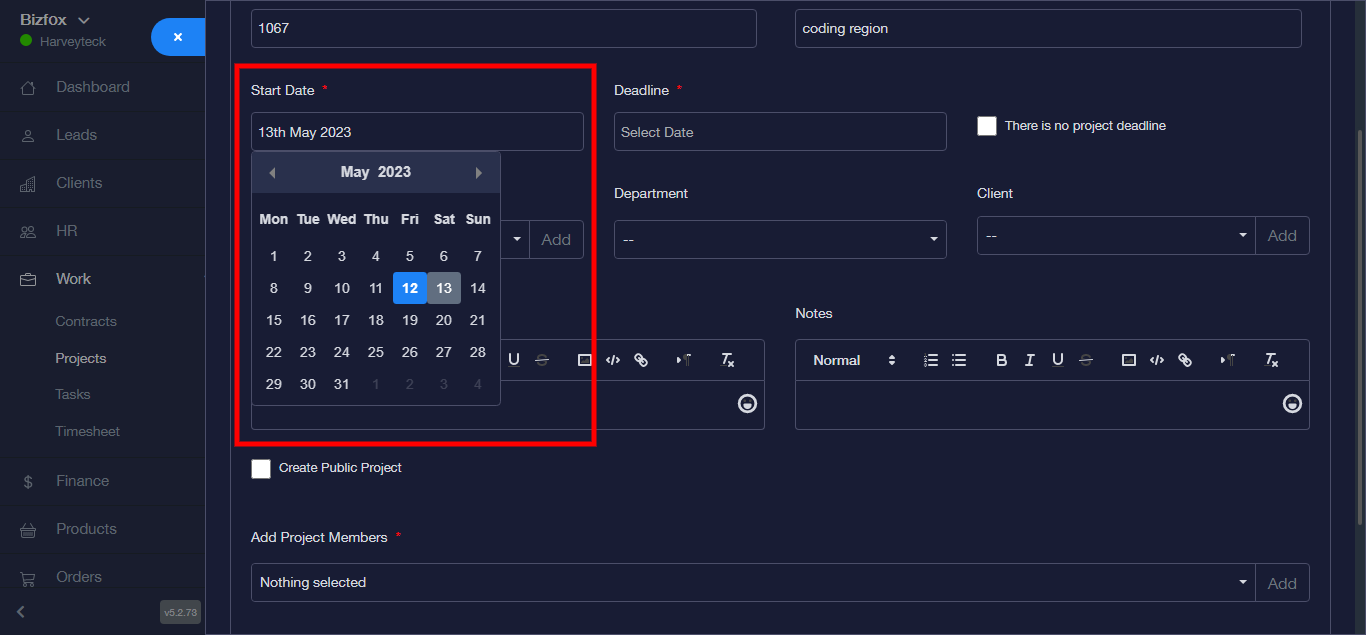
Step 4: Enter Start Date
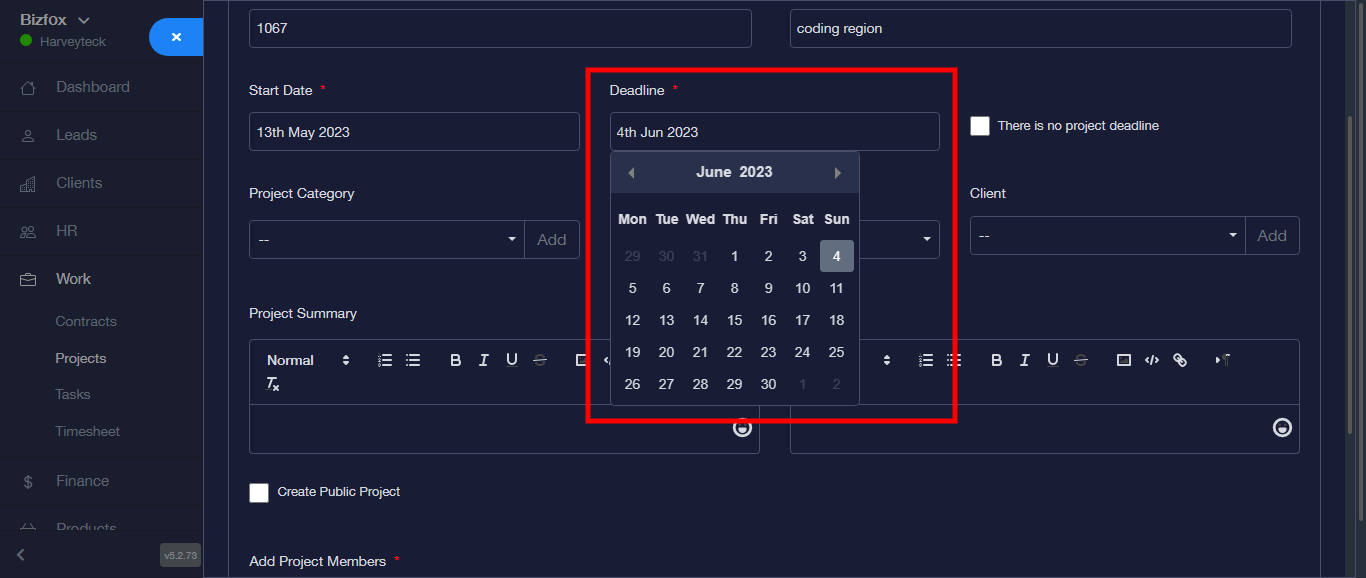
Step 5: Enter Deadline
Step 6: Enter Project Category from the dropdown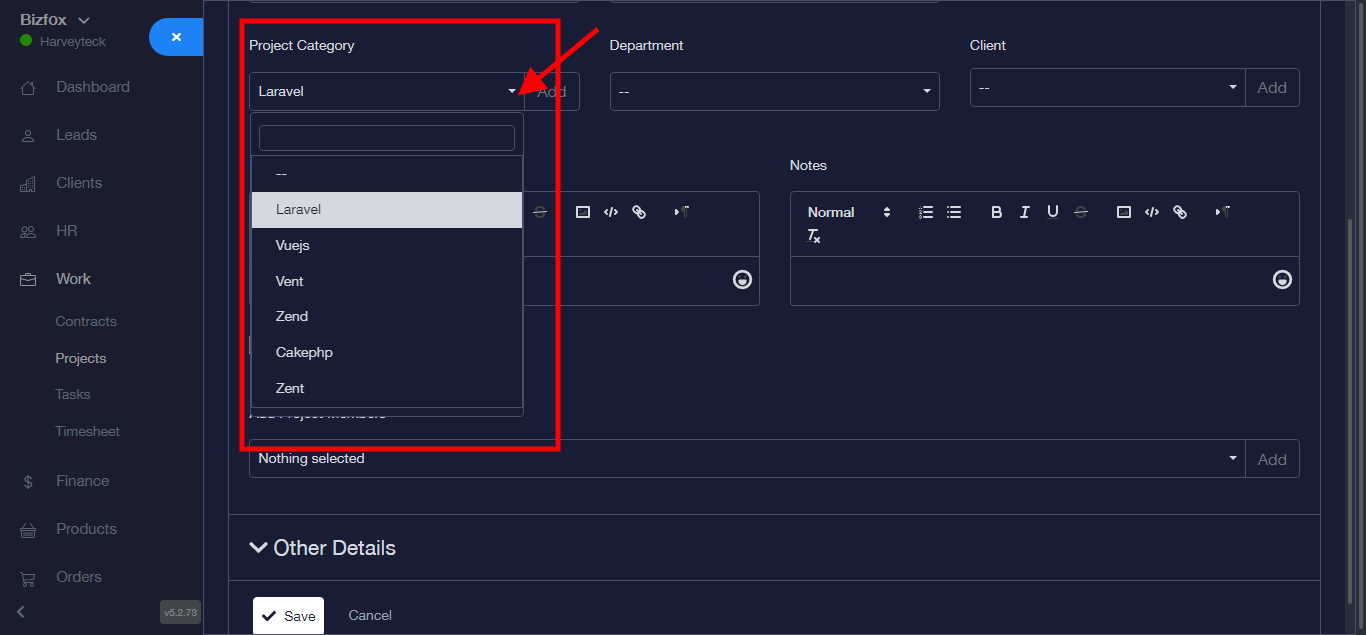
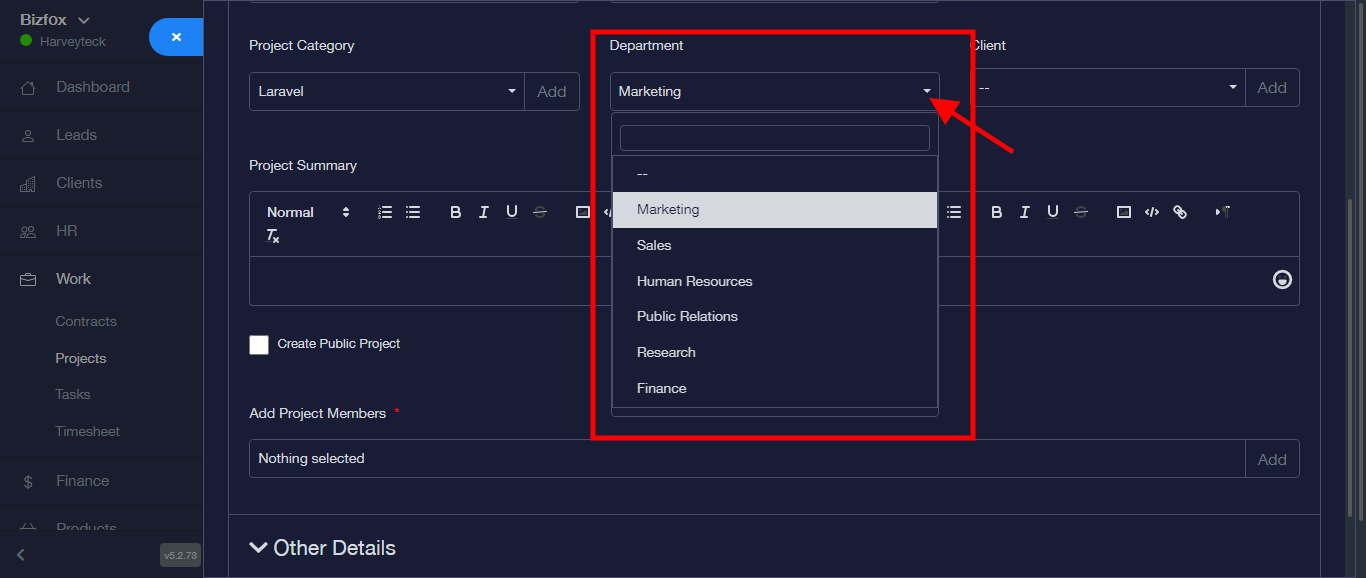
Step 7: Enter Department
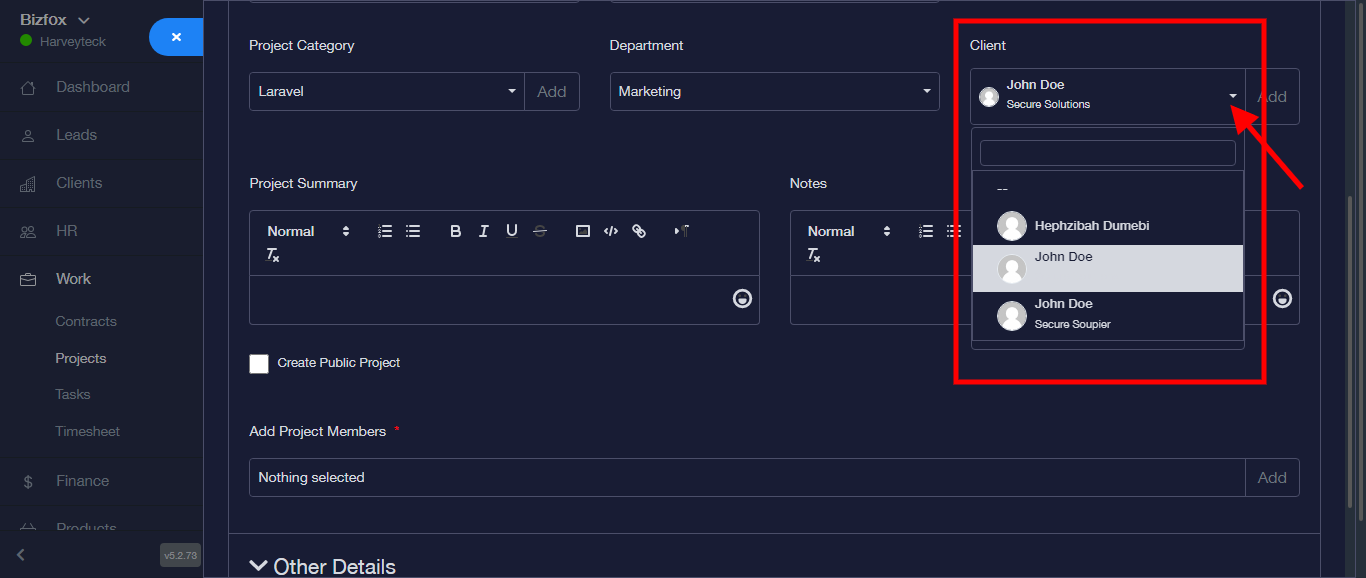
Step 8: Choose Client from the dropdown
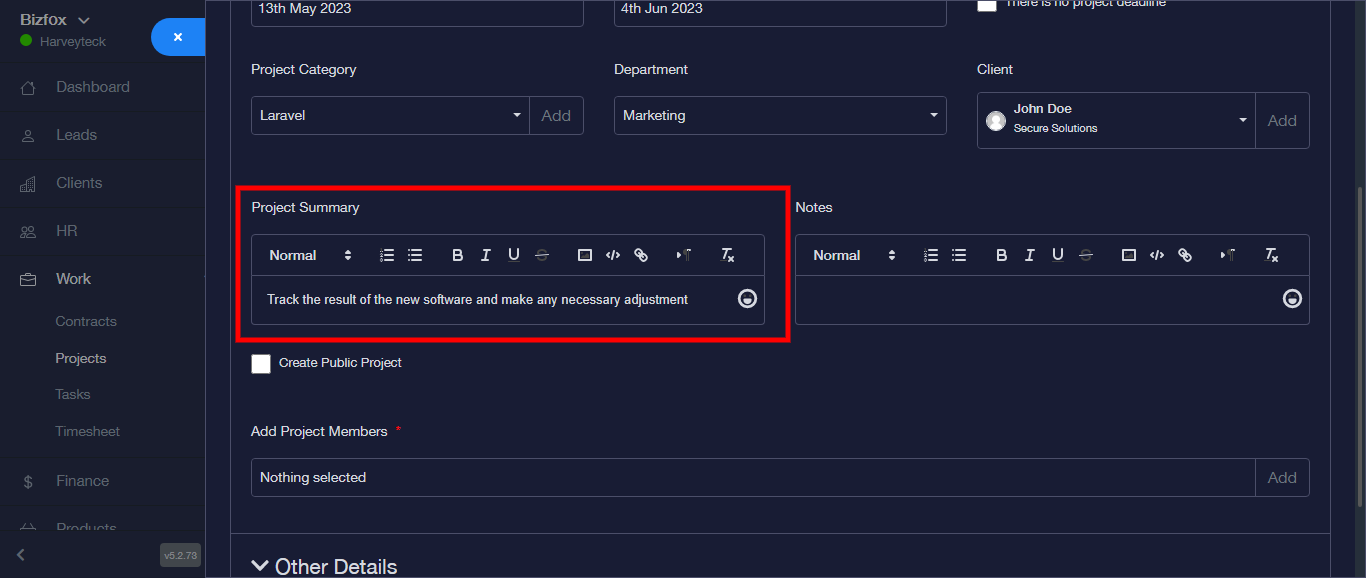
Step 9: Enter project summary
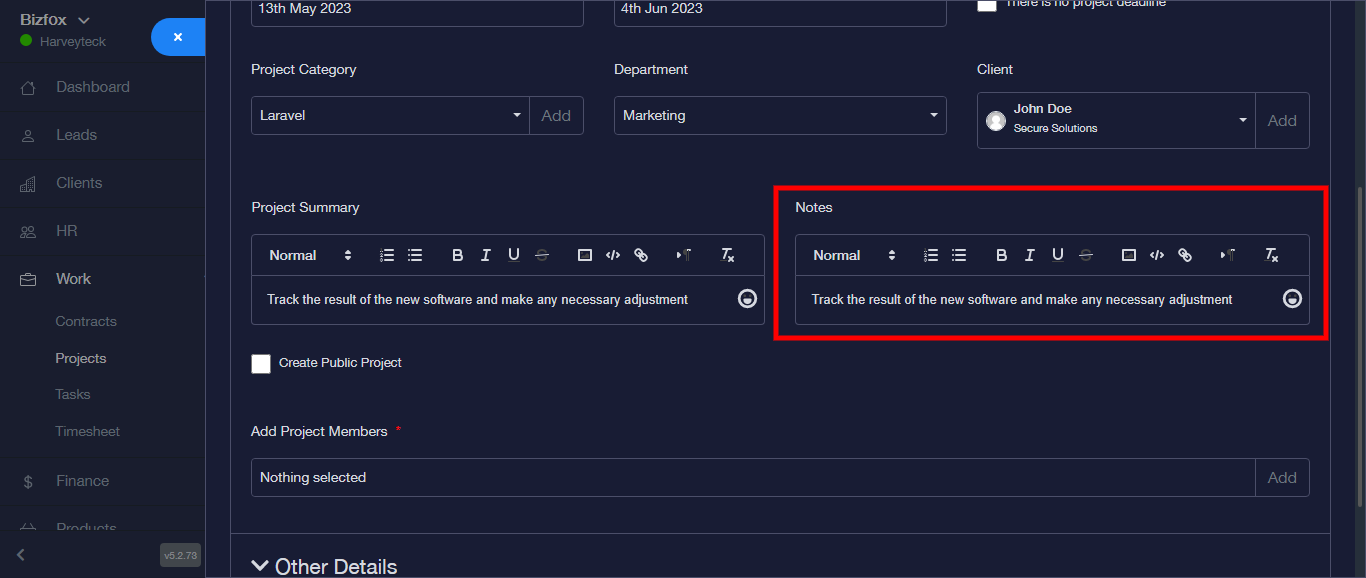
Step 10: Enter Note
Step 11: Add “Project Members”

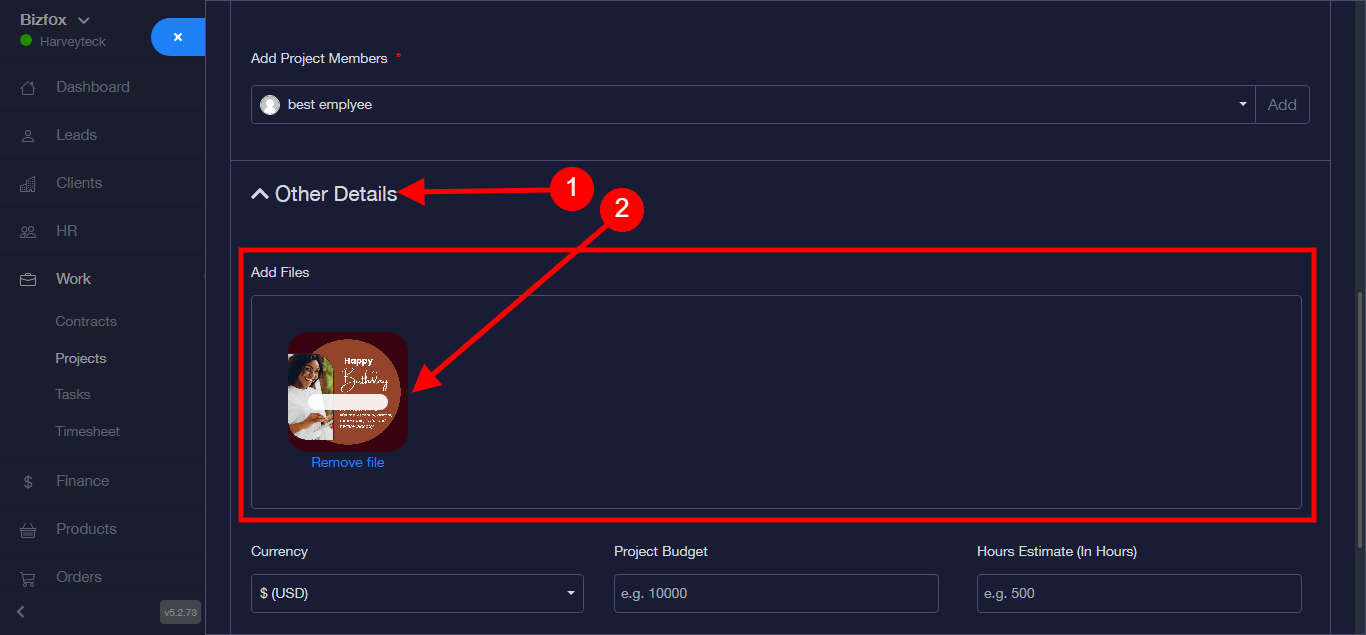
Step 12: Click on “Other Details” to add other details. “Add File”
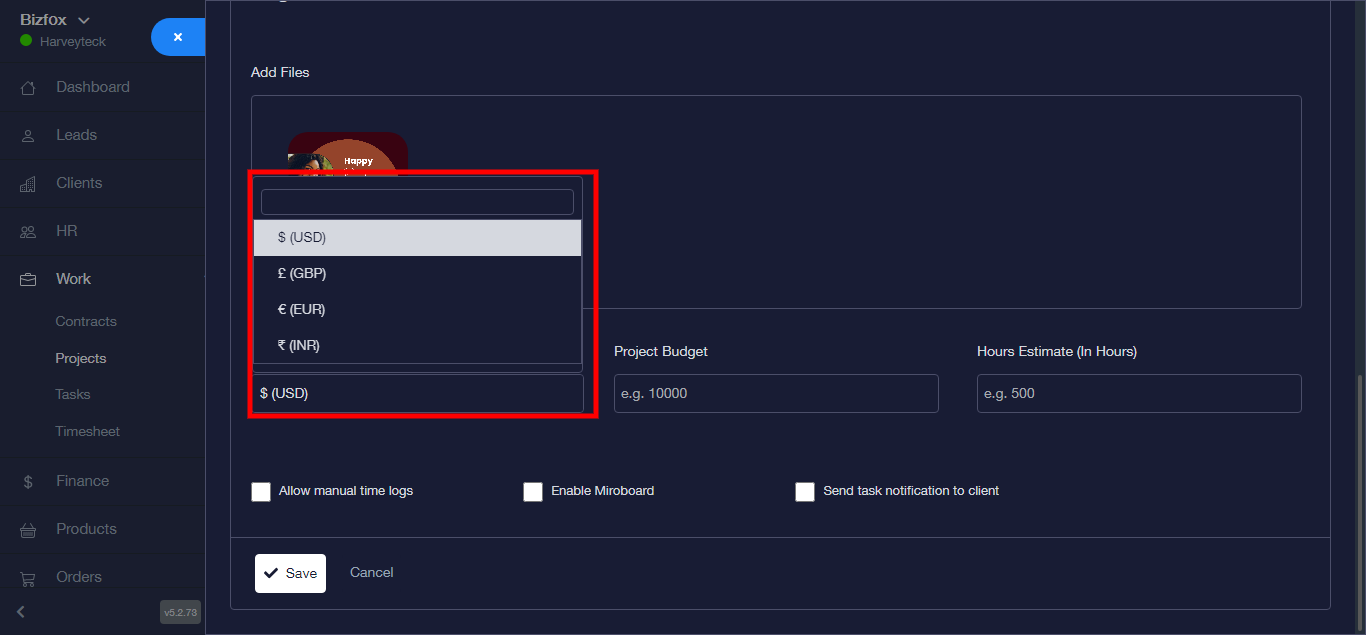
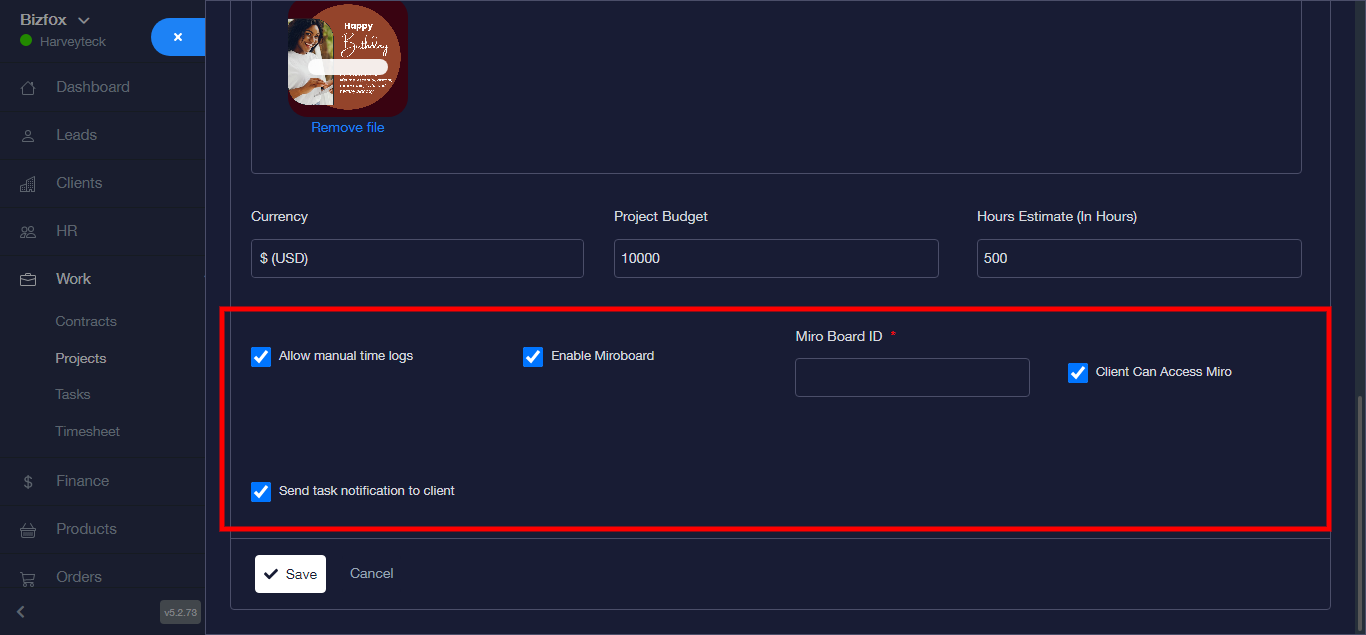
Step 13: Add Currency
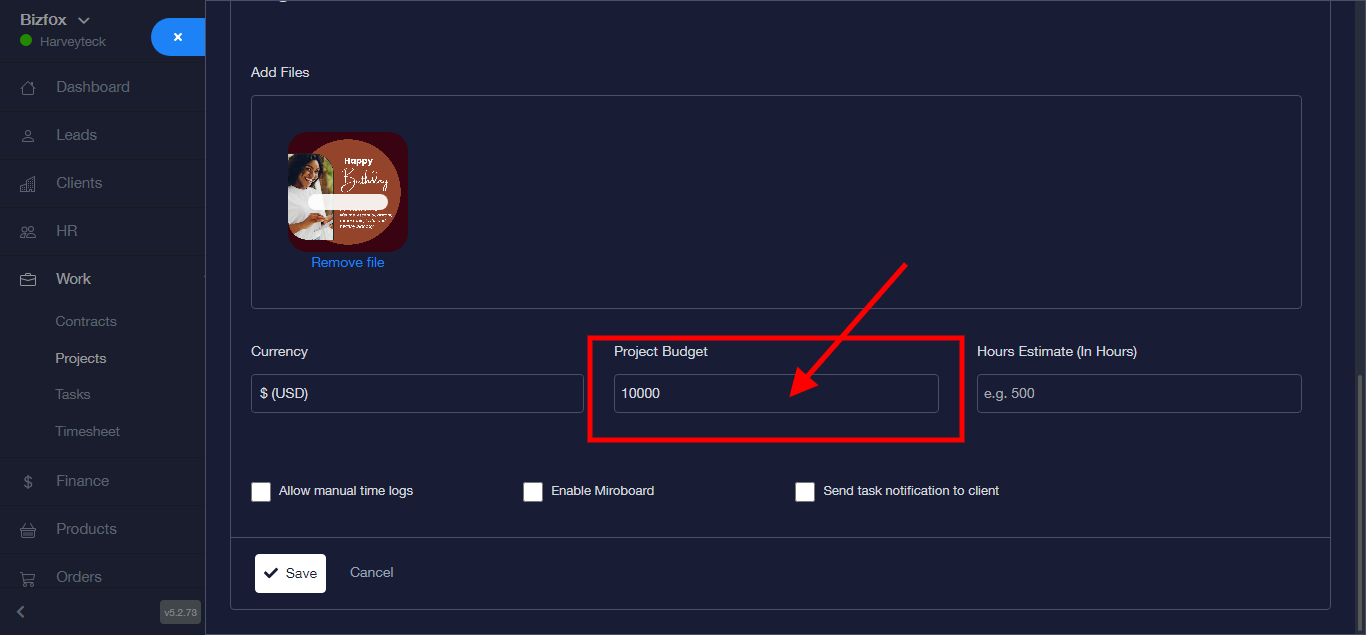
Step 14: Enter Project budget
Step 15: Enter Estimated Hour
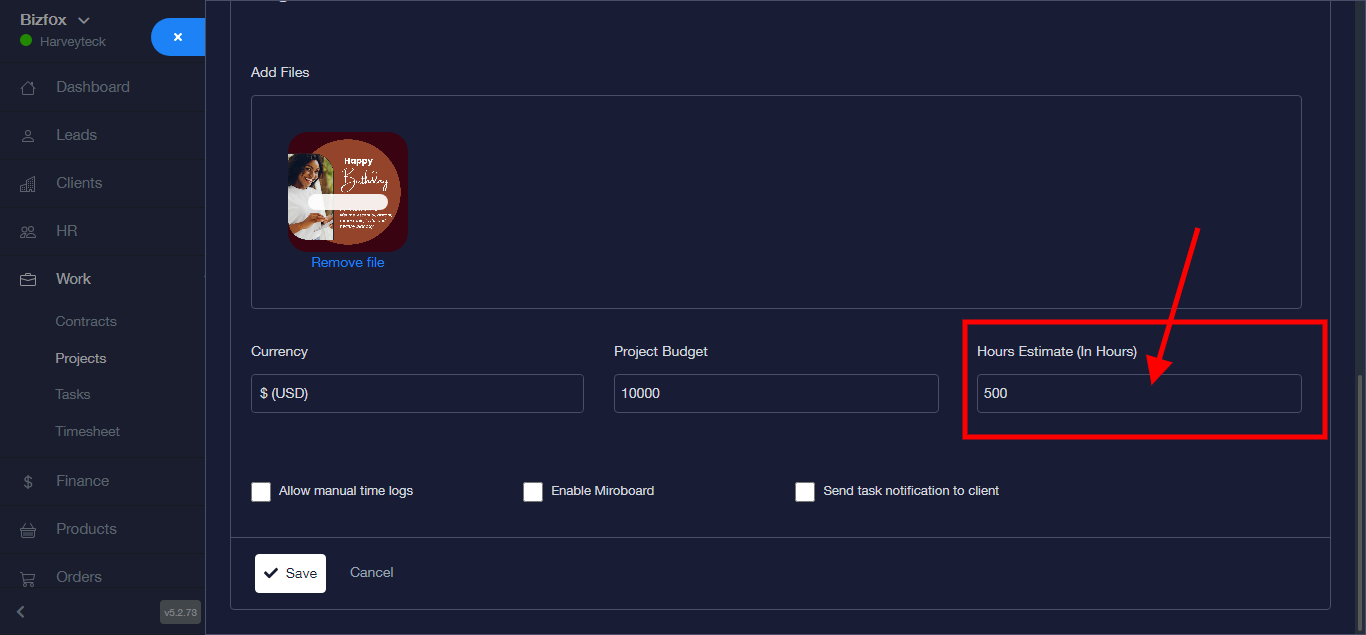
Step 16: Thick Preferred boxes
Step 17: Click on “SAVE” to save project.
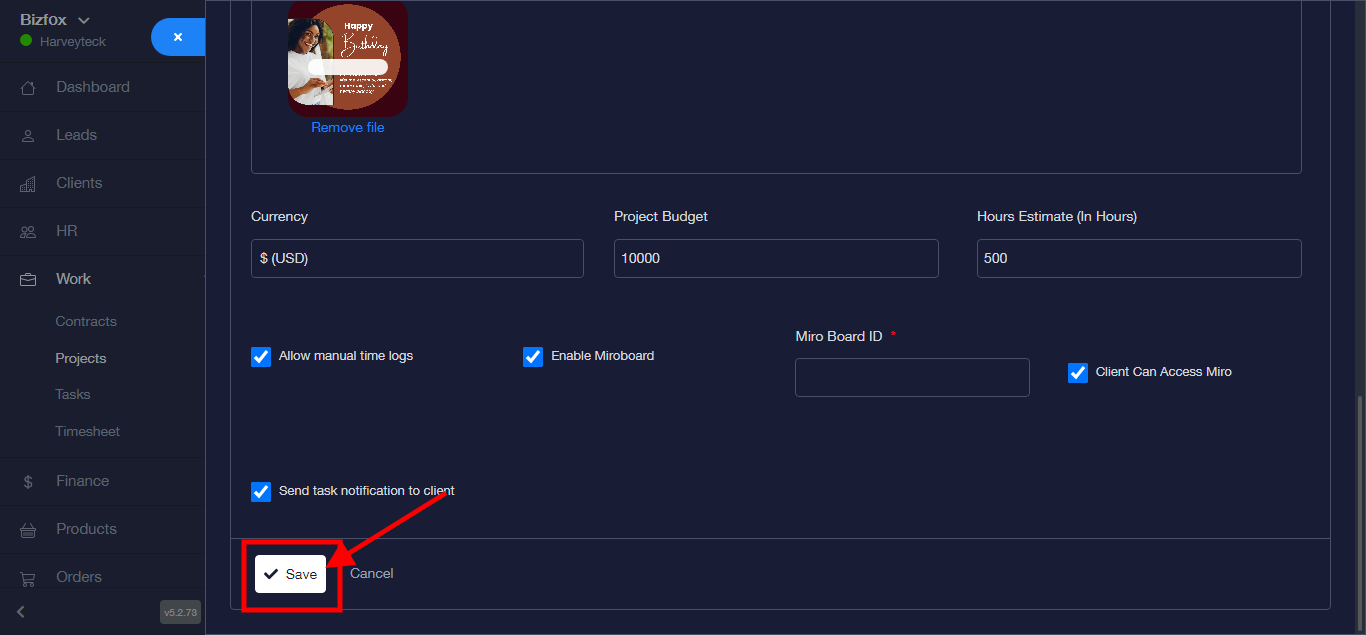
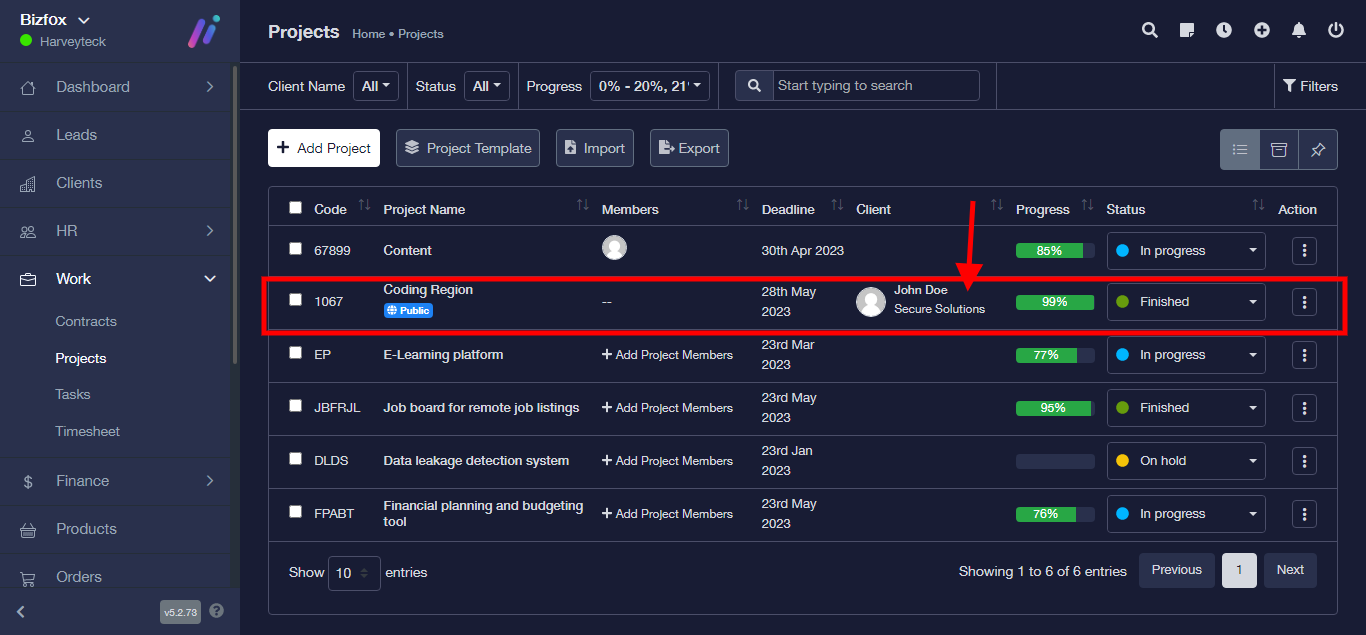
Project saved.