
You can create, edit, export or delete an Employee as well as view Employee list on iCeleraite business manager dashboard by simply following the steps below;
Getting Started On Creating Employee
Log in to your iCeleraite Business Manager account.
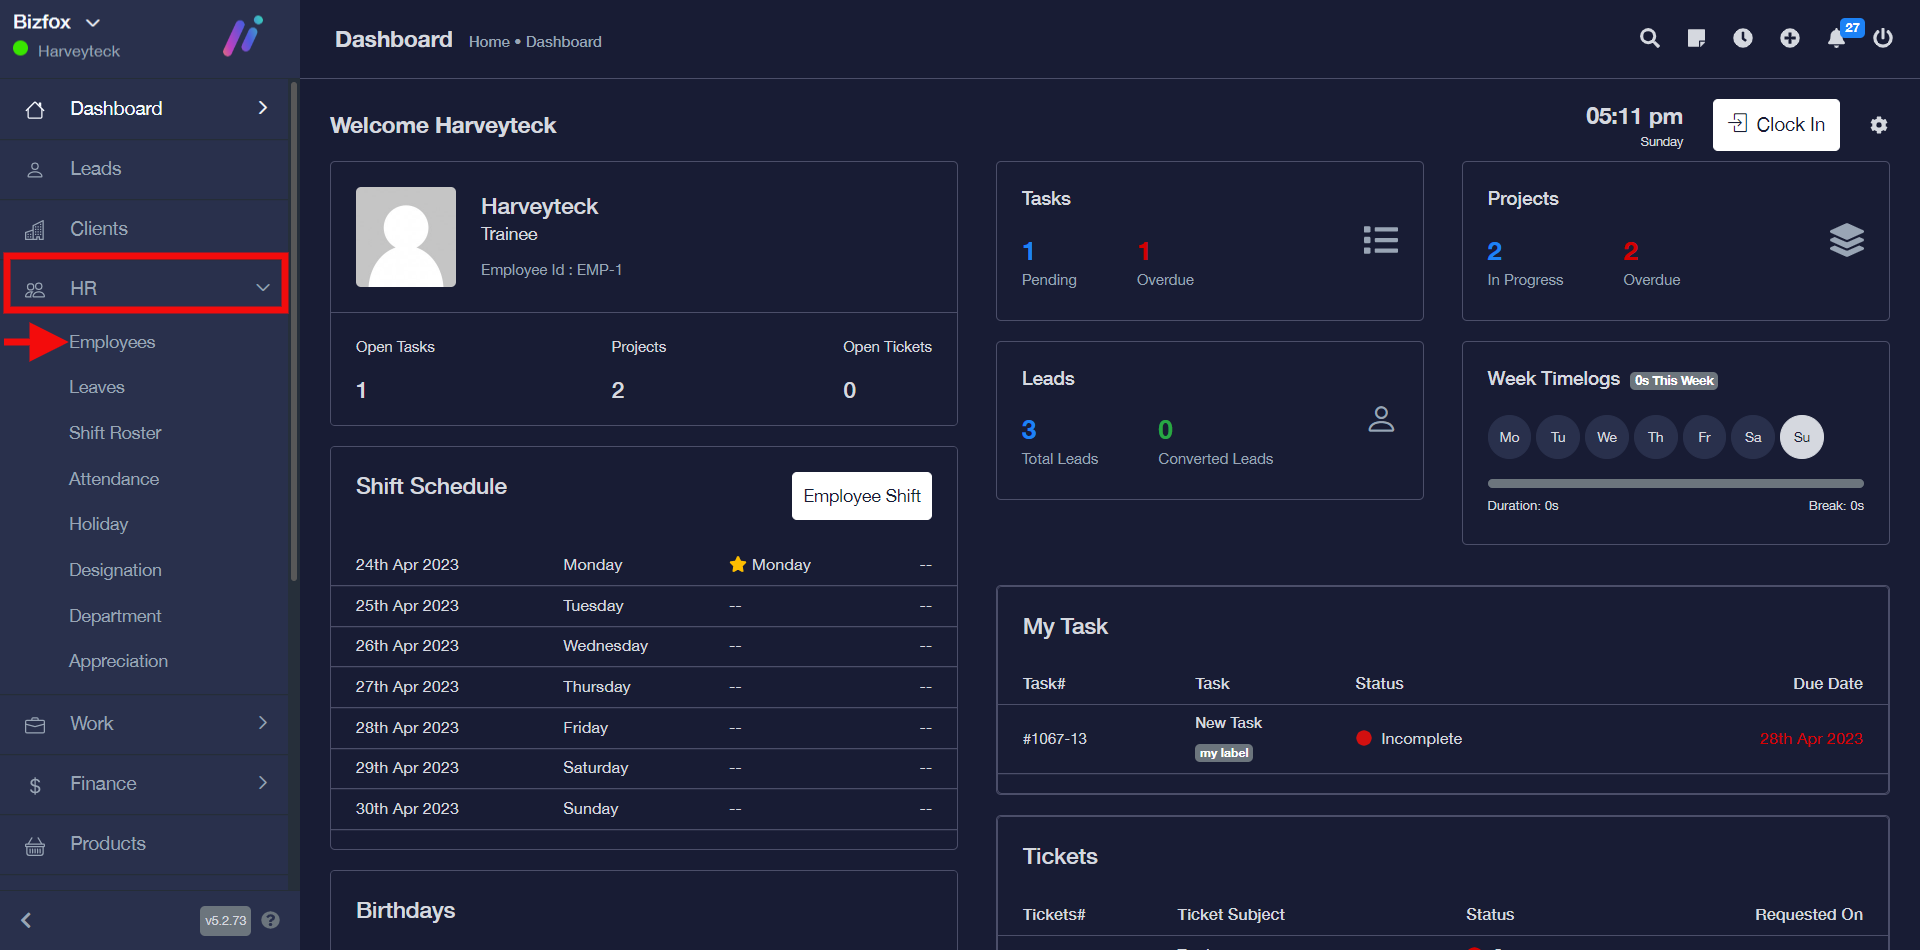
STEP 1: In the left-hand menu, click on “HR” and in the dropdown go ahead to click on “Employees” as shown in the screenshot below;
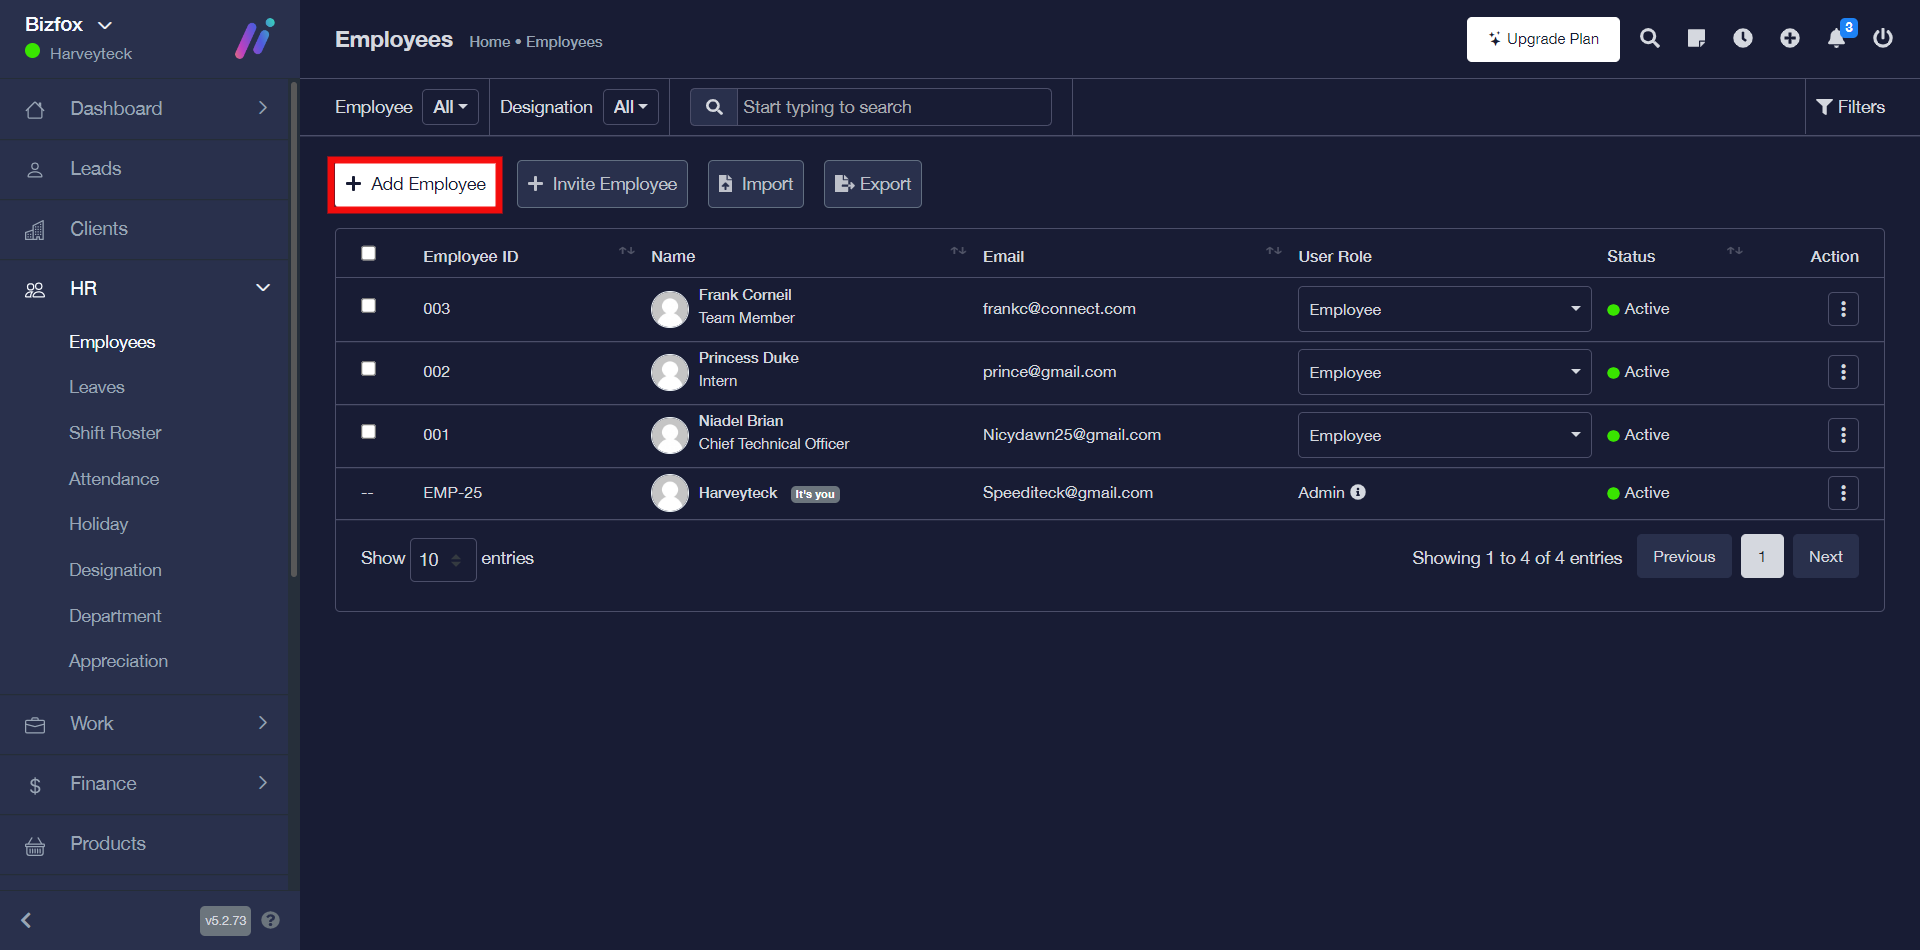
STEP 2: You can create an employee by either clicking on the “add employee” button or the “plus icon” in the top bar and then clicking on the add employee option in the drop-down.
OR
![]()
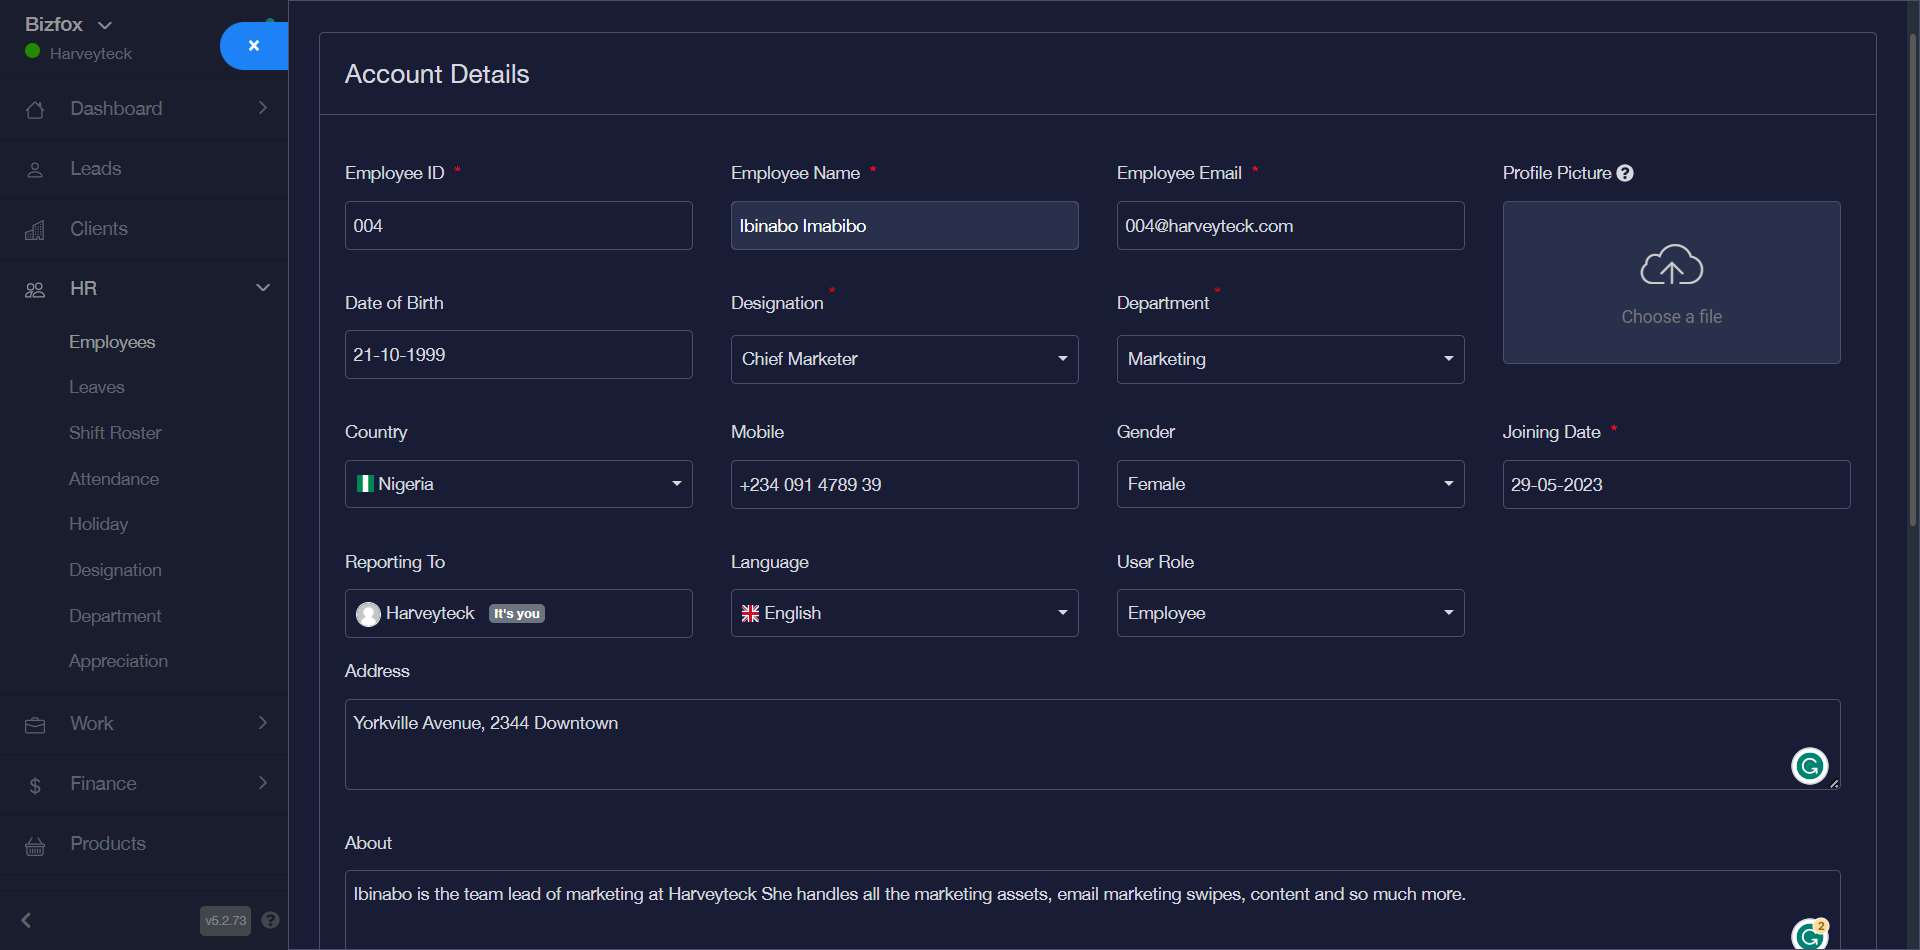
STEP 3: The next thing you will see is a window where you can enter the employee’s account details.

As seen in the screenshot below, I have entered details in all the respective fields for the employee’s account.
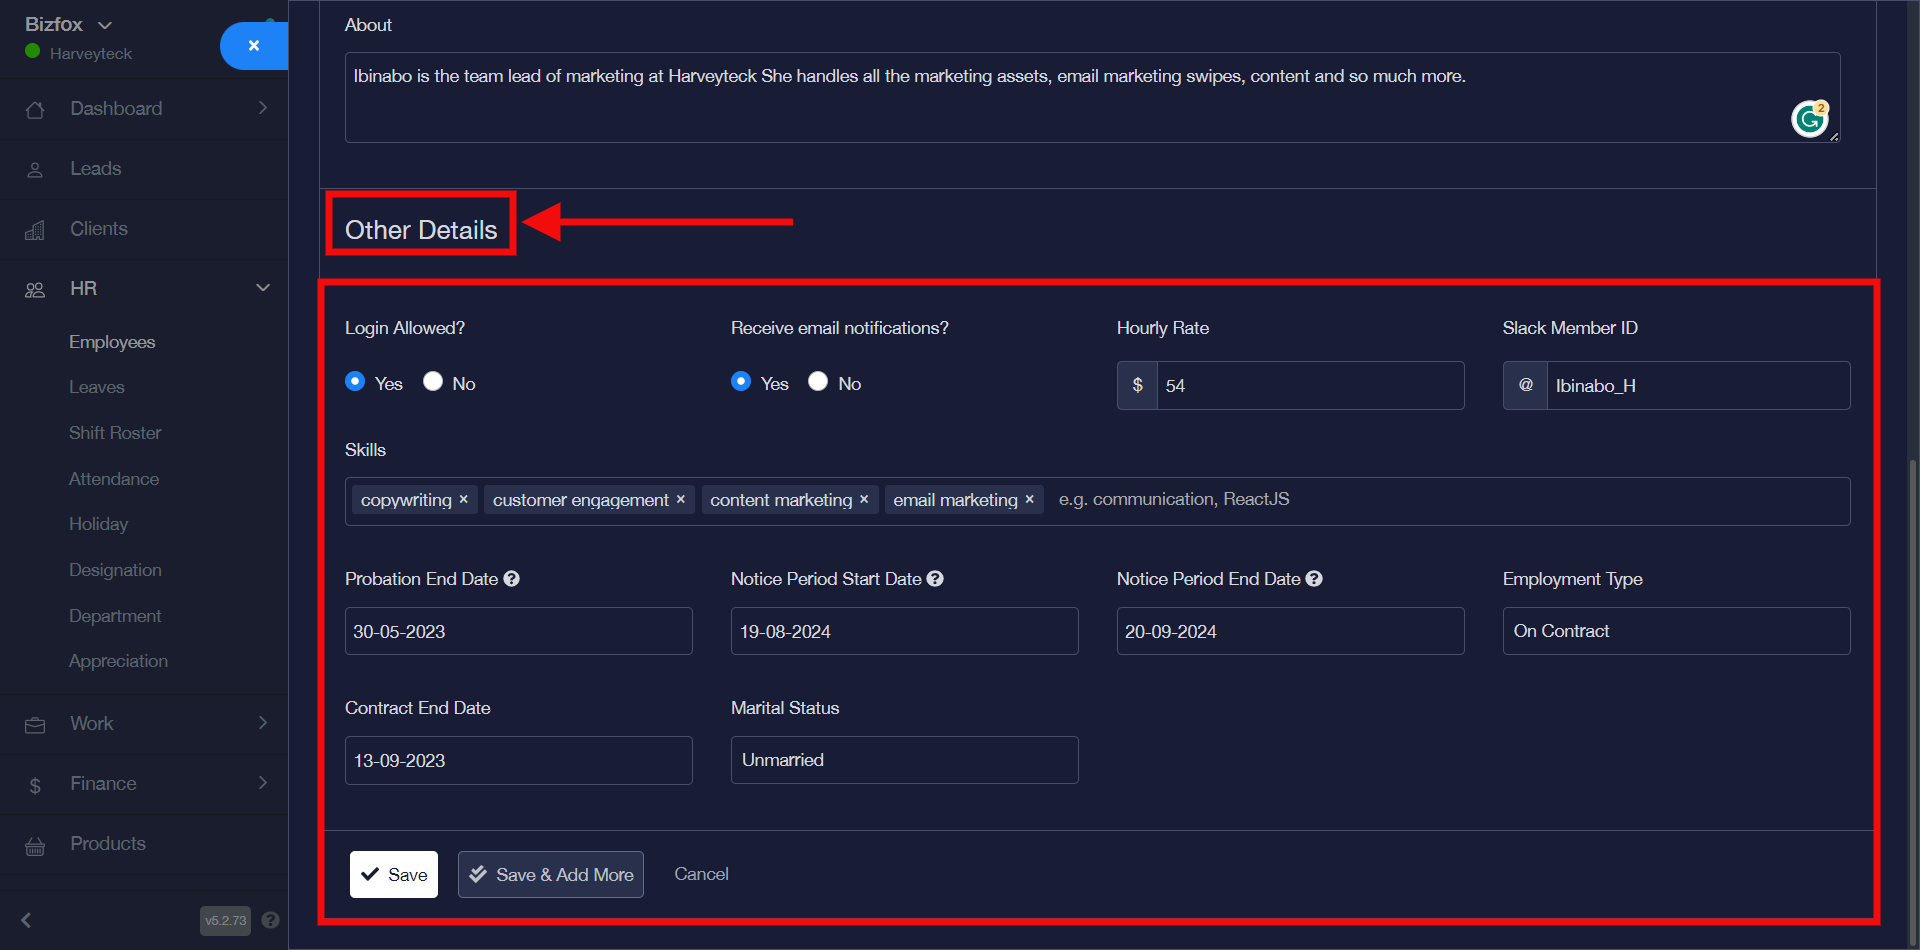
STEP 4: After entering all the “account details” as shown in the screenshot above, scroll down and go ahead to enter the respective details that are most suitable for the other details, then you can go ahead to either save, save and add more perhaps you want to enter another employee’s details or cancel.
How To Edit Employee Details
You can edit employee details by simply following the instructions below;
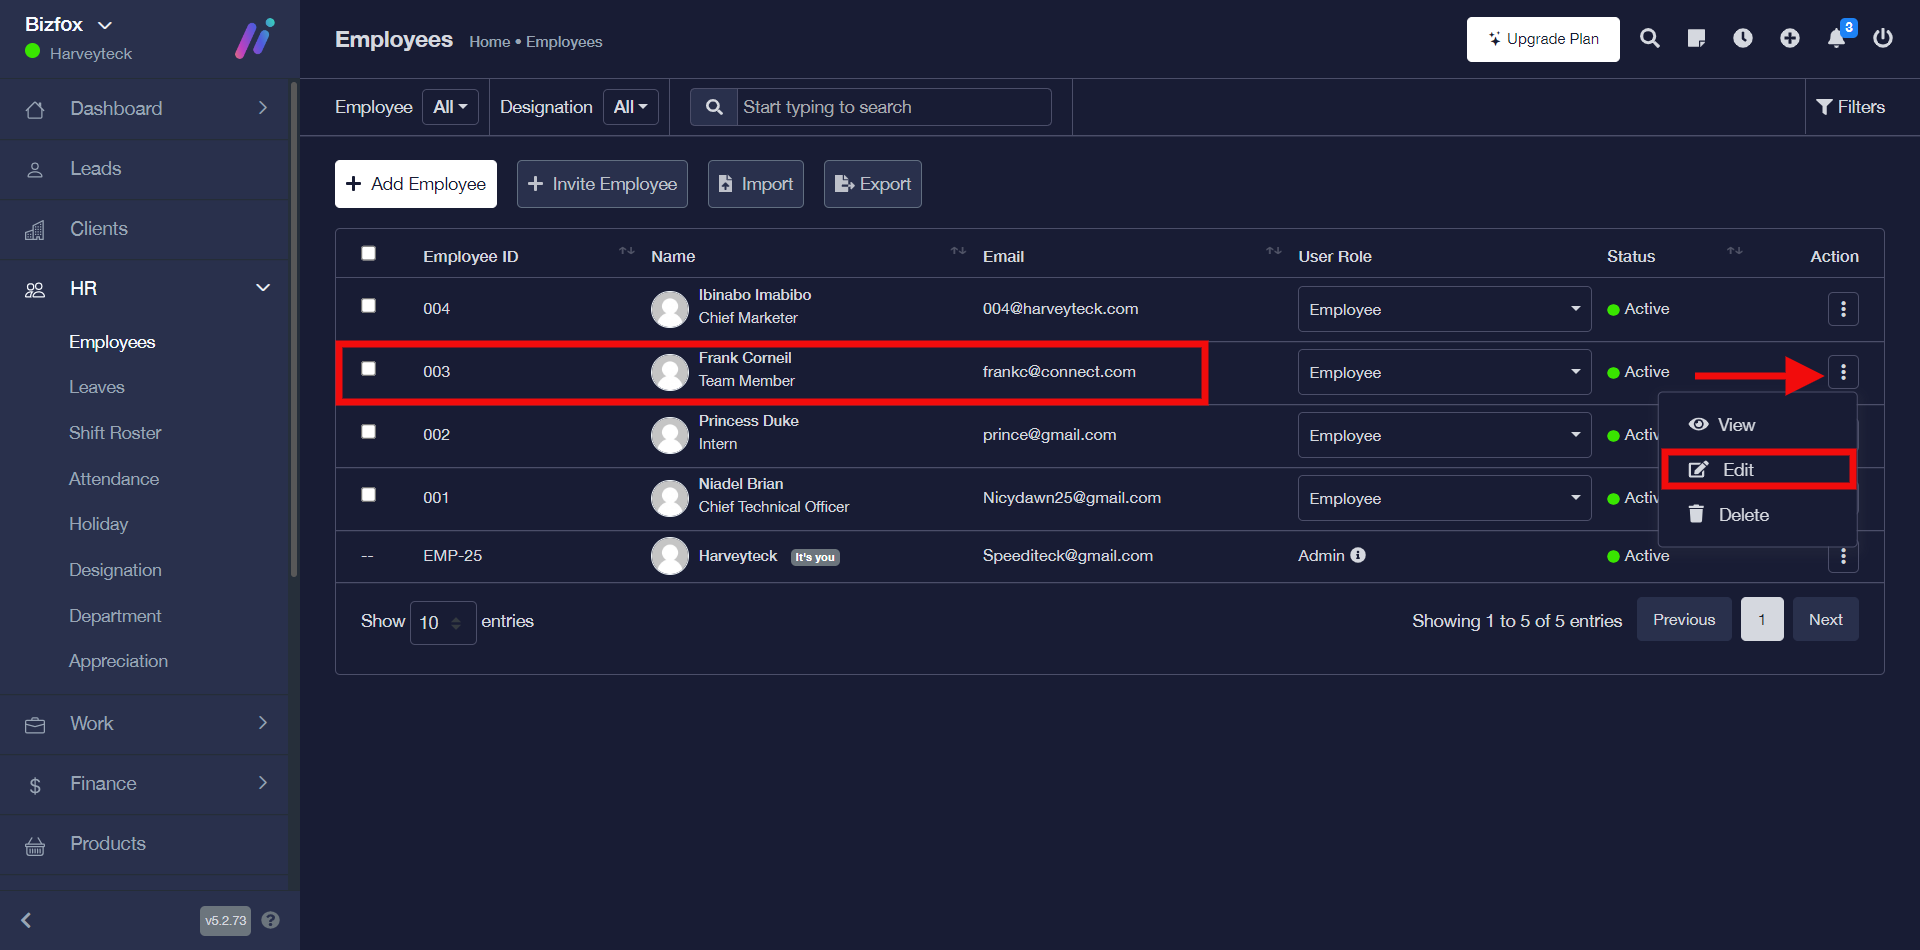
STEP 1: To edit employee details, click on the “triple dot action button” on the particular employee record you would like to make changes to then go ahead to click “edit” in the drop-down
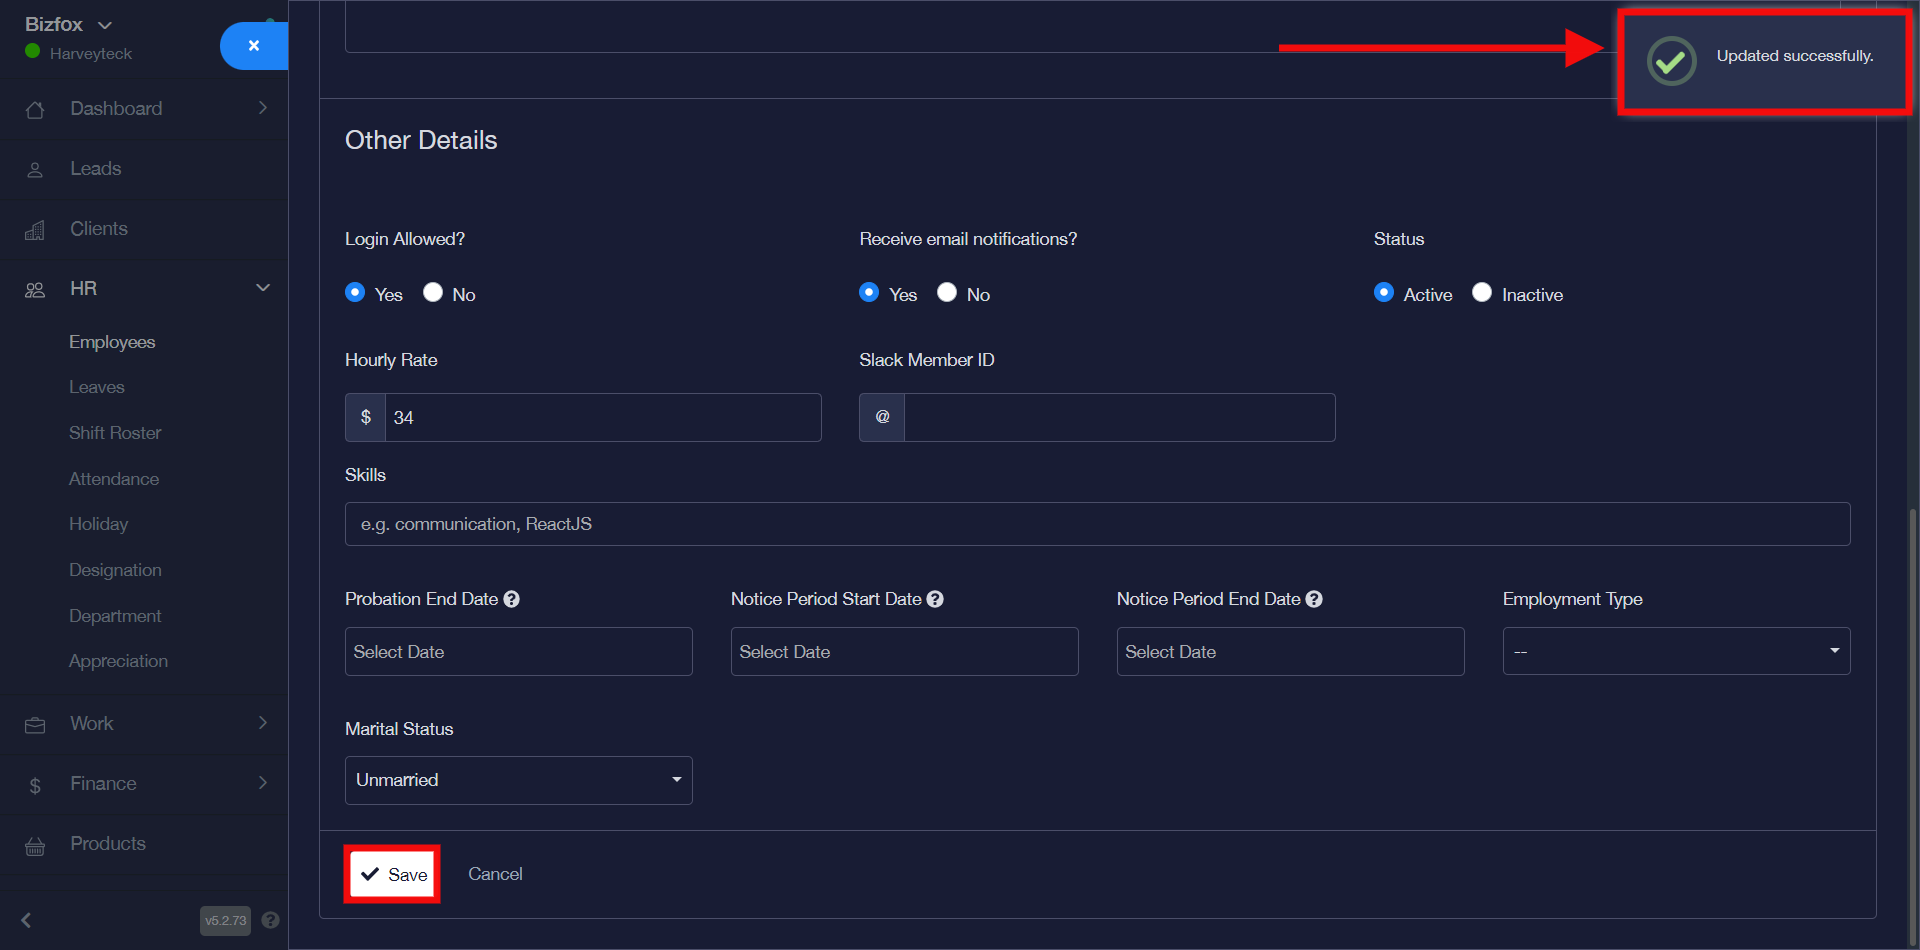
STEP 2: Once you’ve made all your desired changes, you can go ahead to click on the “save” button
How To Delete Employee Details
You can delete employee details by simply following the instructions below;
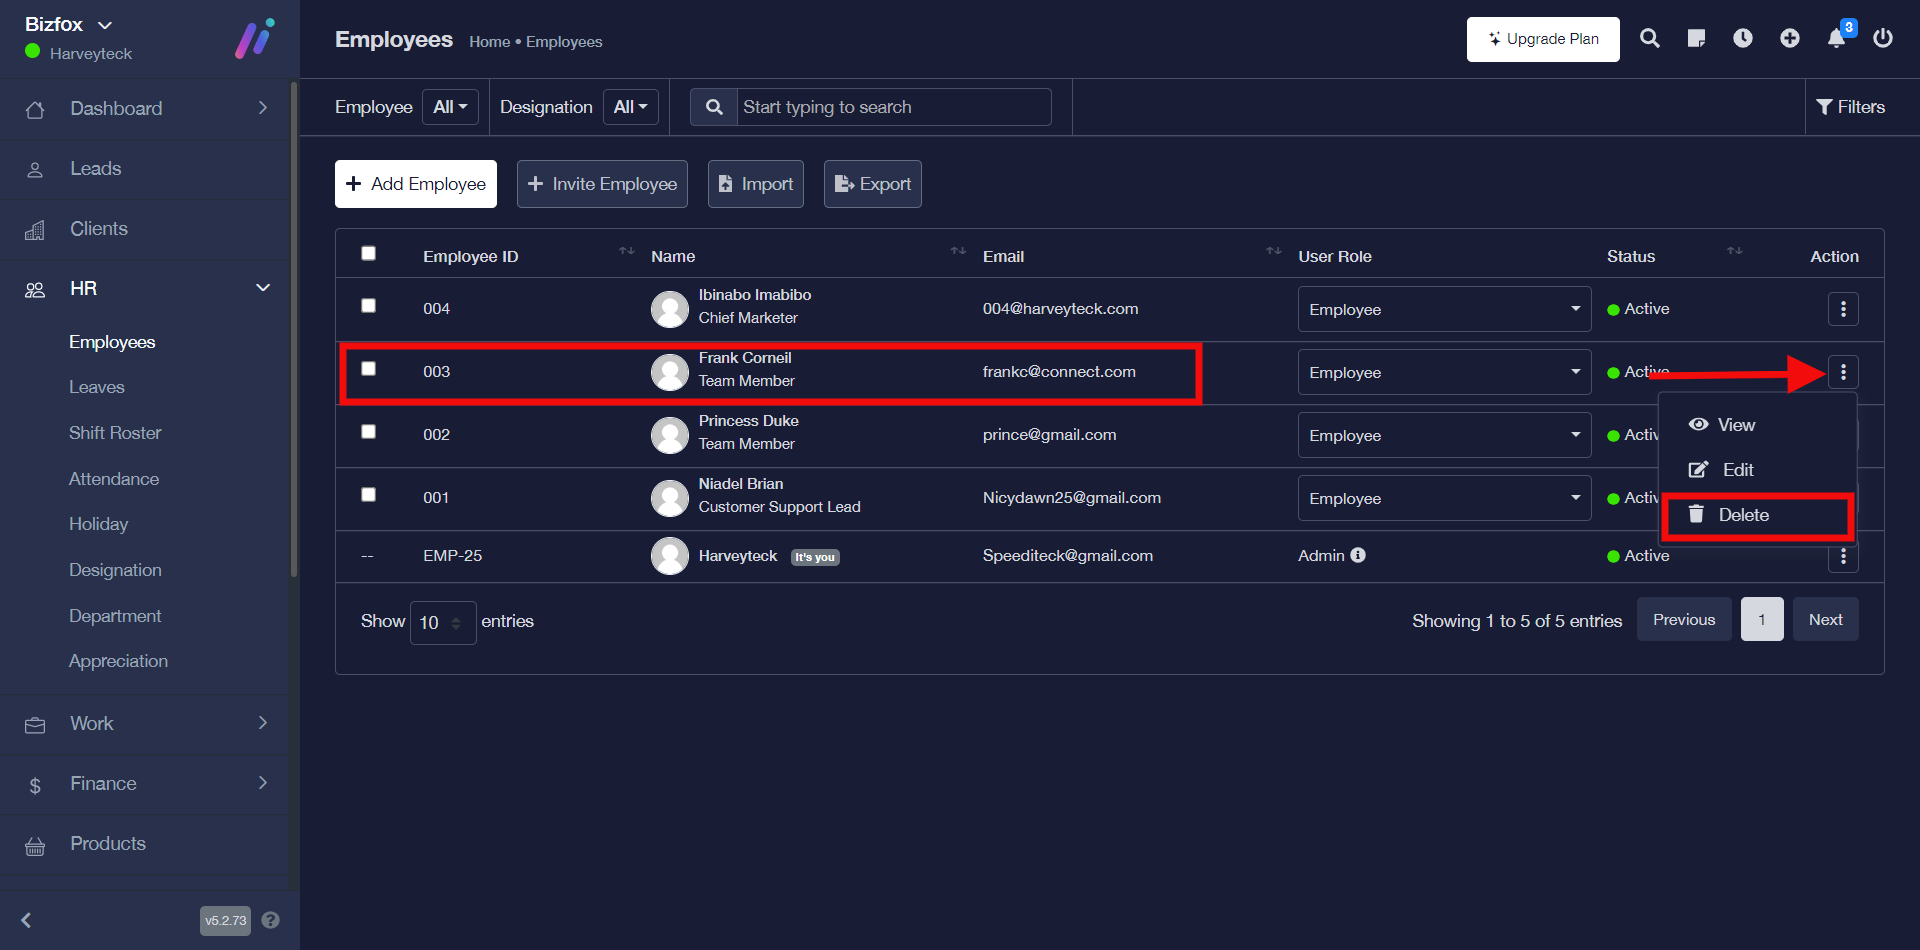
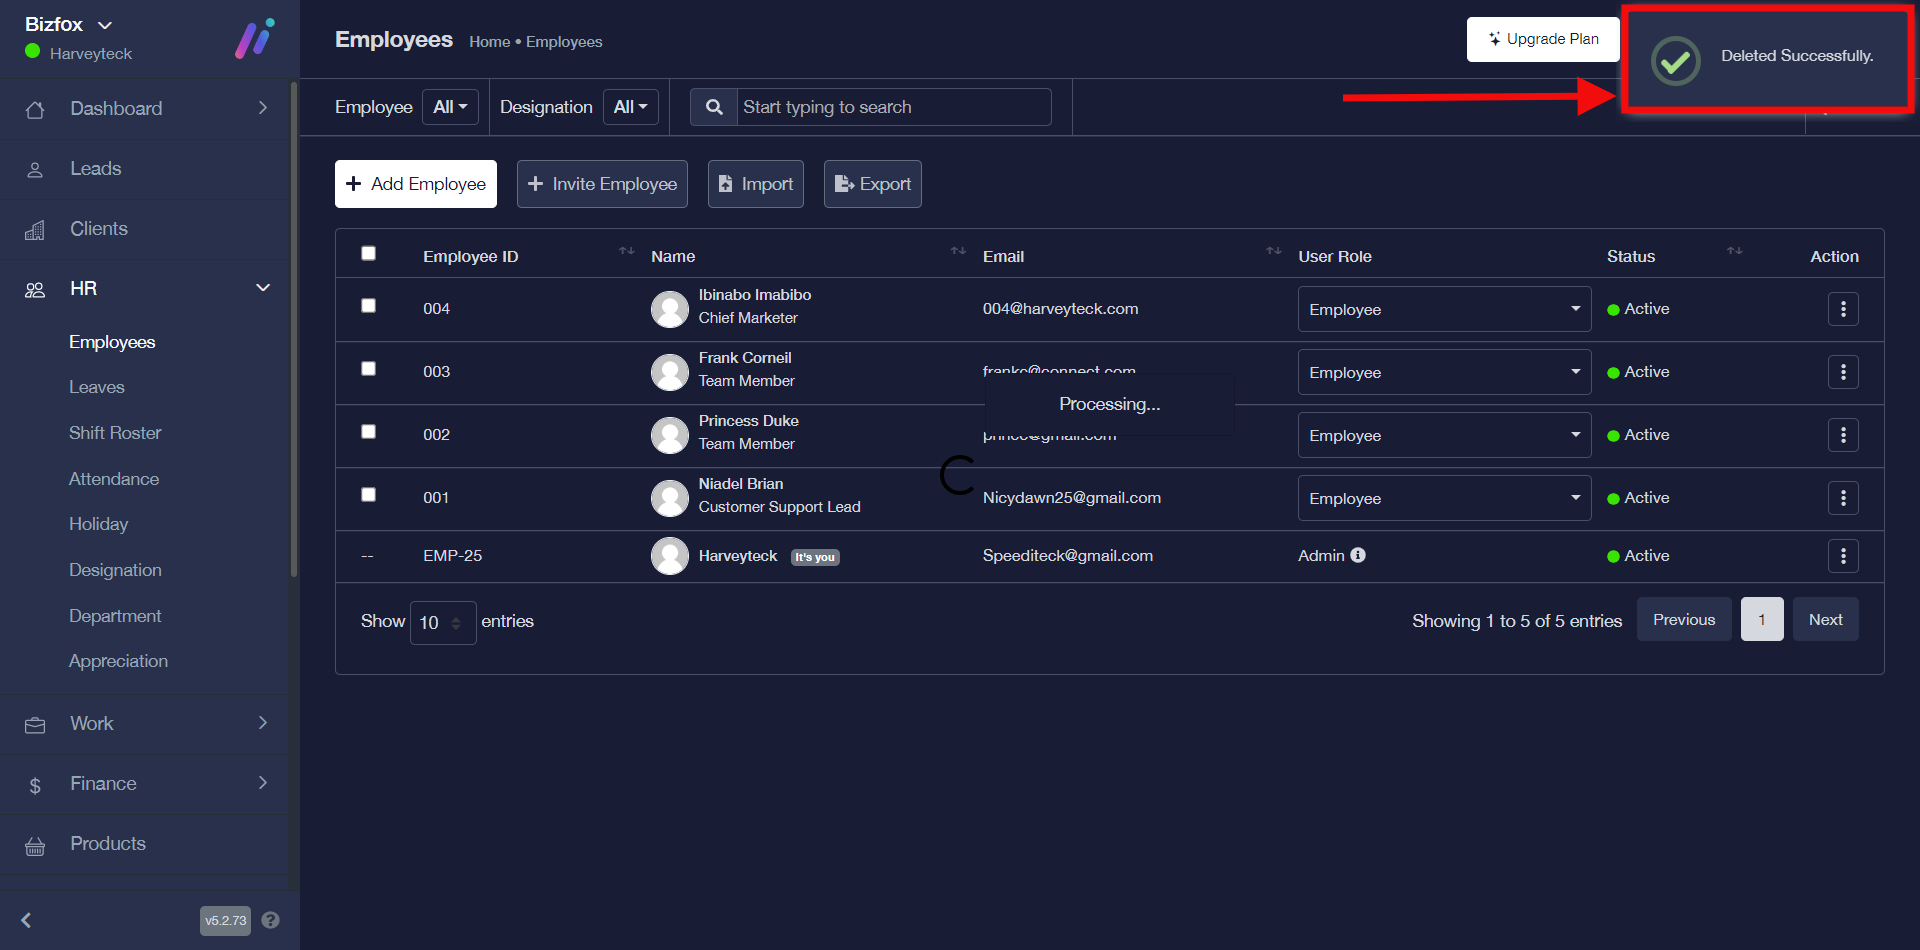
STEP 1: To delete employee details, click on the “triple dot action button” on the particular employee record you would like to remove then go ahead to click “delete” in the drop-down
STEP 2: Go ahead to click either the “Yes, Delete It” button for confirmation or the “Cancel” button perhaps you no longer want to remove the employee.
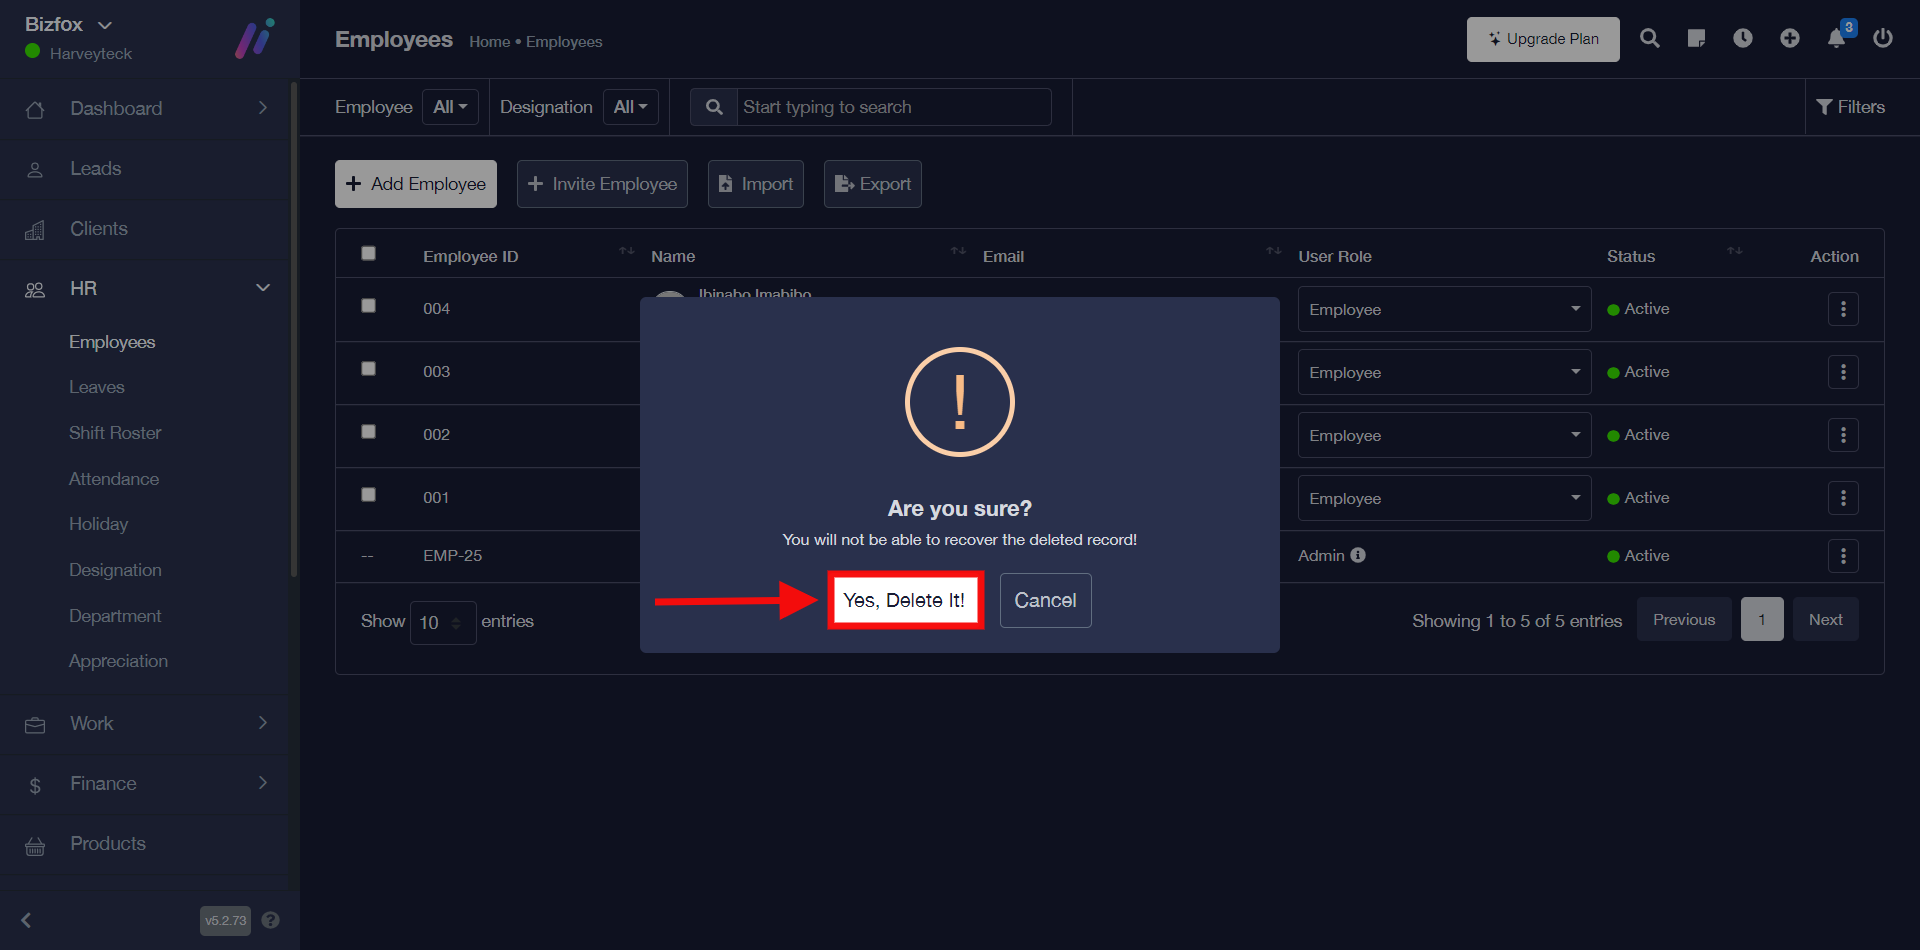
Note: You will see a pop-up stating that the record has been deleted successfully.
How To View Employee List
You can view employee list by simply following the instructions below;
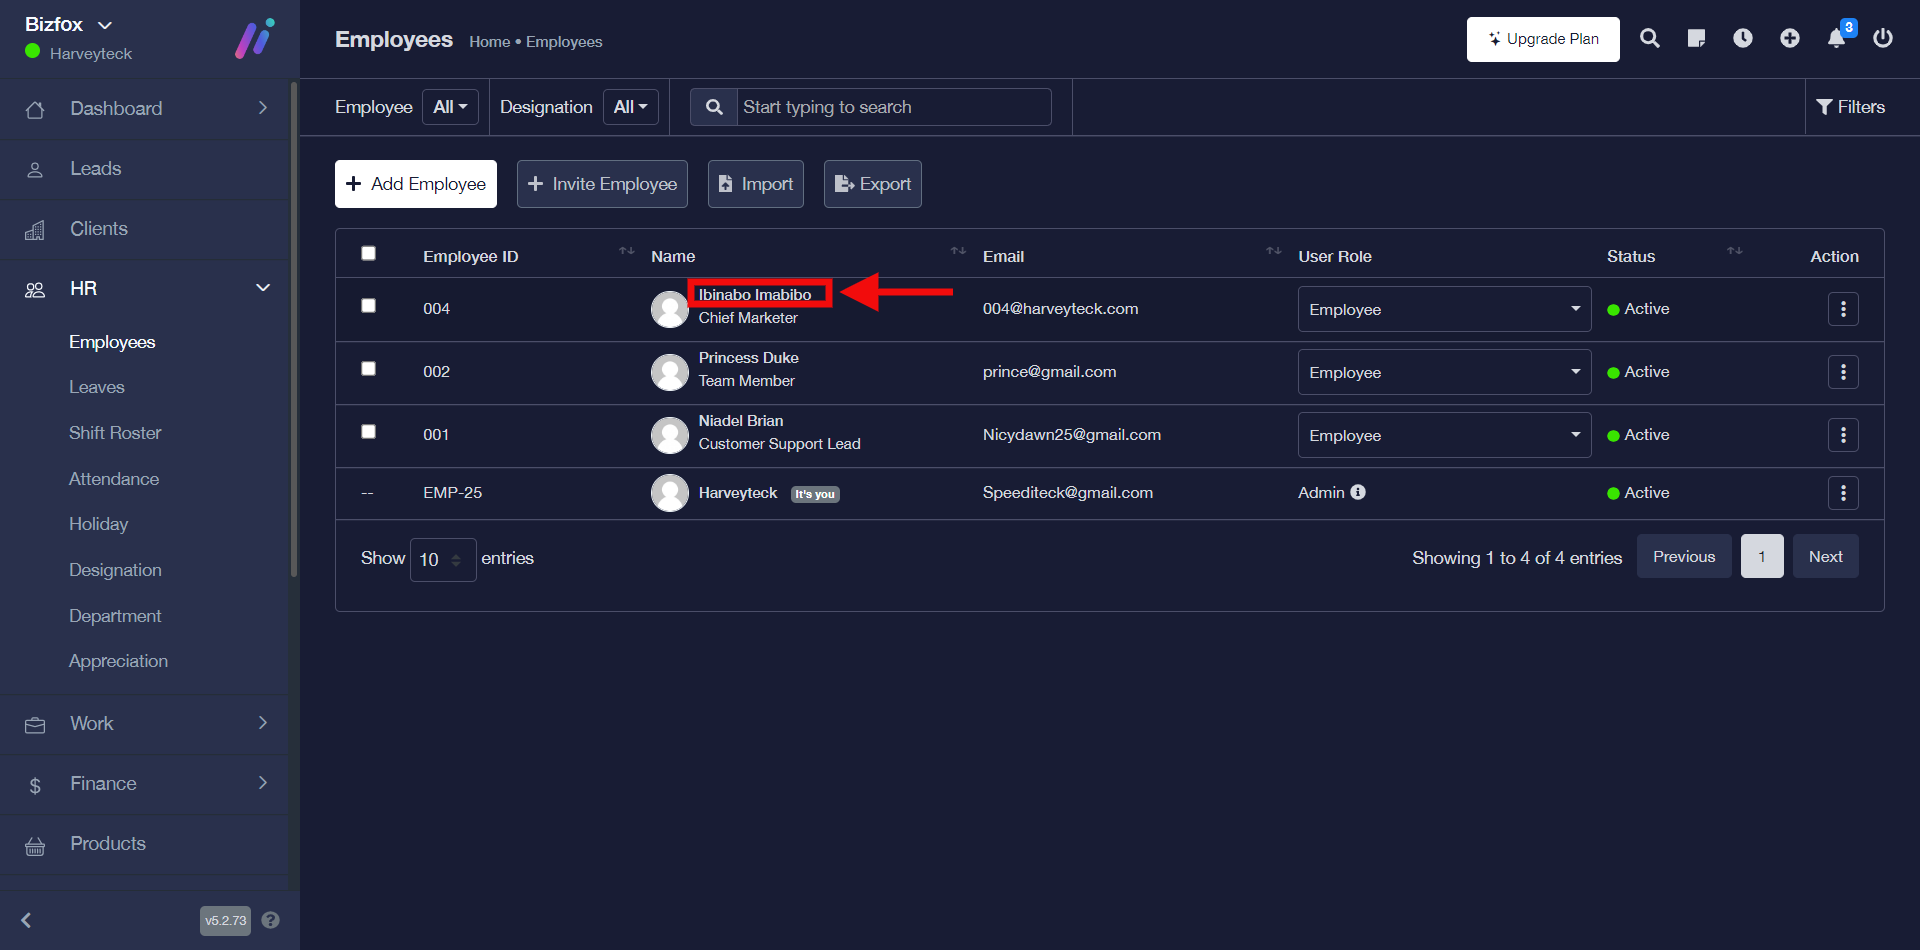
STEP 1: In order to view employee list, you can either click on the “employee’s name” you would like to view his/her details or click on the “triple dot action button” on the particular employee record you would like to view then go ahead to click “view” in the drop-down as shown in the screenshots below;
OR

STEP 2: You will see different tabs which include; profile, projects, tasks, leaves, leaves quota, timesheet, documents, emergency contacts, ticket, and appreciation. However, if you click on the “more option” you will see tabs like; shift roaster, permissions, activity, and immigration.
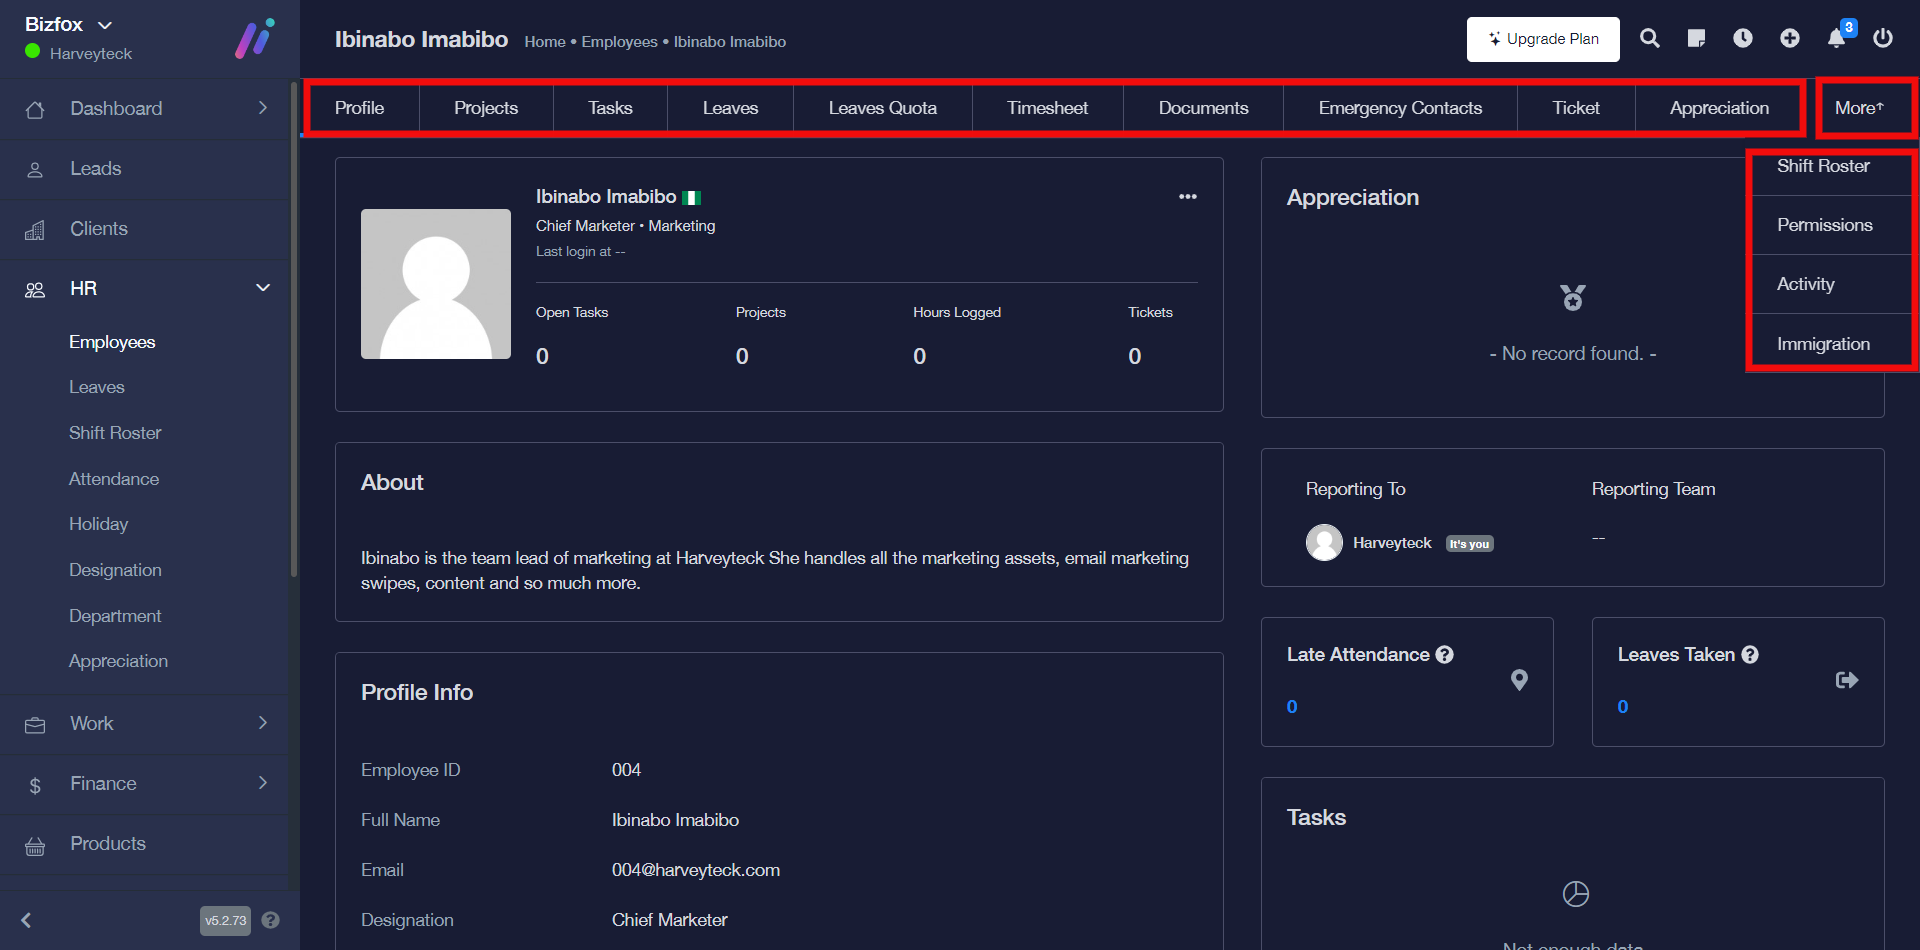
Note: You can go ahead to explore the respective tabs.
How To Export Employee List In Excel Format (xlsx)
You can export employee list by simply following the instructions below;
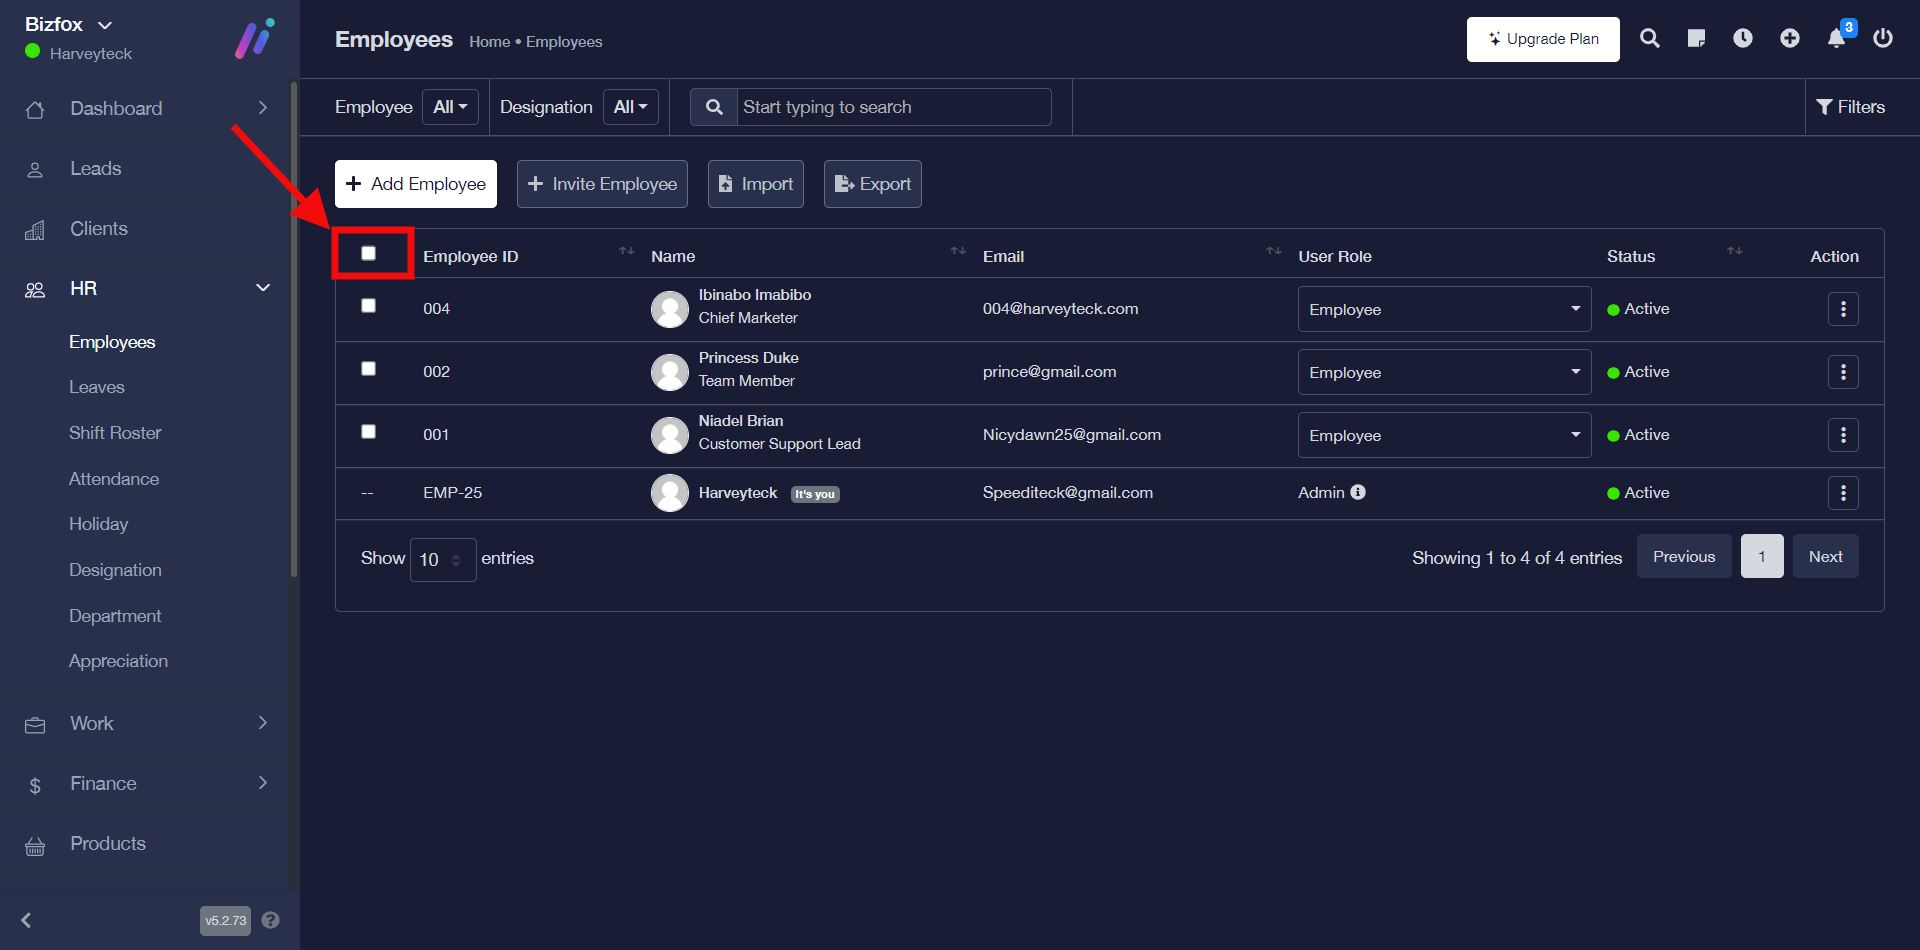
STEP 1: You can decide to either export all your employee details or select preferred one. In order to select all your employees at once you’d have to click on the checkbox where you have the heading tabs as shown in the screenshot below;
OR
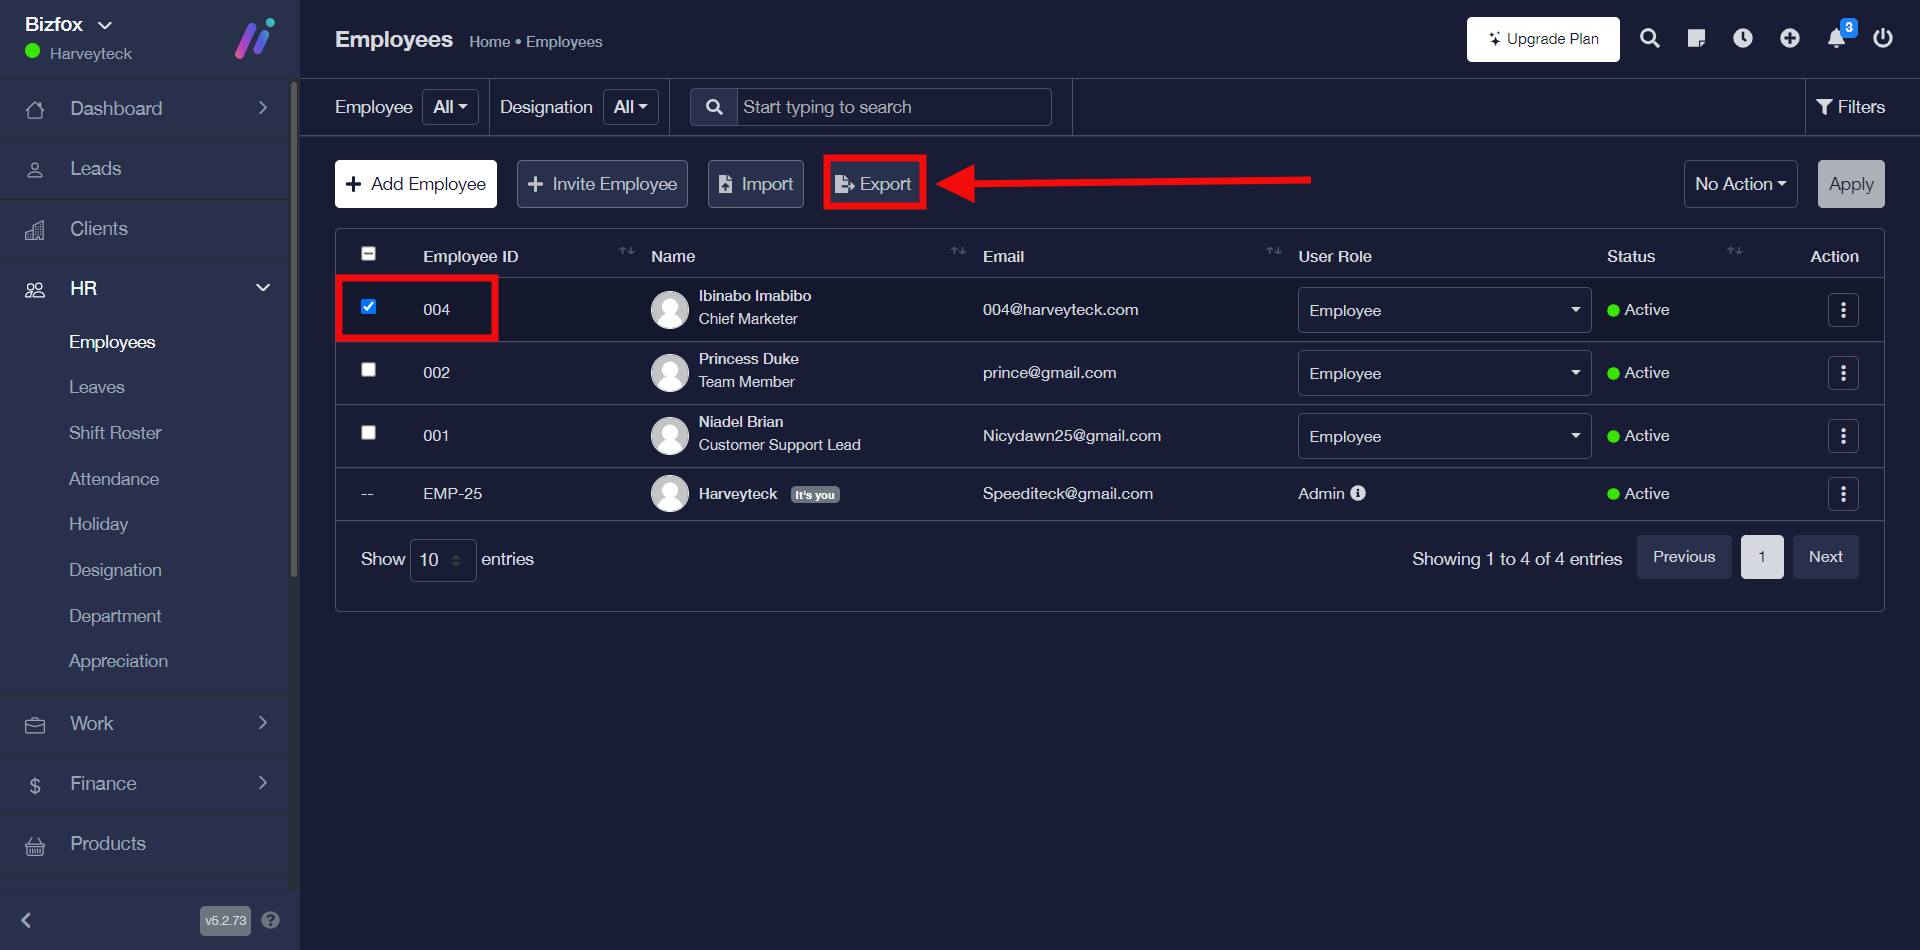
Note: For this tutorial purpose, I selected just one employee detail using the checkbox.
The next thing you have to do after selecting your preferred contact is to click on the “export” button, after which you will get an option to save the xlsx file format on your computer.