
STEP 1: Log in to your iceleraite account.
STEP 2: Click on the “Icon” at the top of you’re dashboard
STEP 3: Click on “Integration” from the drop-down options.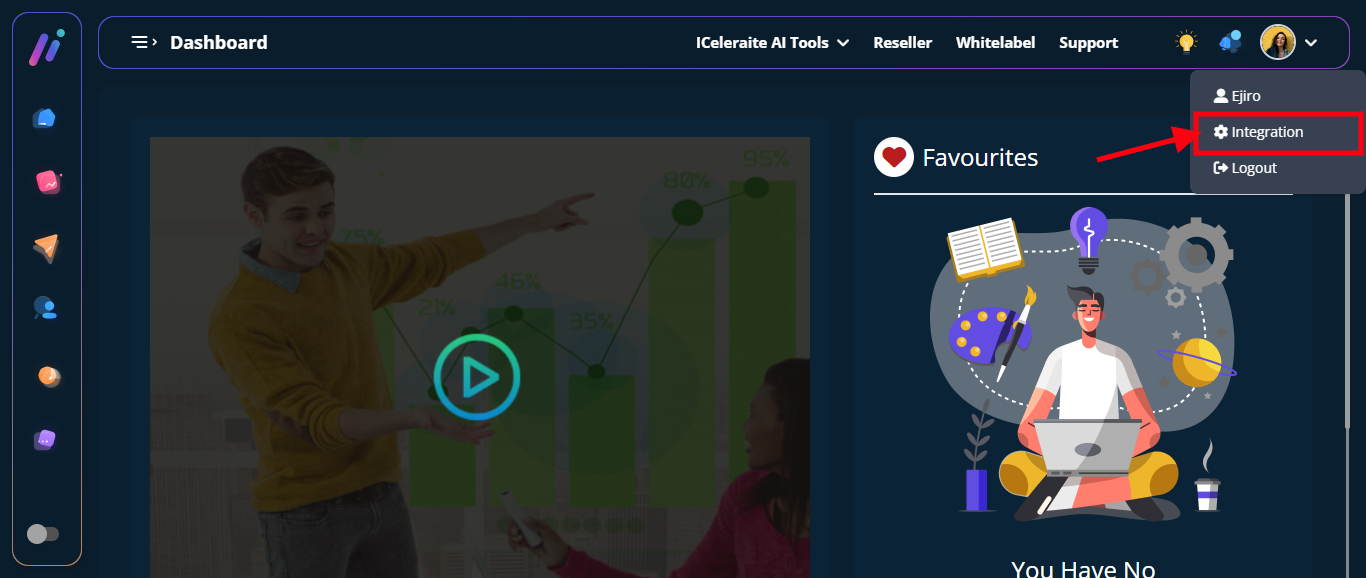
STEP 4: Click on “View Integration”
STEP 5: Click on the “New MS9G1” option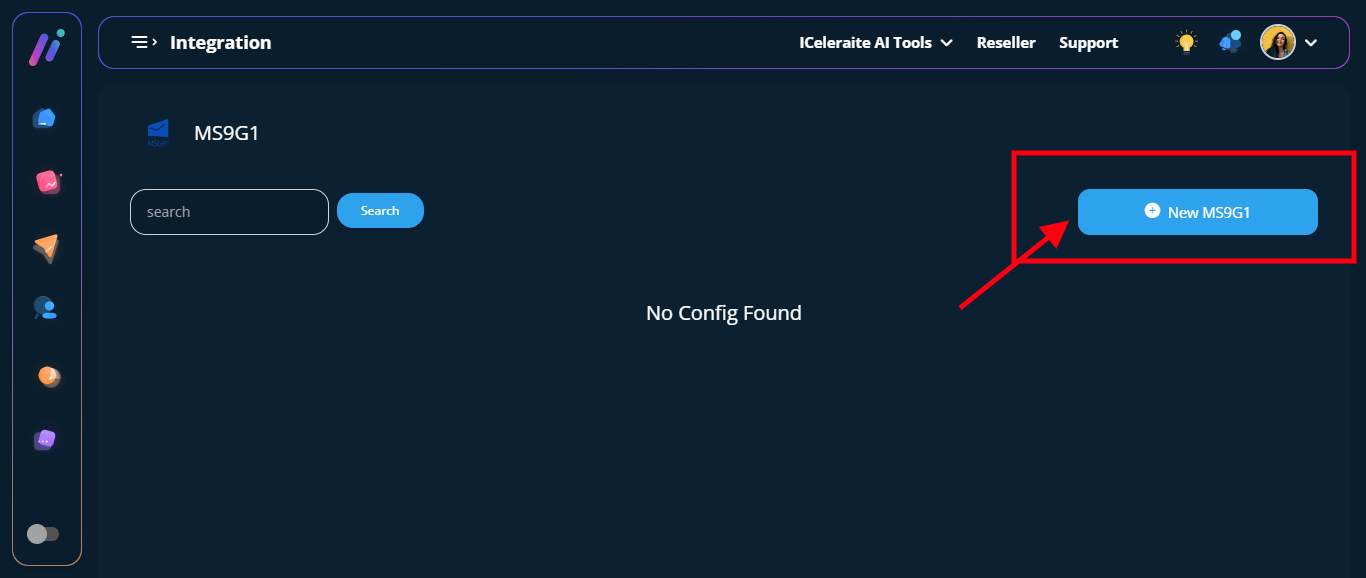
STEP 6: From the option below, enter the new MS9G1 information needed, as shown below.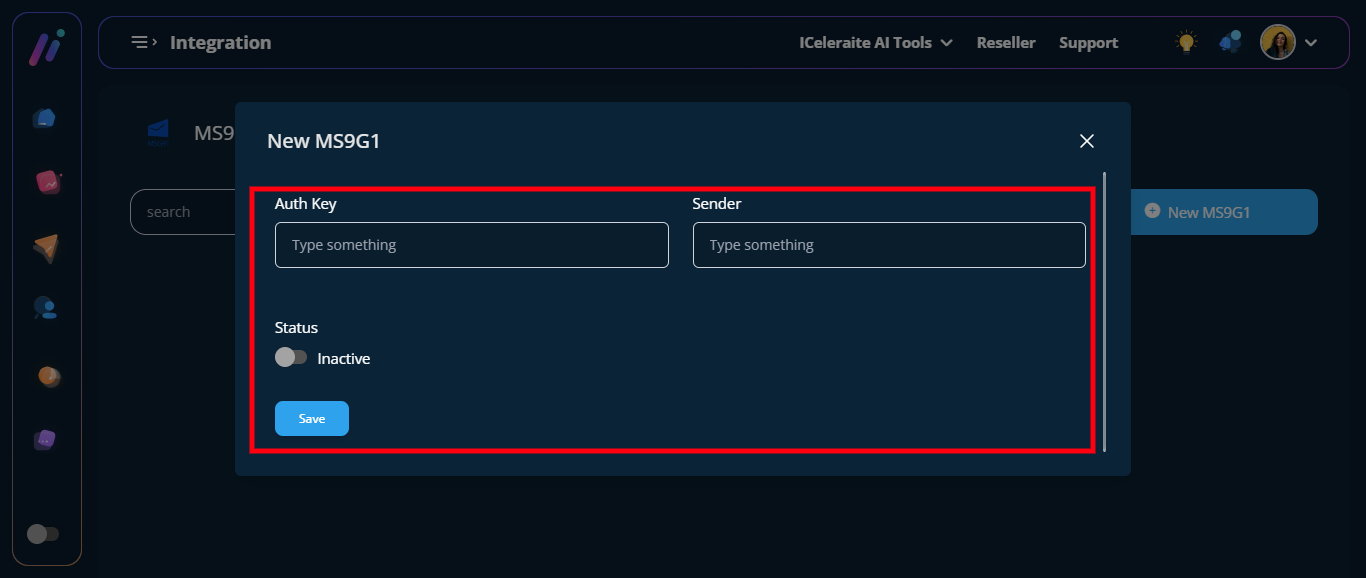
==> Auth Key: in the “Auth Key ” field enter your Auth Key.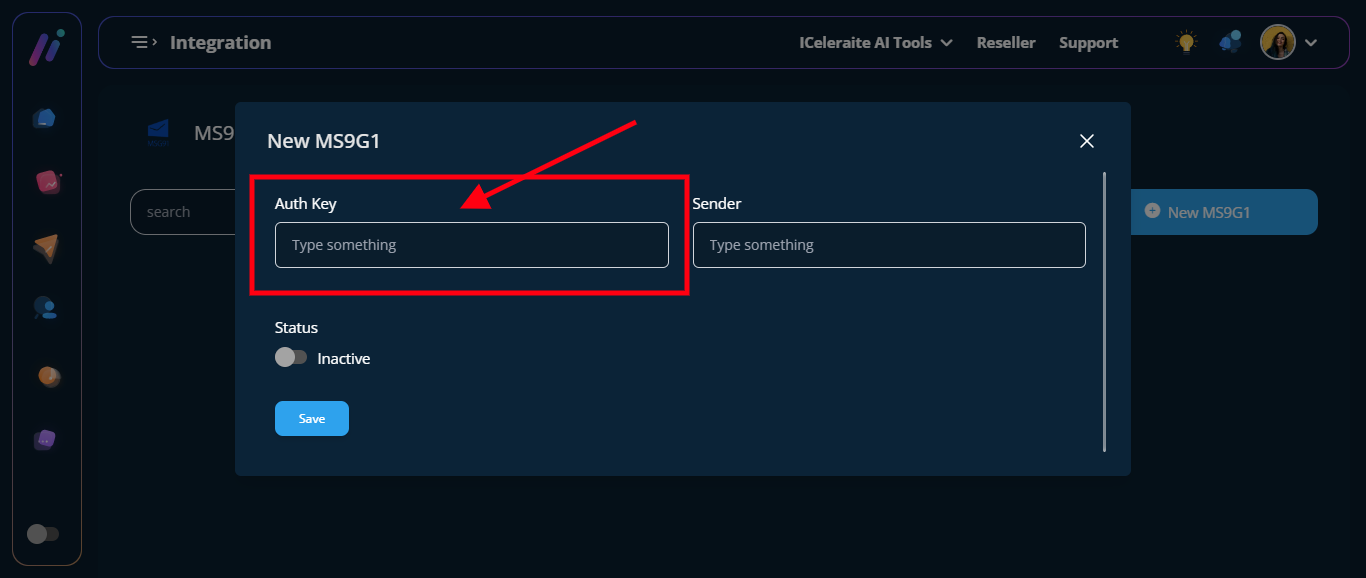
==> Sender: in the “Sender Name” field enter the sender name.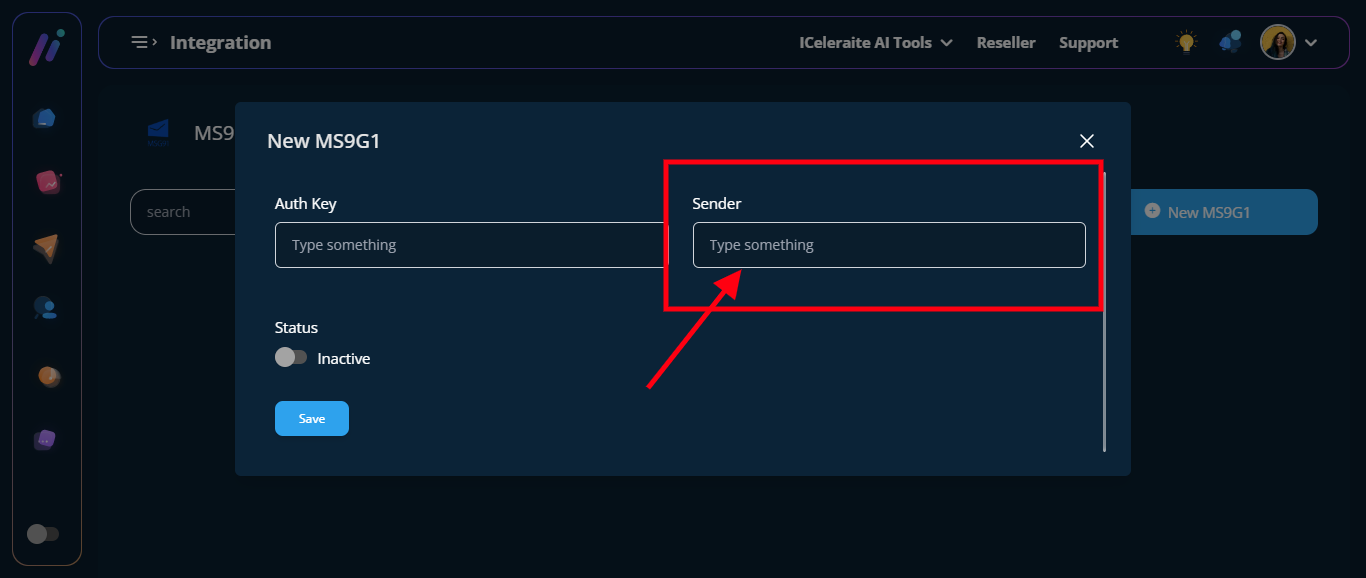
==> Turn on the “Status Toggle Button”
STEP 7: Click the “Blue Save Button”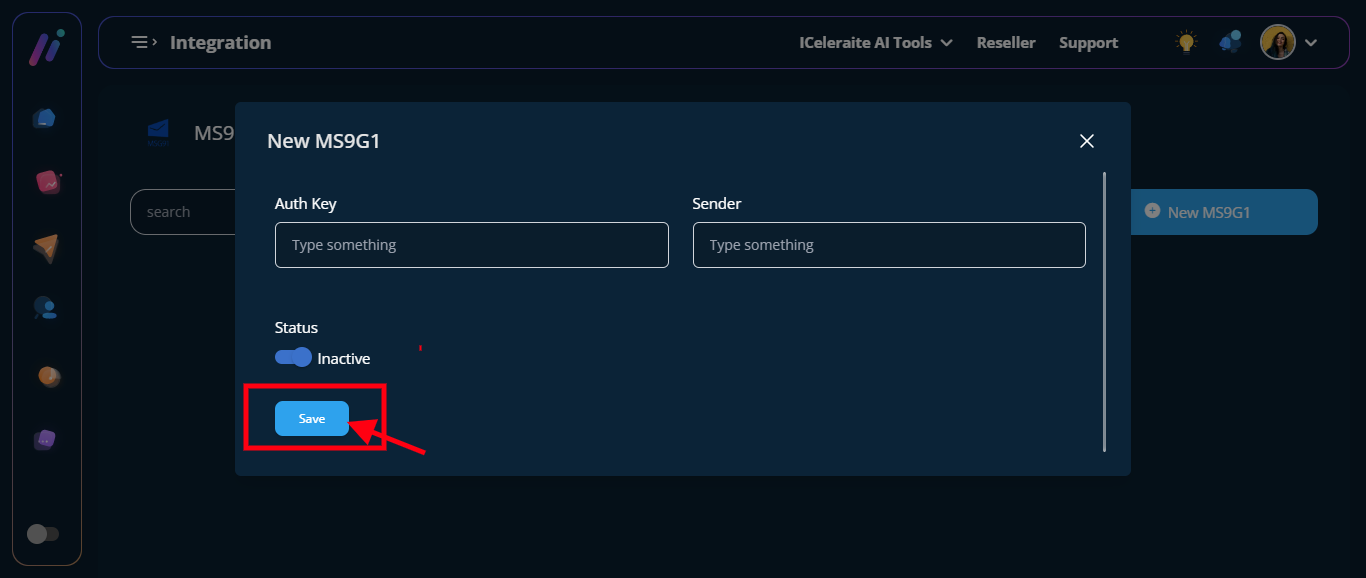
STEP 8: Configuration was saved successfully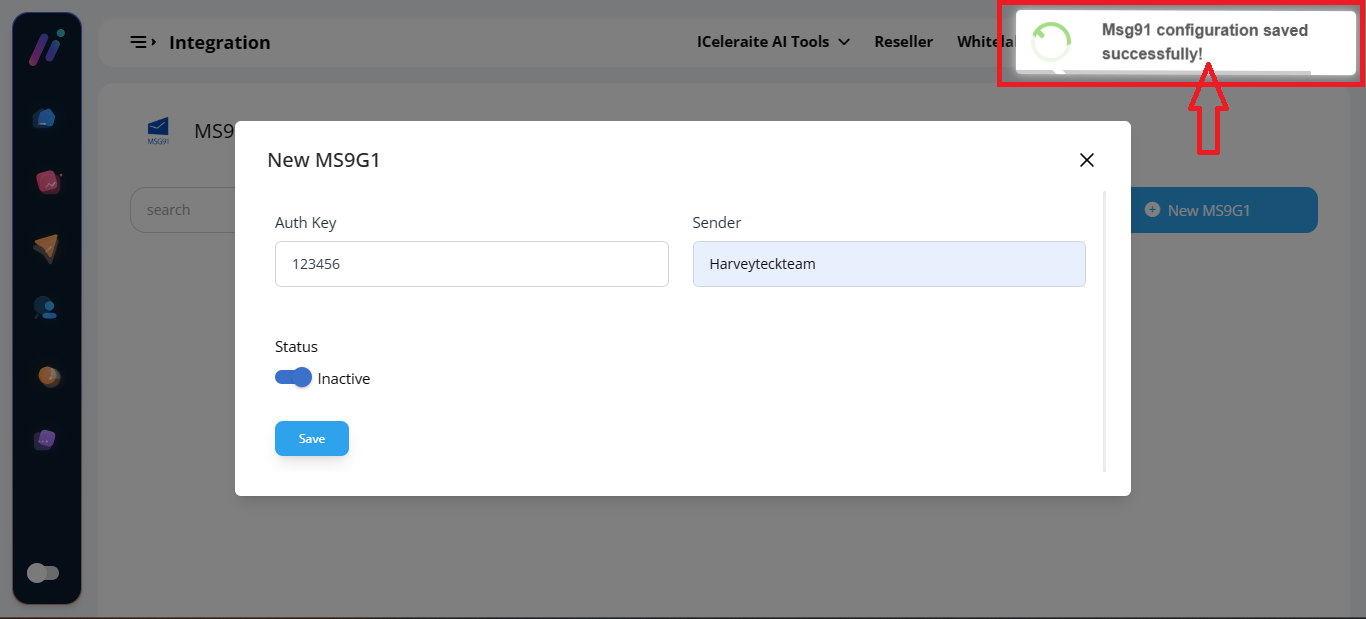
View MS9G1