You can use the AI campaign creator feature in iCeleraite dashboard to create your sms campaigns in a few simple steps.
Kindly follow the steps below:
Getting Started On Using The AI Campaign Creator For SMS
Log in to your iCeleraite account.
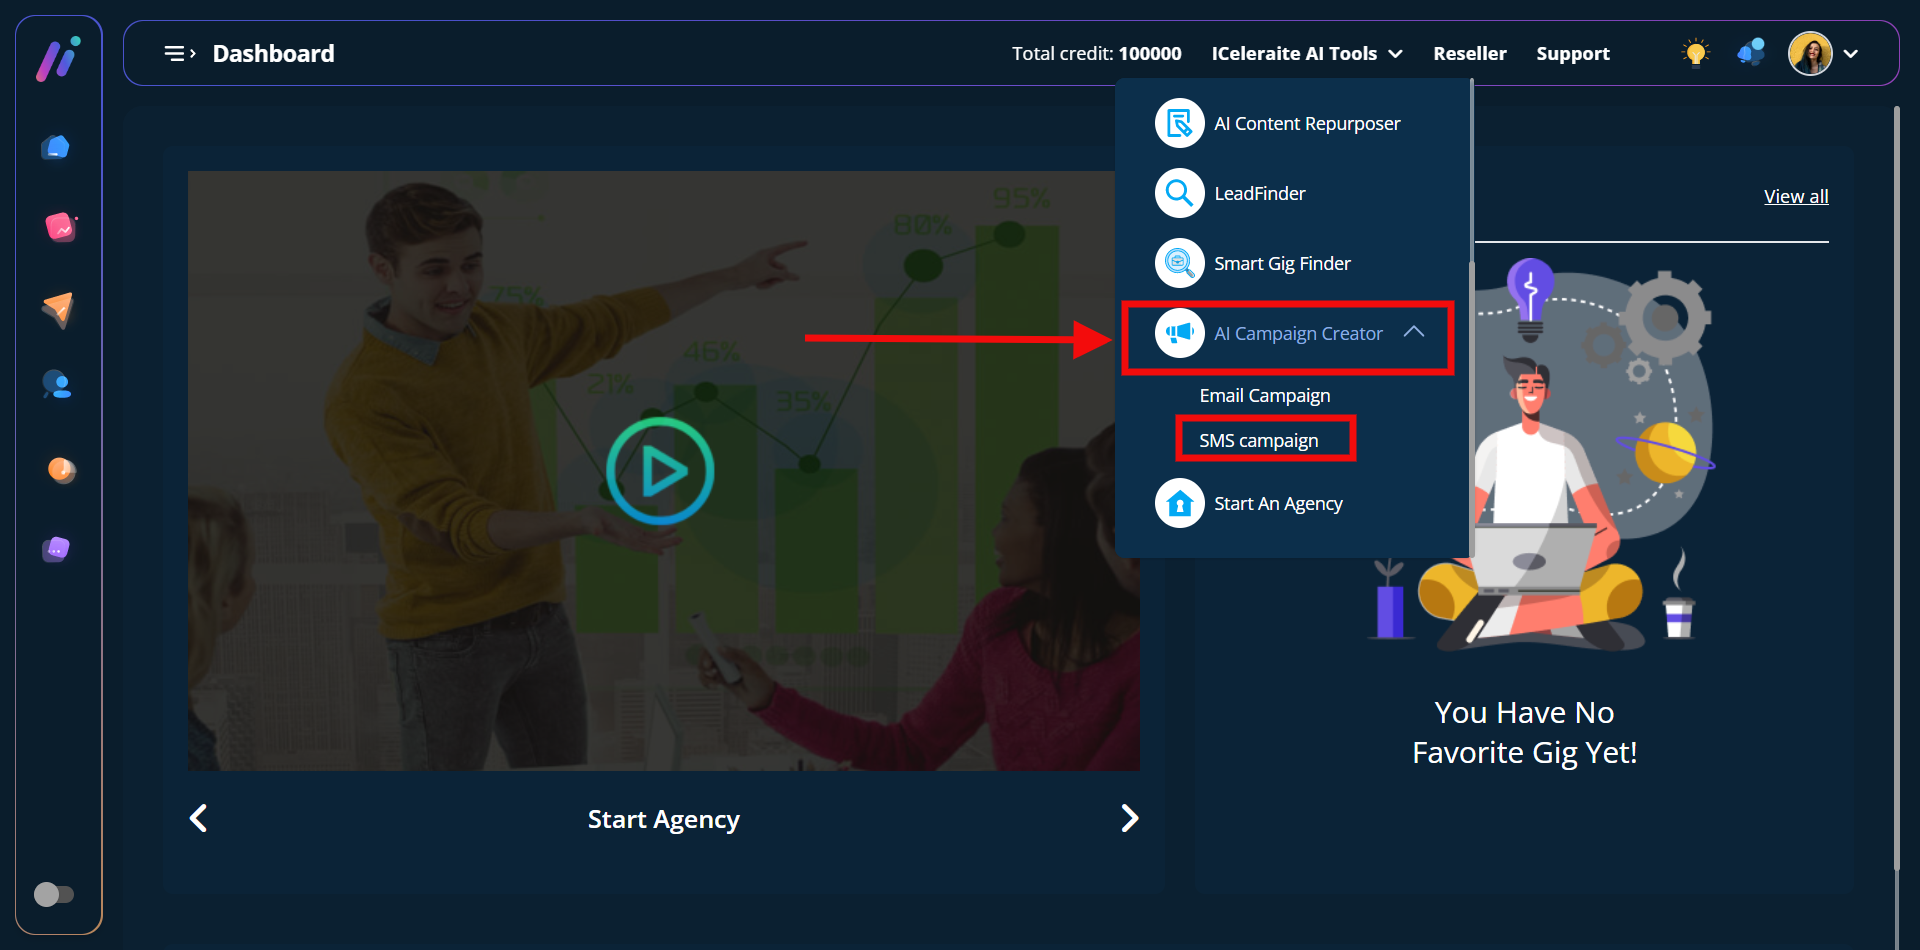
STEP 1: Click on ‘iCeleraite AI Tools’ on the top side menu bar of your dashboard

STEP 2: After clicking on ‘iCeleraite AI Tools’ in the drop-down options go ahead to click on ‘AI Campaign Creator’ and in the drop-down click on SMS campaign as shown in the screenshot below;
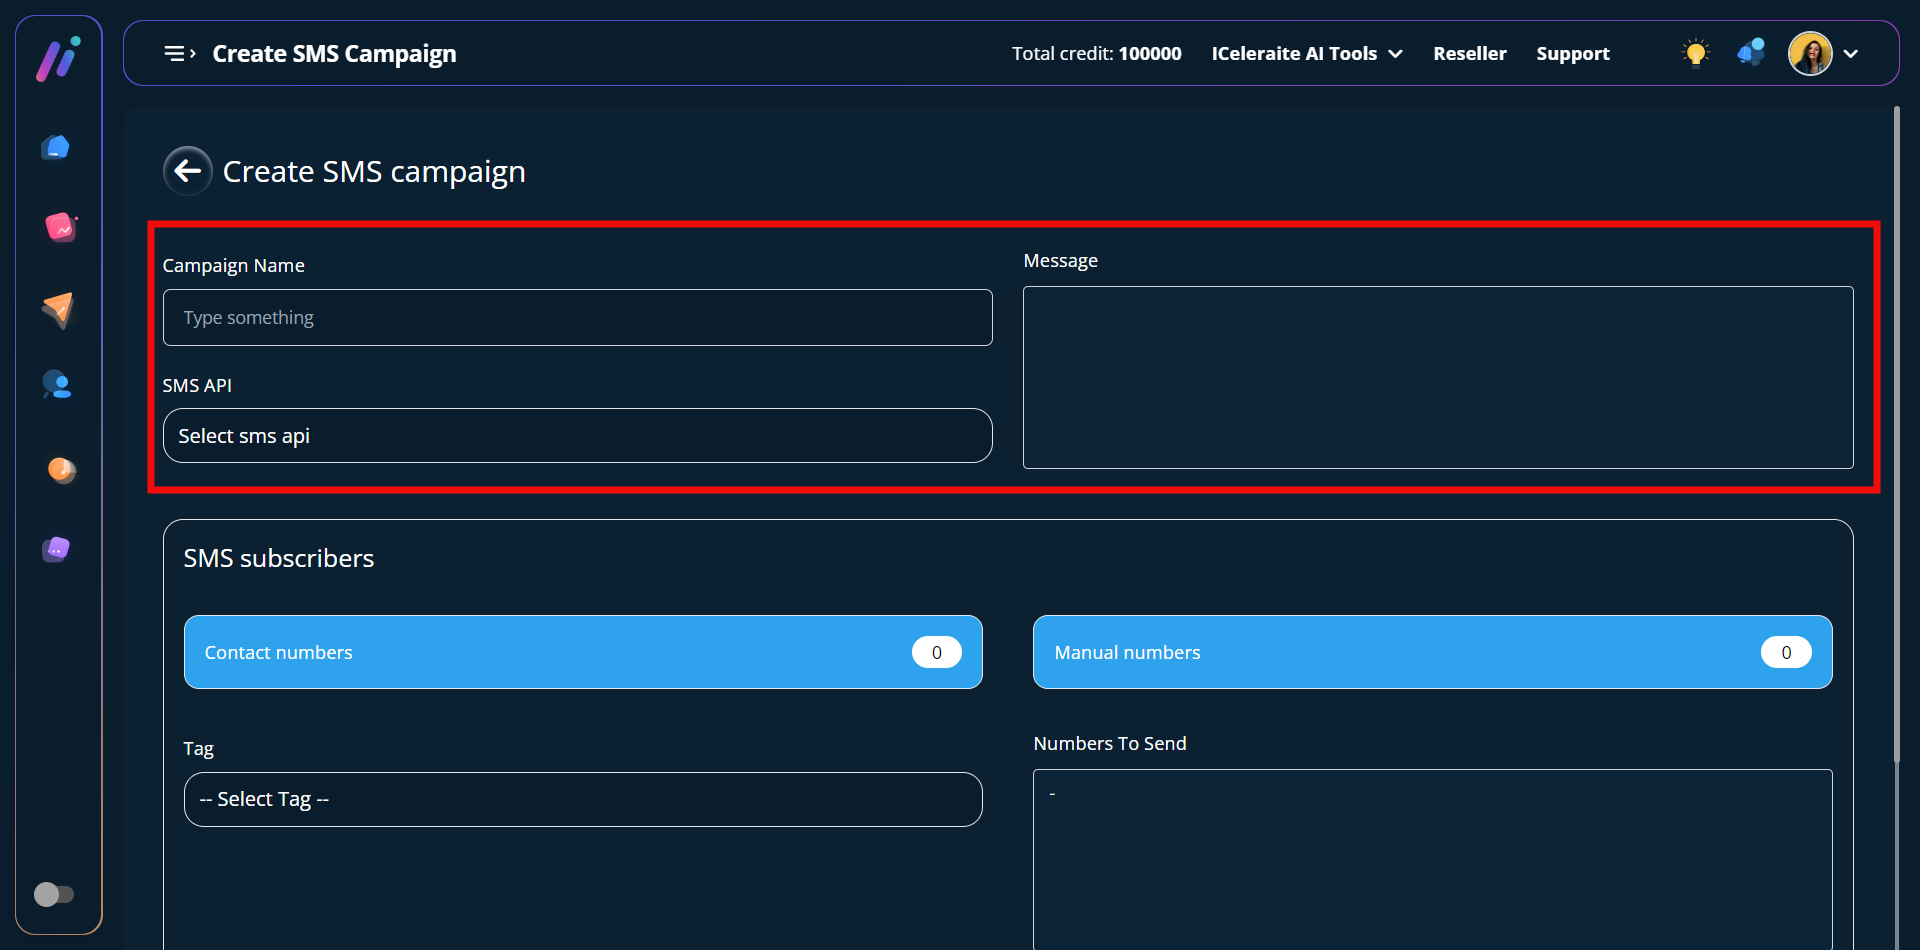
STEP 3: After clicking on the “SMS campaign option” in the drop-down as explained in the previous step you can go ahead to enter your preferred campaign name, and message then you can select your preferred SMS API.
Note: Before you can select an SMS API, you will have to integrate your preferred SMS API.
Kindly follow any of the links (How To Integrate Twilo, How To Integrate Clickatell, How To Integrate Clickatell Platform, How To Integrate Nexmo, How To Integrate MS9G1, How To Create Integrate Africastalking, How To Integrate Semysms.)
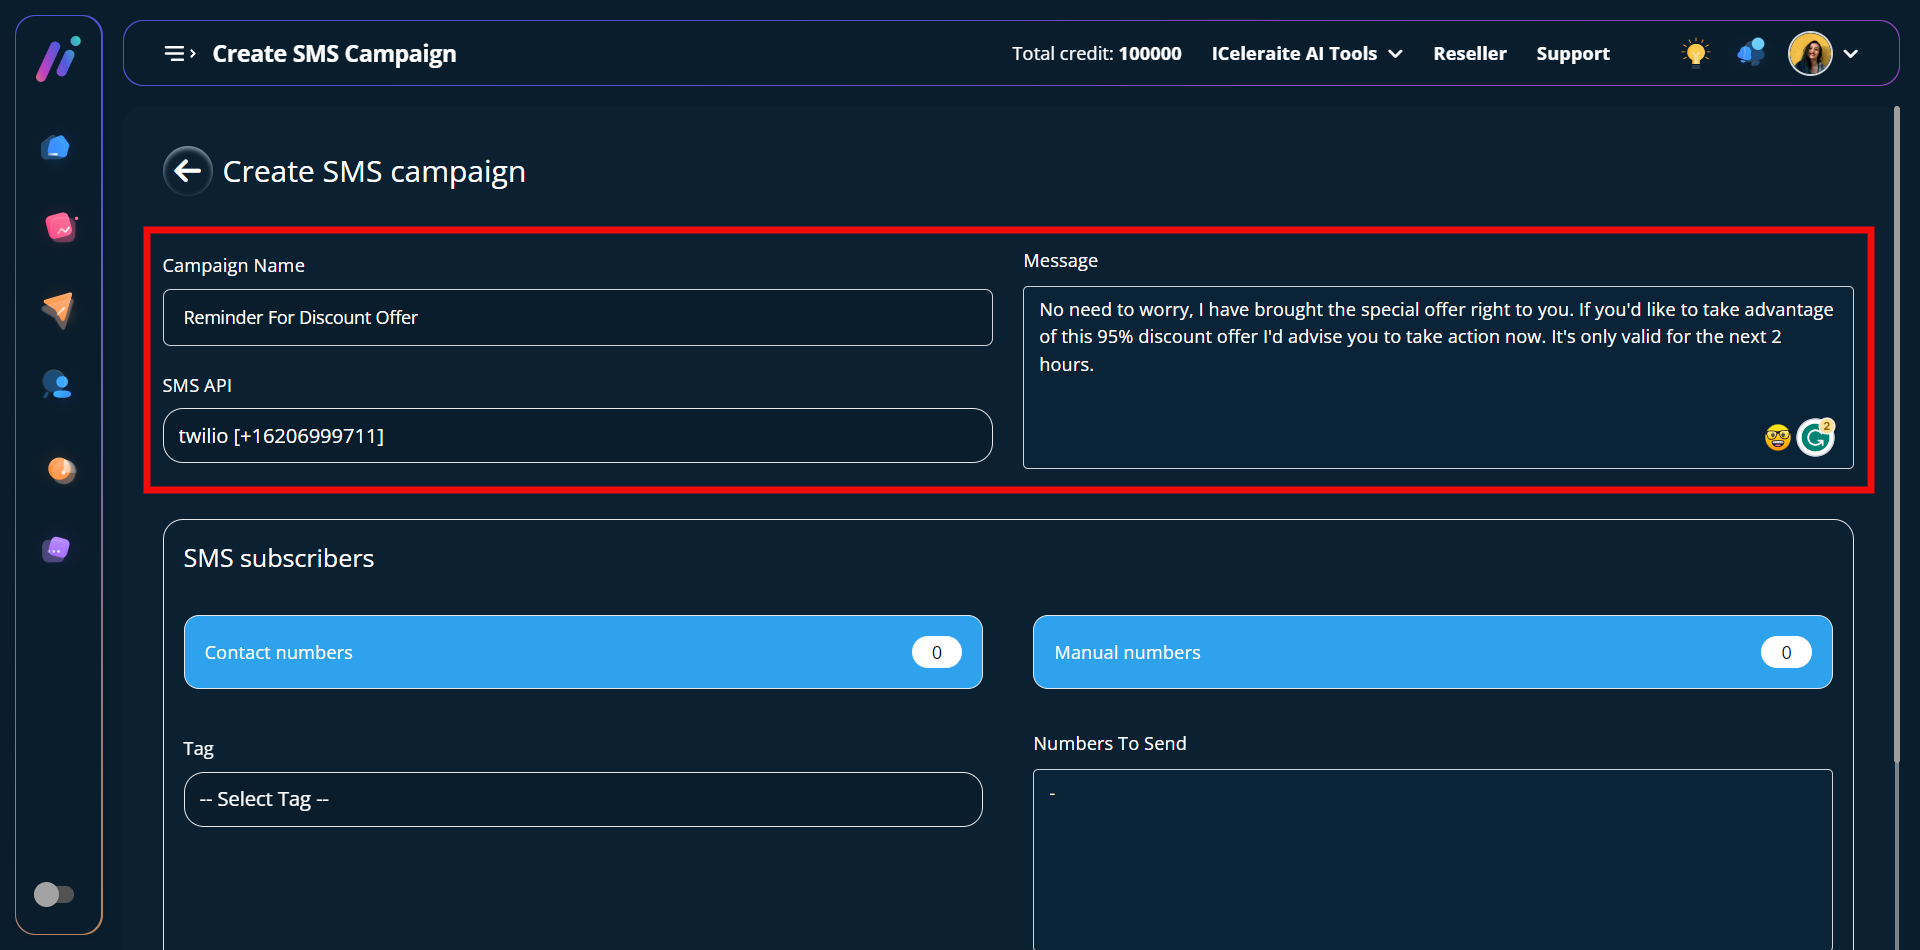
Here’s an example;
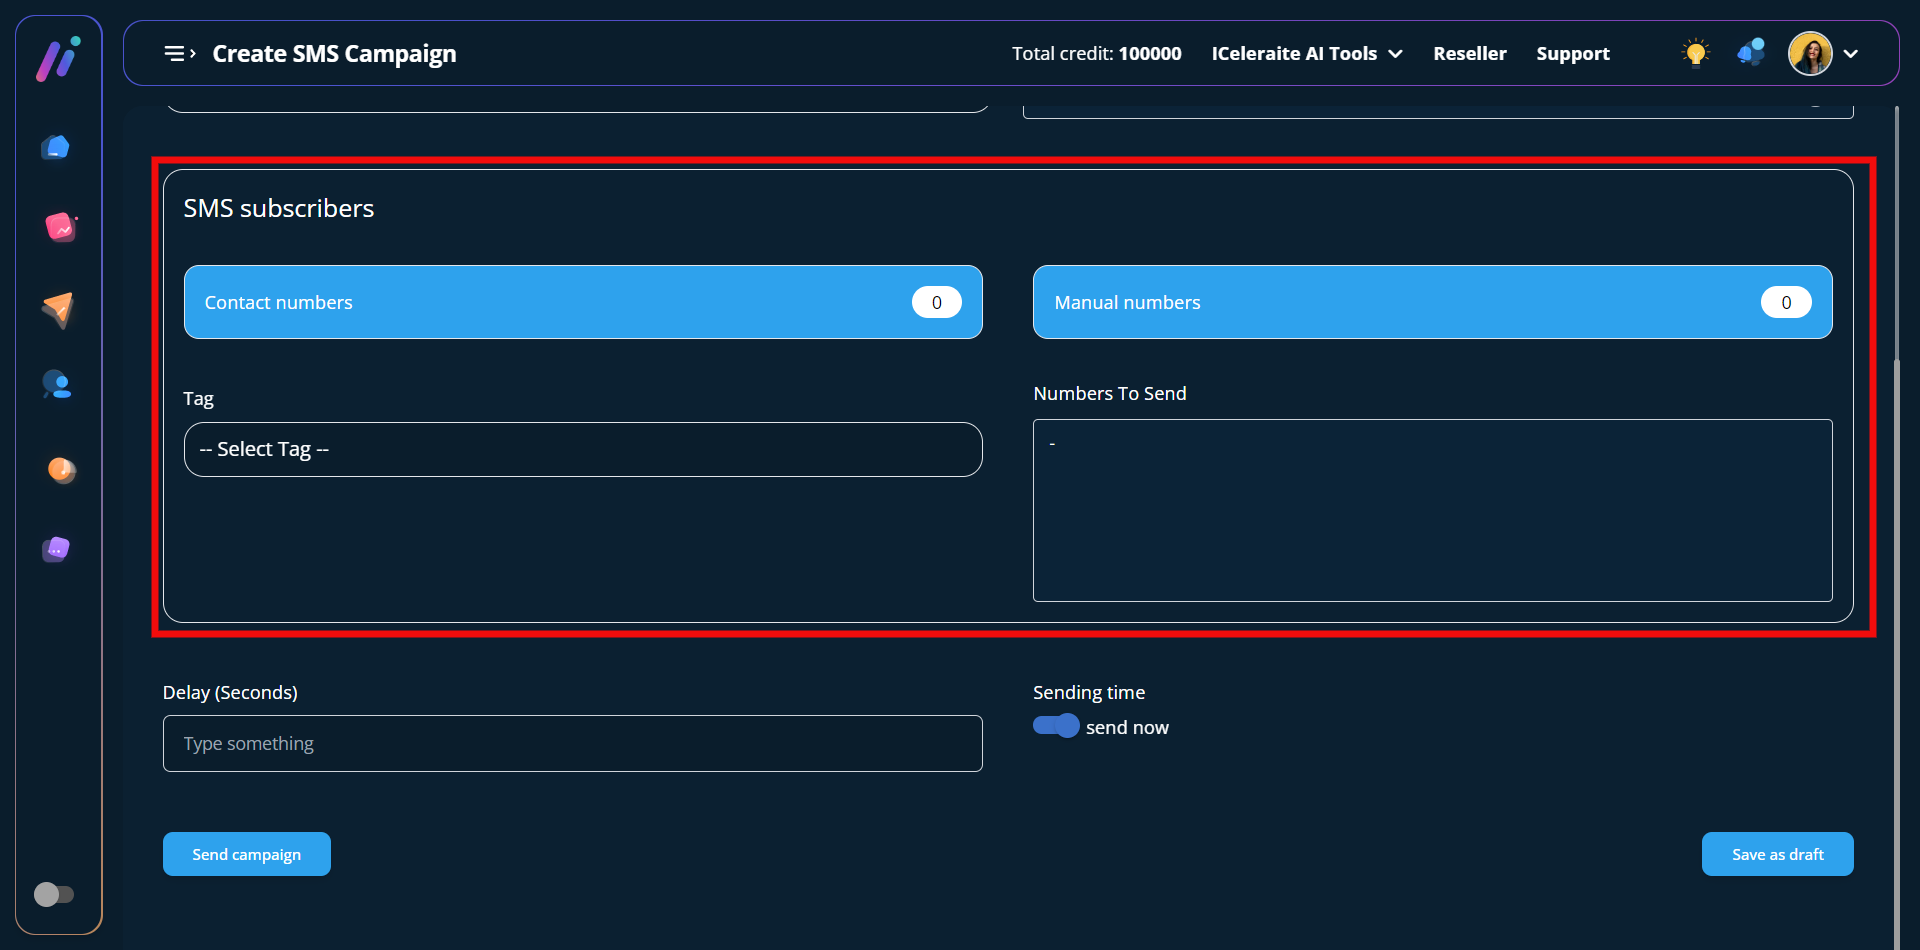
STEP 4: You need to create tags so you can easily segment your contacts by assigning them to different tags.
Note: Before you can select your broadcasting contact tags, you will have to create a tag and a contact. Kindly follow the link to see the respective articles (How to create a contact and a contact tag)
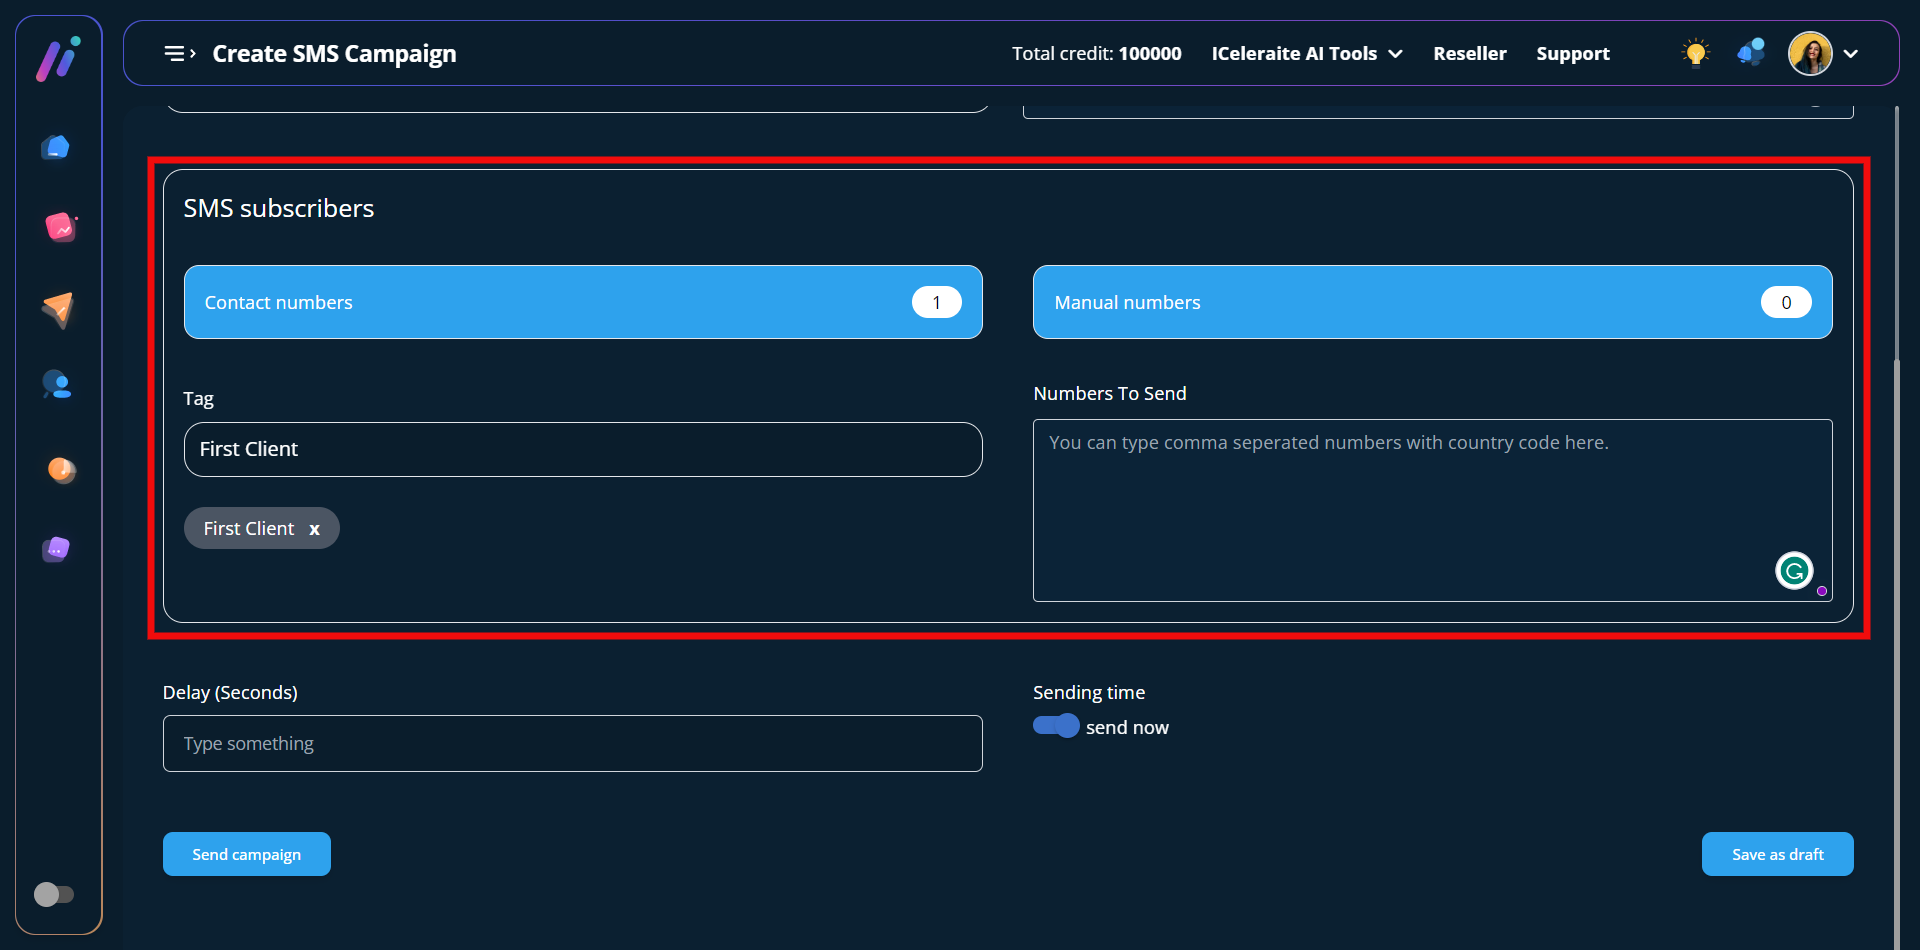
After selecting your preferred tag, you will be able to see the total contacts assigned to that particular as shown above in the screenshot in the contact numbers tab.
You will also see the option to type the numbers you would like to send the SMS campaign. This is helpful when you want to send campaigns to phone numbers that you don’t have as a contact.
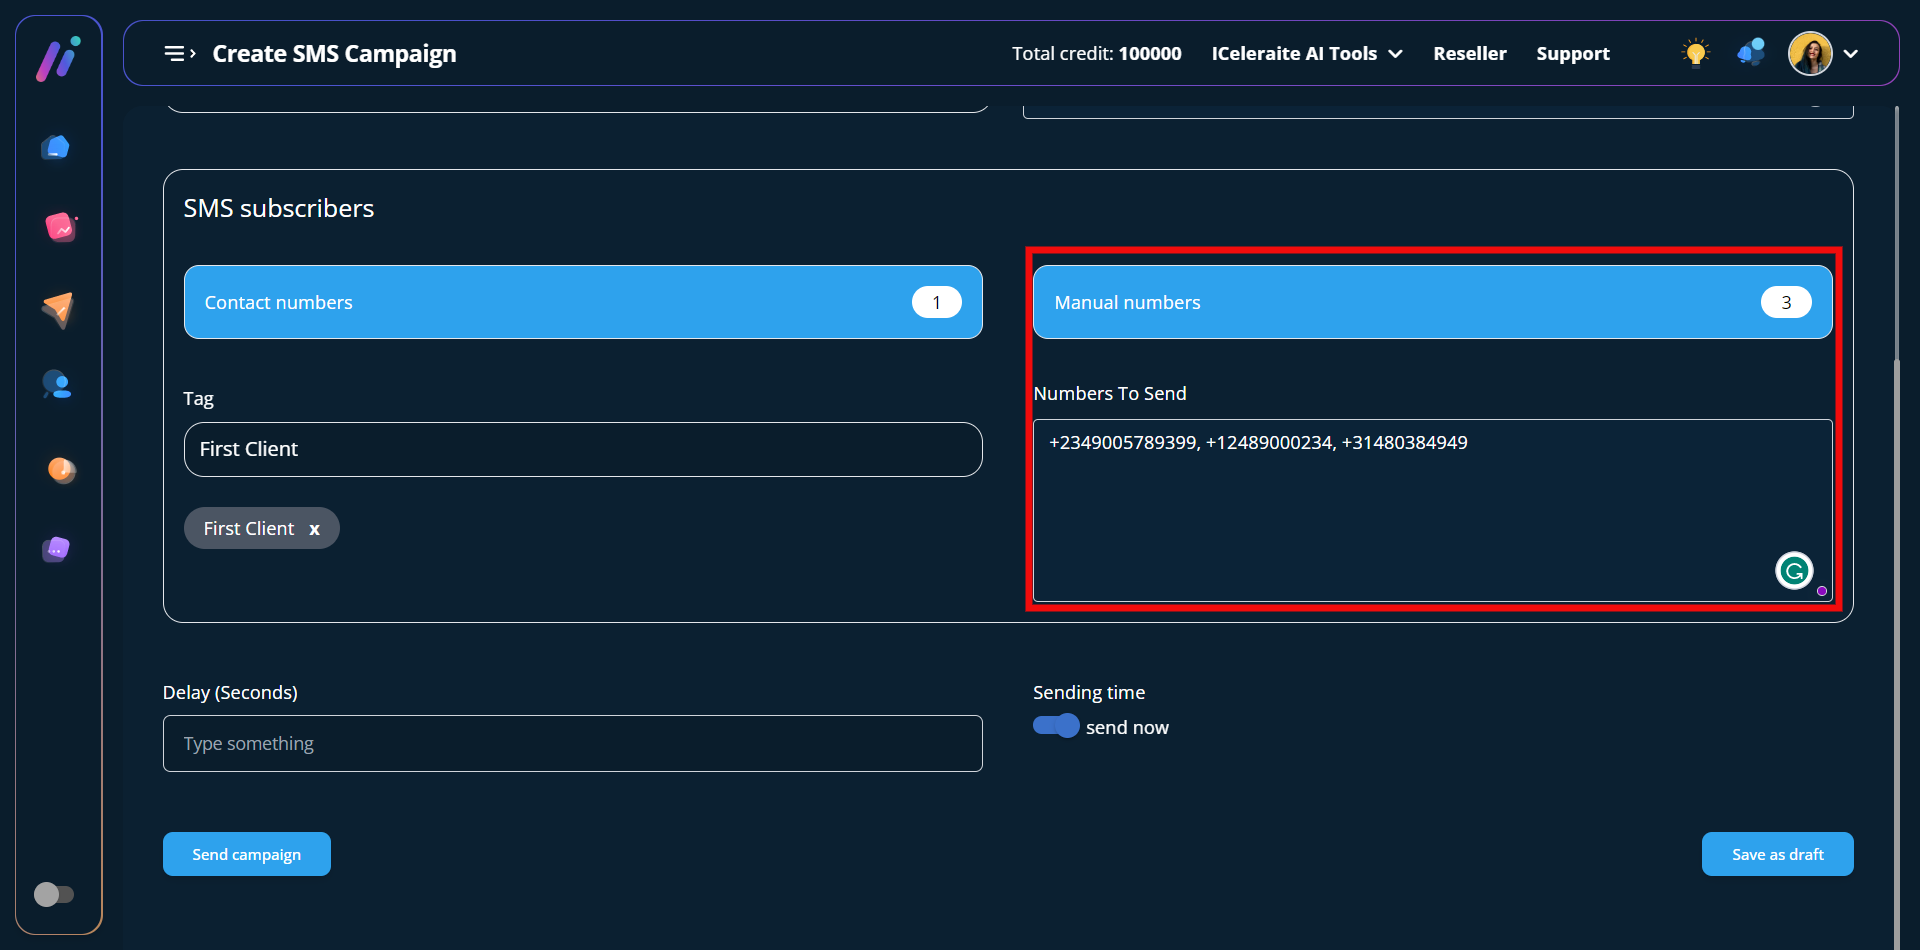
As you can see in the screenshot below the manual numbers tab has been updated.
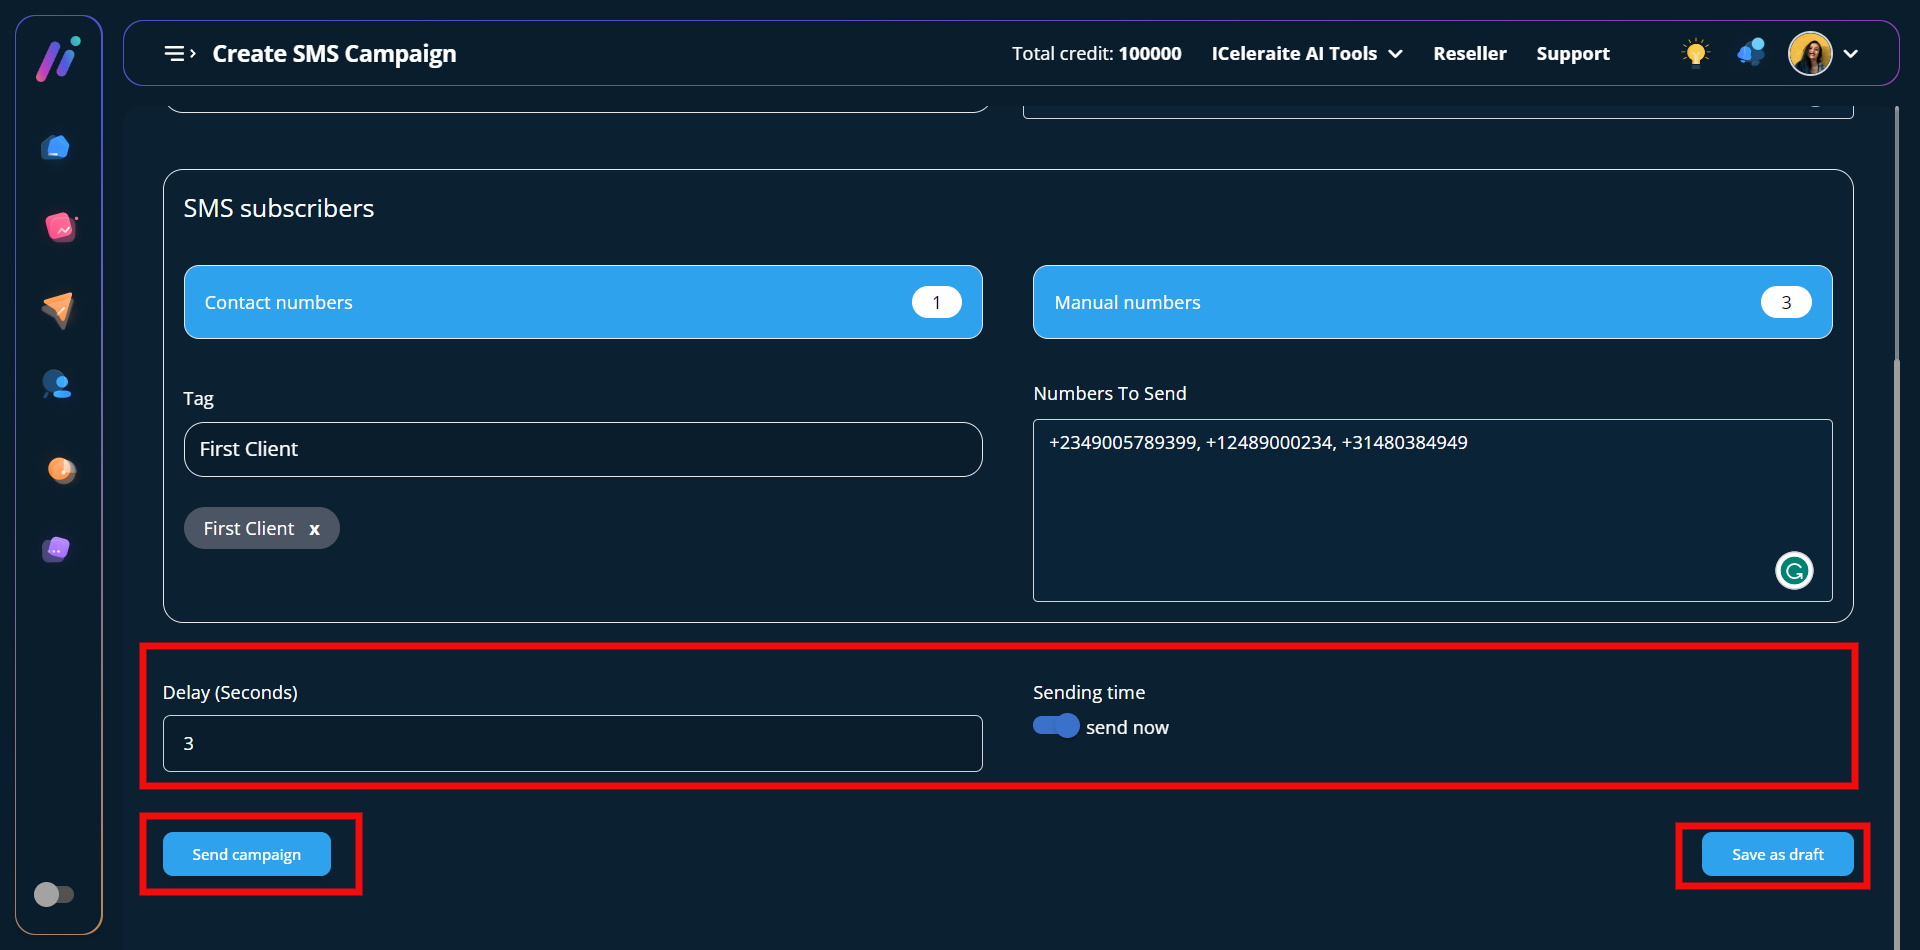
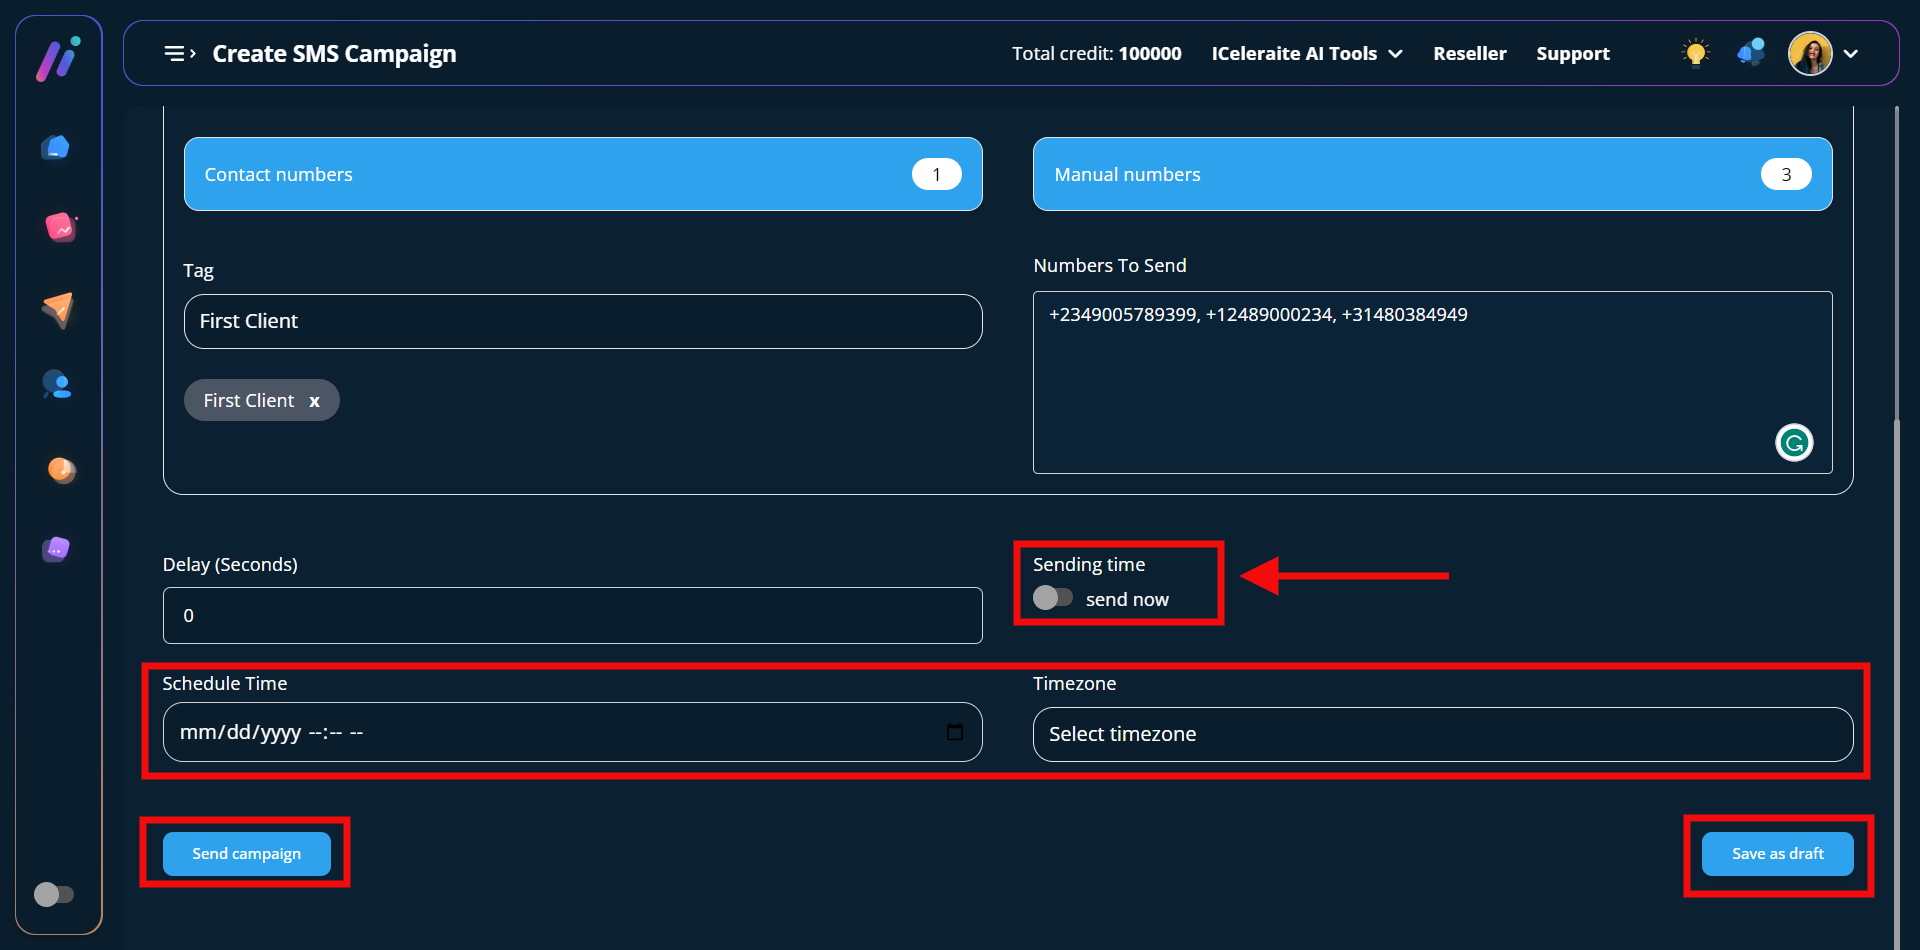
STEP 5: This is the final step where you will have to send your SMS campaign. When the toggle button for the sending time is turned on you will see an option to enter your preferred delay second(s).
After which you can decide to either instantly send your campaign using the “send campaign” button or save it as a draft to continue later using the “save as draft” button.
Whereas if the toggle button for the sending time is turned off you will get the option to schedule your preferred date and time as well as the timezone.
After which you can decide to either use the “send campaign” button or the “save as draft” button.
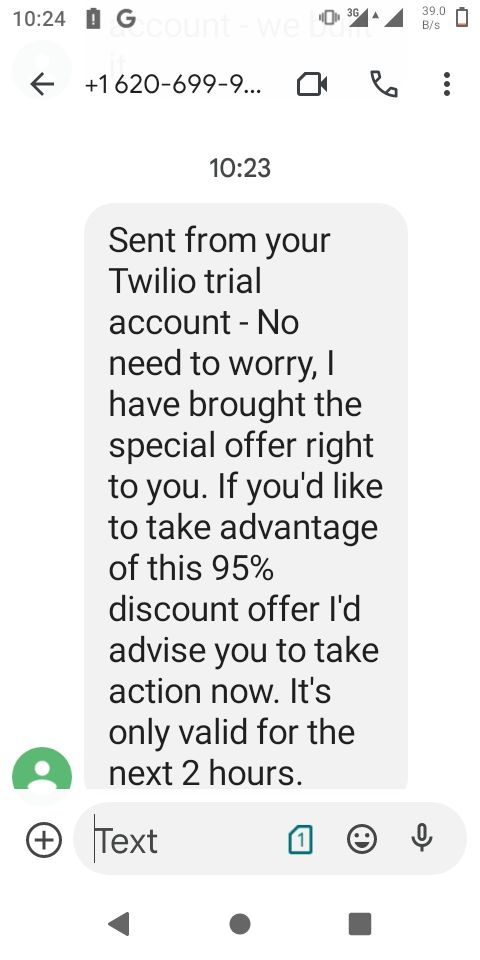
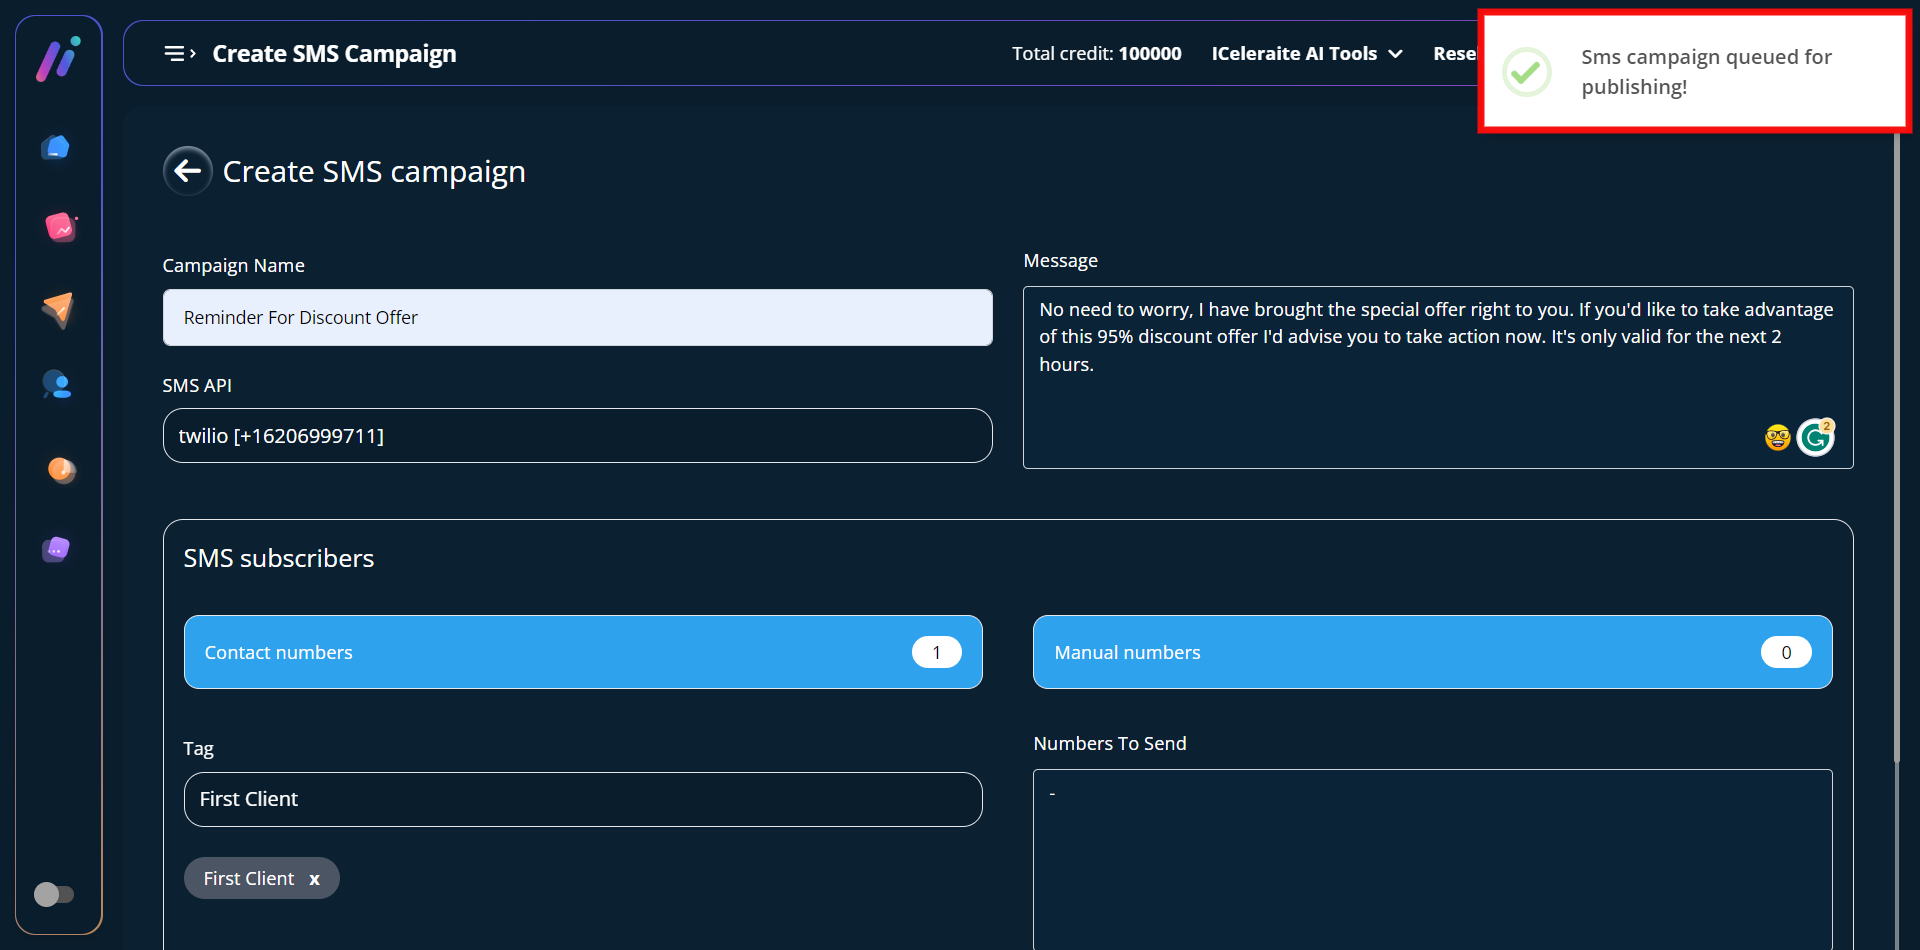
STEP 6: You will get a successful pop-up stating that; the SMS campaign is queued for publishing after which you will be redirected to the SMS campaign status area where you can see the details of all your campaigns.

The SMS campaign has been delivered to the recipient successfully.