
STEP 1: After you’ve logged into your Business manager account, it leads you to the dashboard and there you get to see the left nav-bar and a table. On the left-nav bar click on clients.
STEP 2: A new page comes up after you’ve clicked on the clients button, there you will find an empty table with name, email, status, created and action at the top of the table, other options like add client, import and export would also be found on the page.
STEP 3: Next is to click on the Add Client button
STEP 4:A new page will appear titled Account Details, fill in the correct details
STEP 5: For the client category (if there is no detail before now or you would want to add new detail to the client category) click on the Add button next to the input field.
STEP 6: A new page will come up. 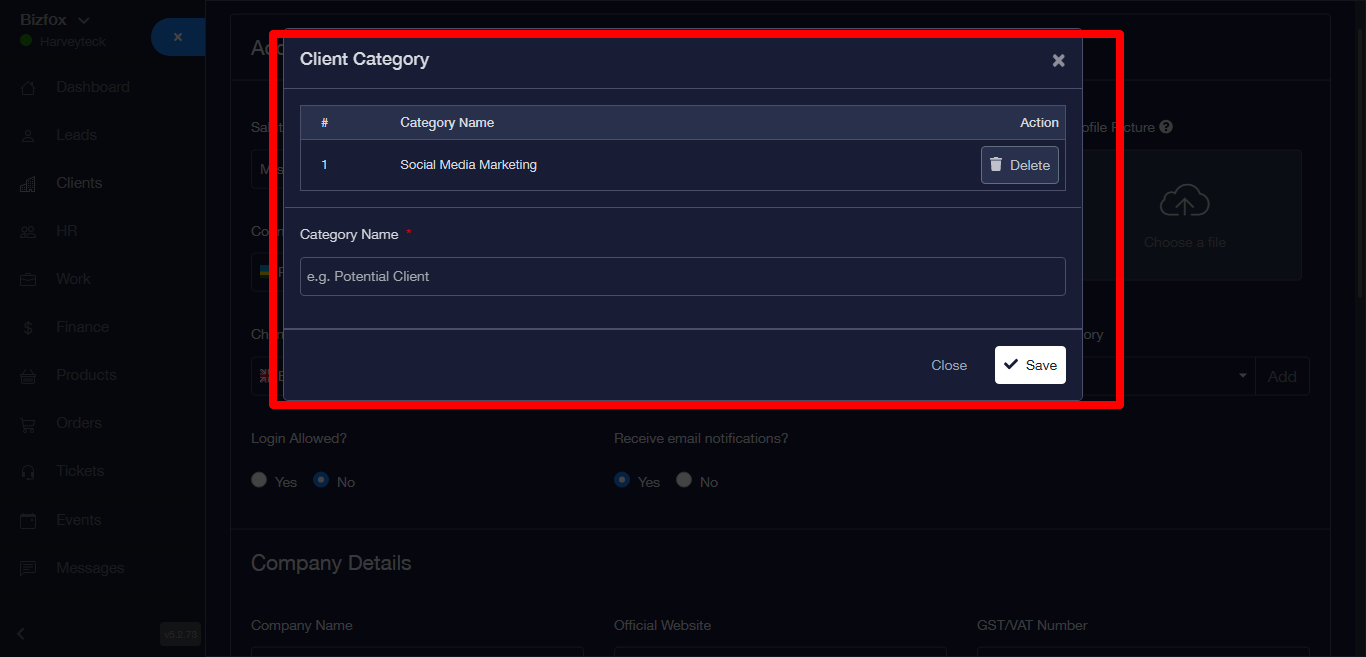
STEP 7: Fill in the category name section,Click on the Save button then a success message will appear.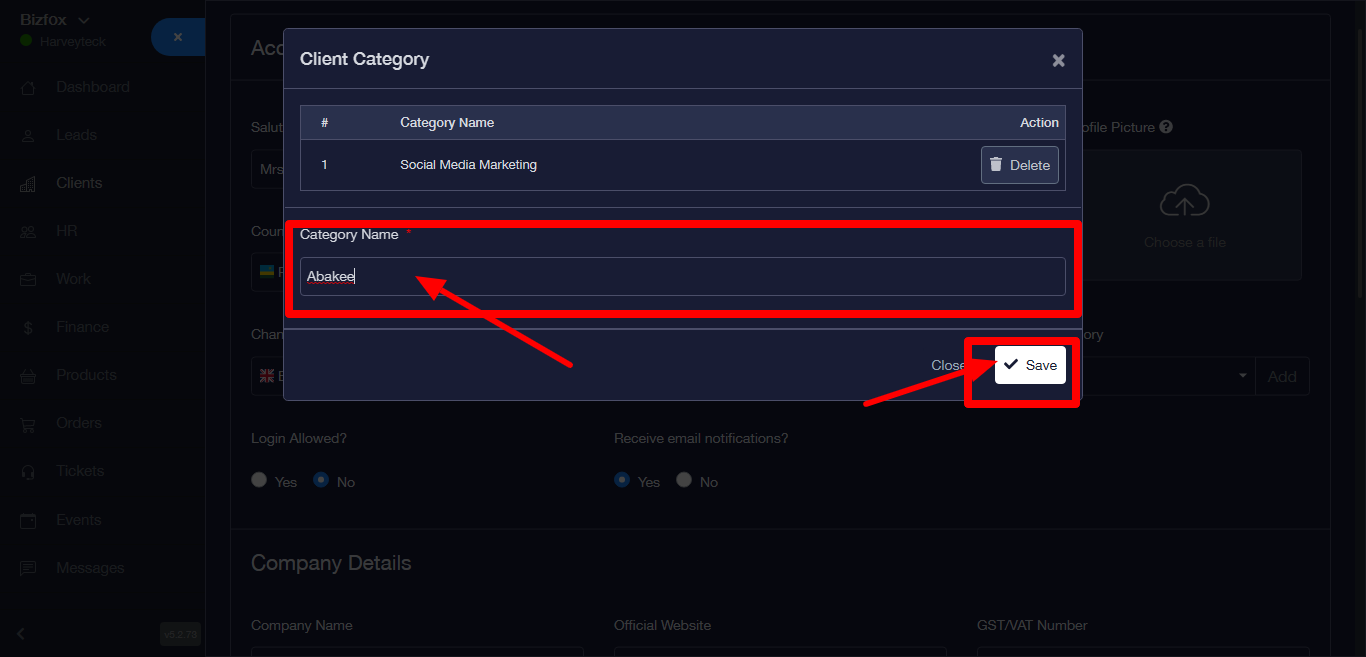
STEP 8: You will be directed back to the Account Details page. Click on the dropdown icon and select a category name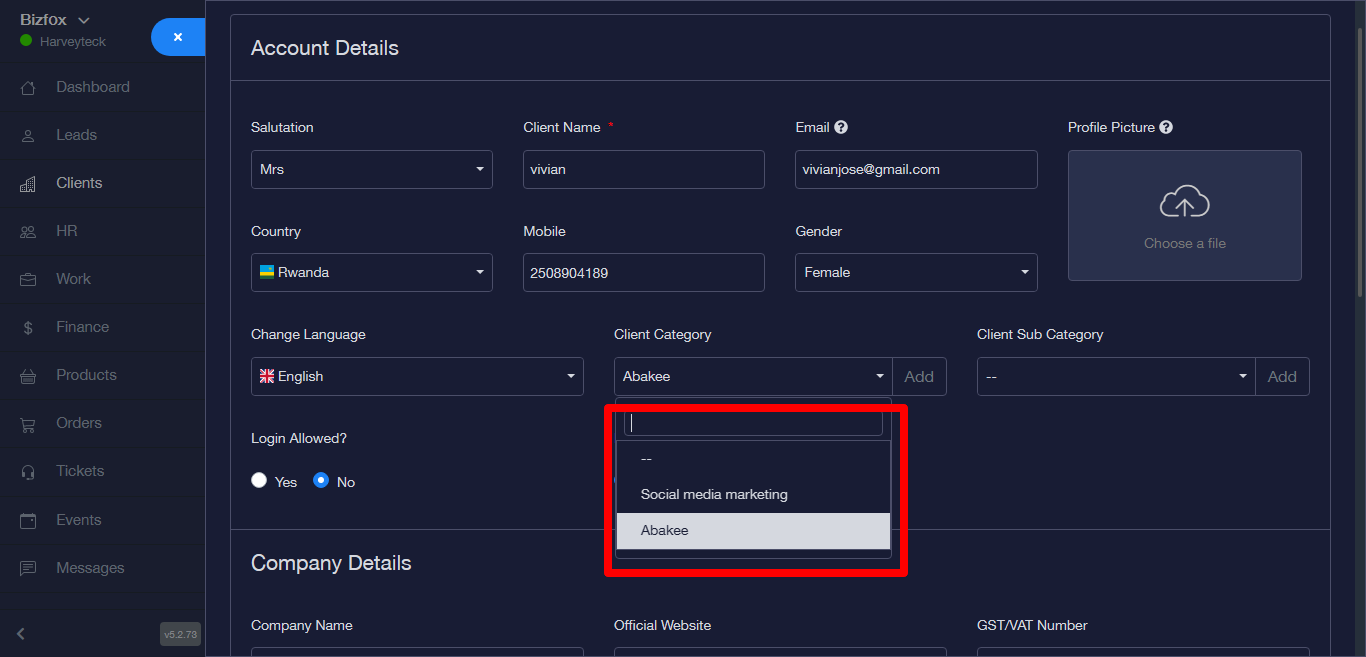
STEP 9:For client subcategory (if there is no detail before now or you would want to add new detail to the client subcategory) click on the Add button next to the input field. 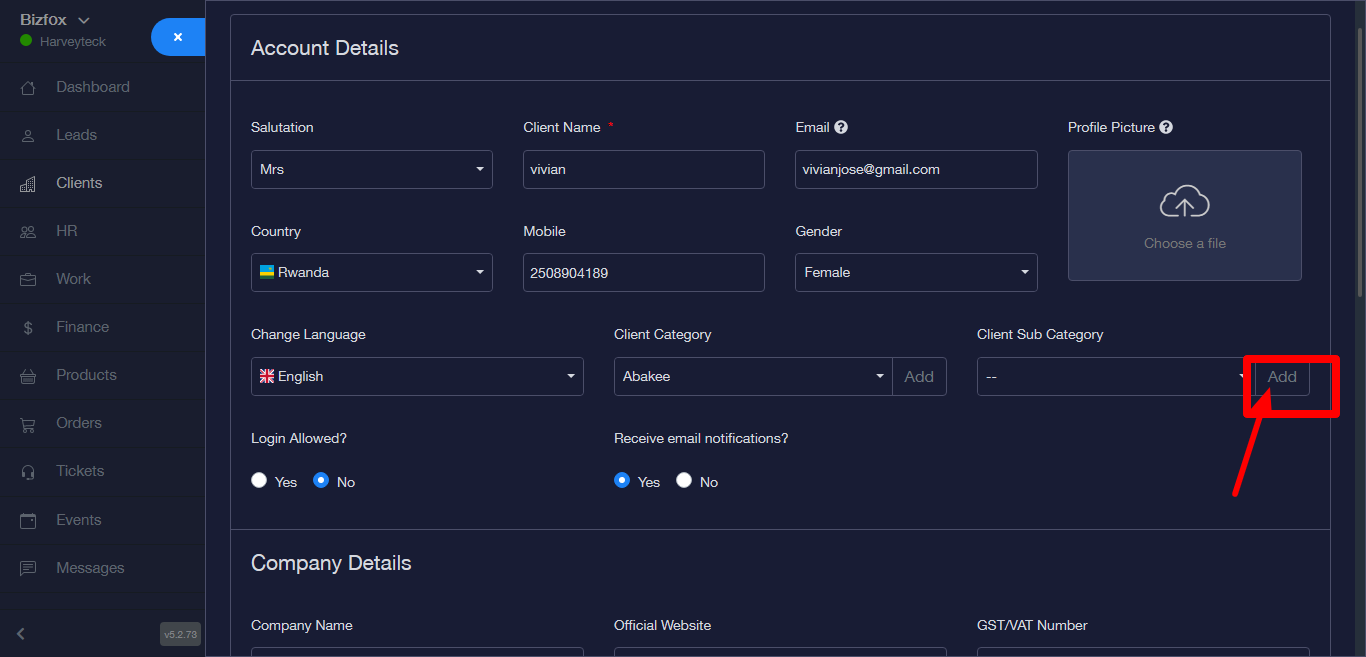
STEP 11: Fill in the input field for the client sub category,Click on the save button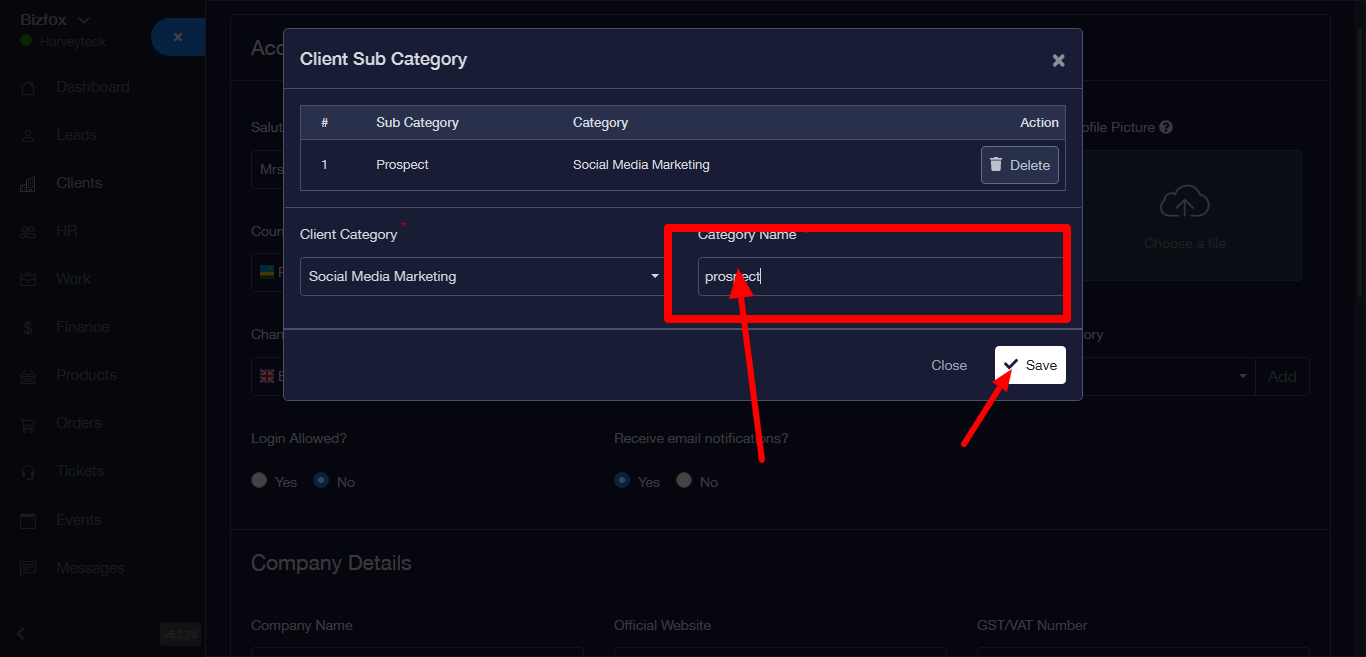
STEP 12: It will direct you back to the account detail page. click on client subcategory, a dropdown will appear then select a subcategory name.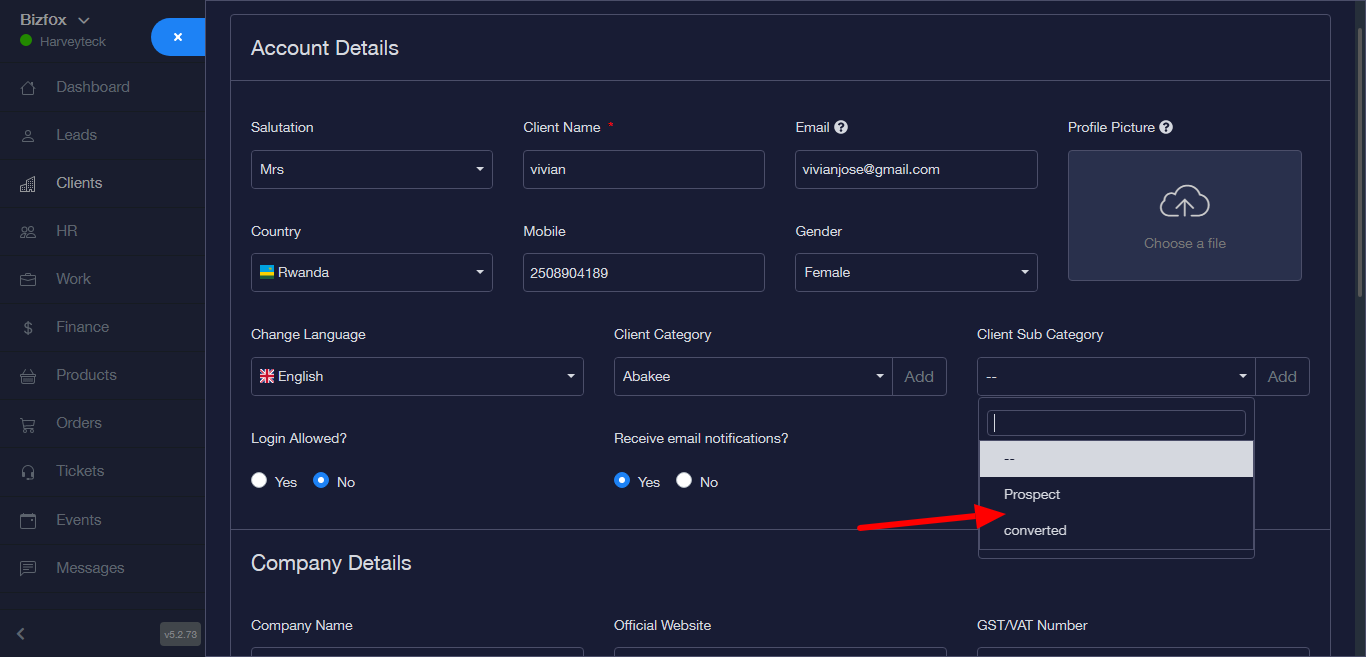
Company Details
STEP 13: Next is to fill in the company details.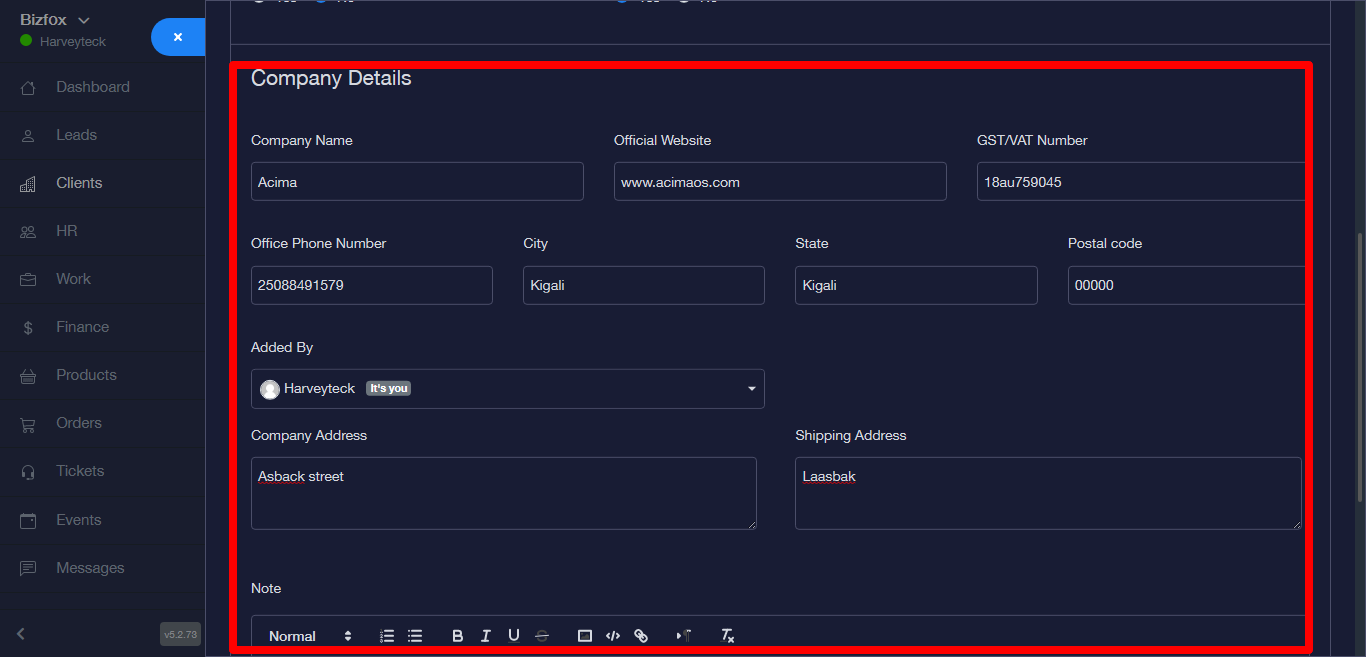
STEP 14: Click on the save button after filling in the company details, then a success message will appear.
