You can use the AI campaign creator feature in iCeleraite dashboard to create your email campaigns in a few simple steps.
Kindly follow the steps below:
Getting Started On Using The AI Campaign Creator For Emails
Log in to your iCeleraite account.
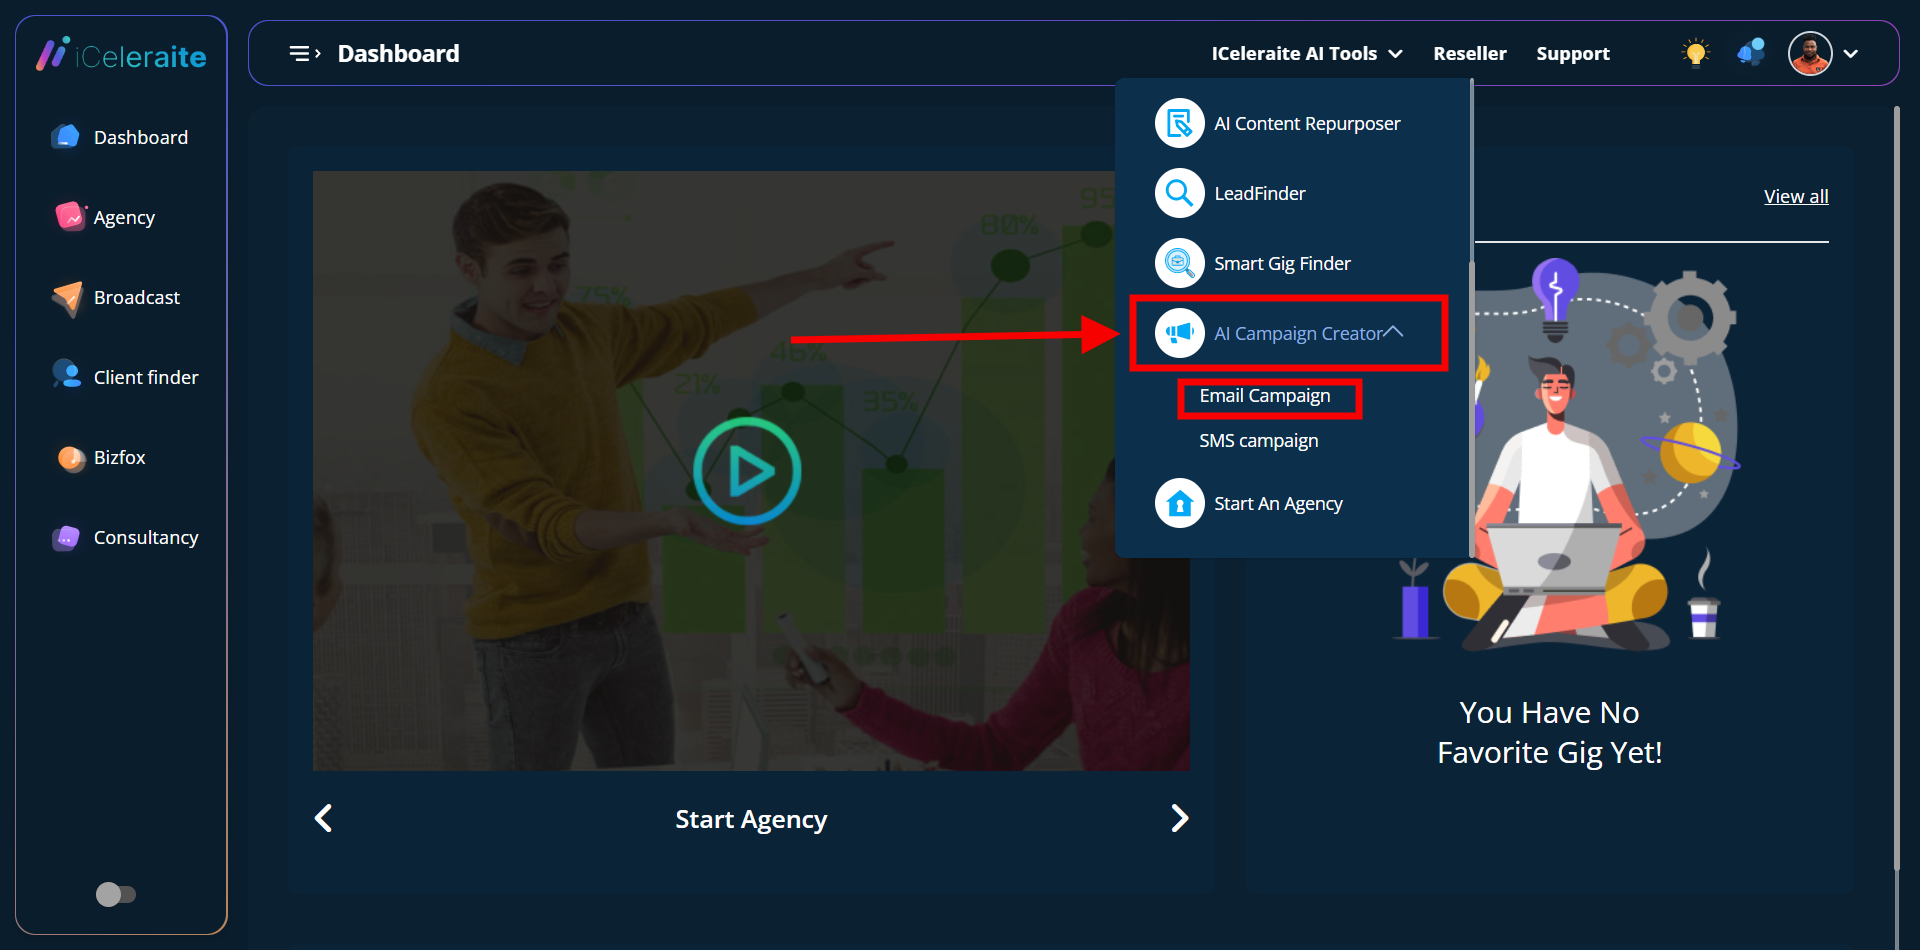
STEP 1: Click on ‘iCeleraite AI Tools’ on the top side menu bar of your dashboard

STEP 2: After clicking on ‘iCeleraite AI Tools’ in the drop-down options go ahead to click on ‘AI Campaign Creator’ and in the drop-down click on email campaign as shown in the screenshot below;
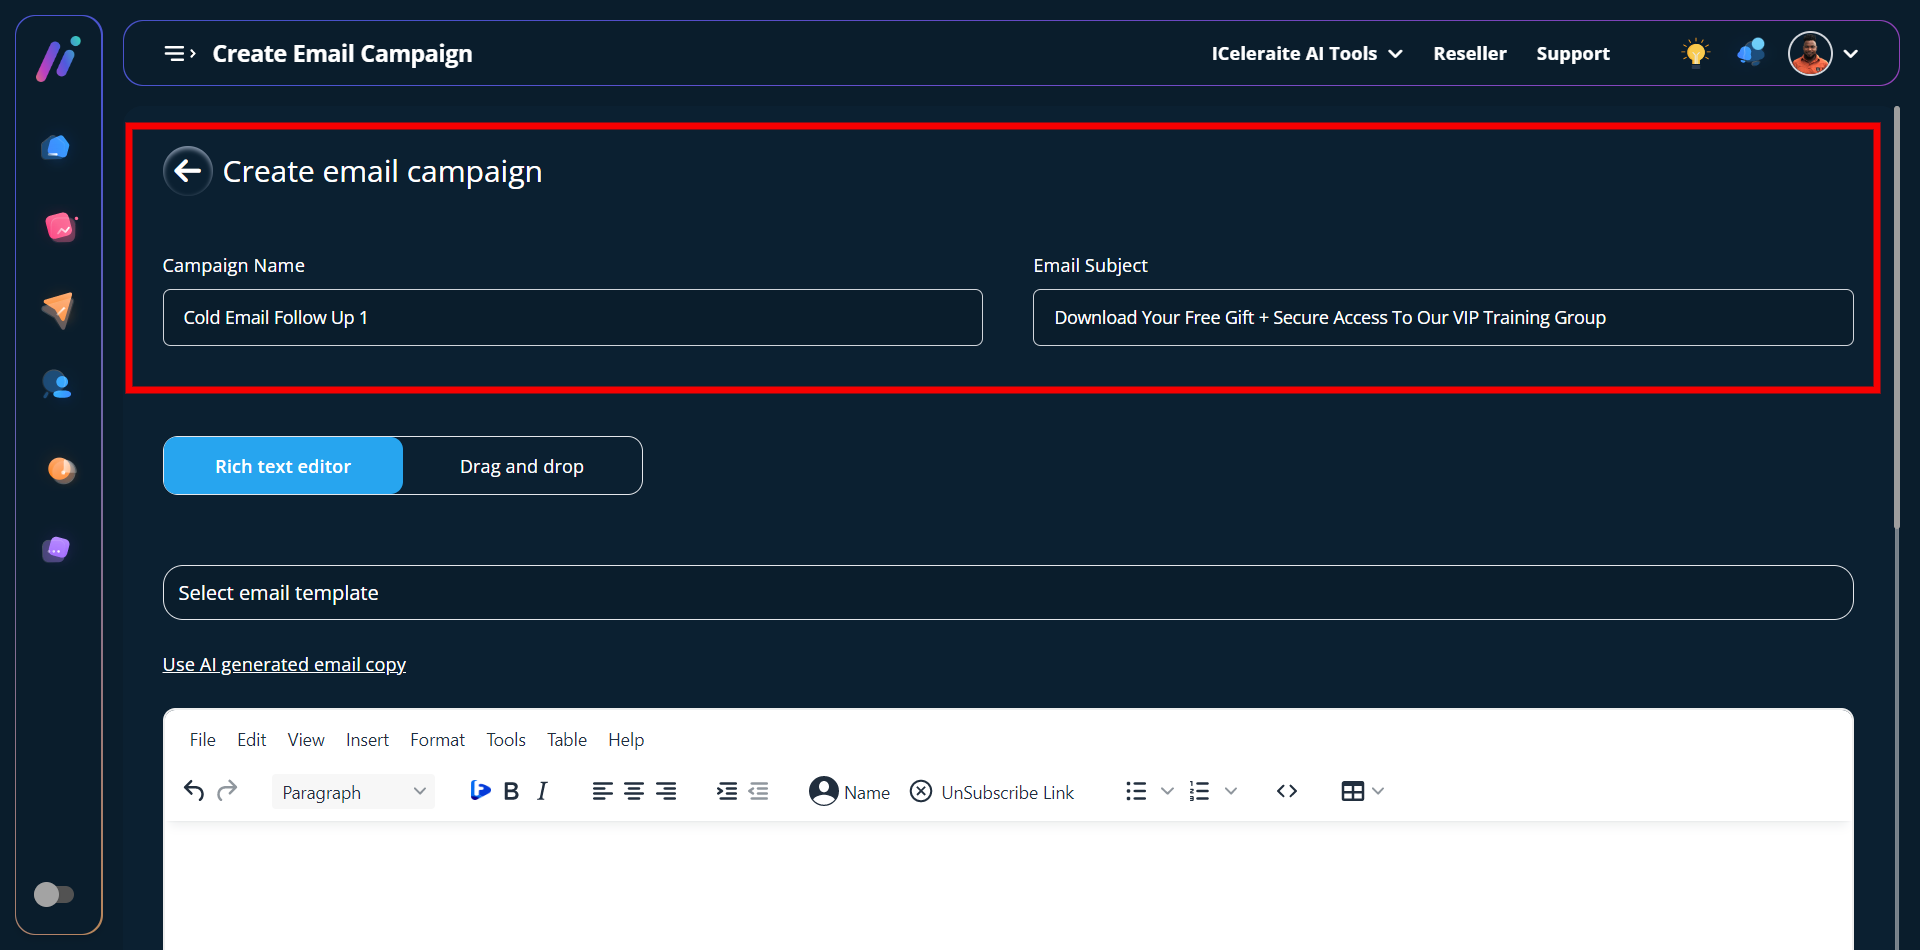
STEP 3: After clicking on the “email campaign option” in the drop-down as explained in the previous step you can go ahead to enter your preferred email campaign name and subject.
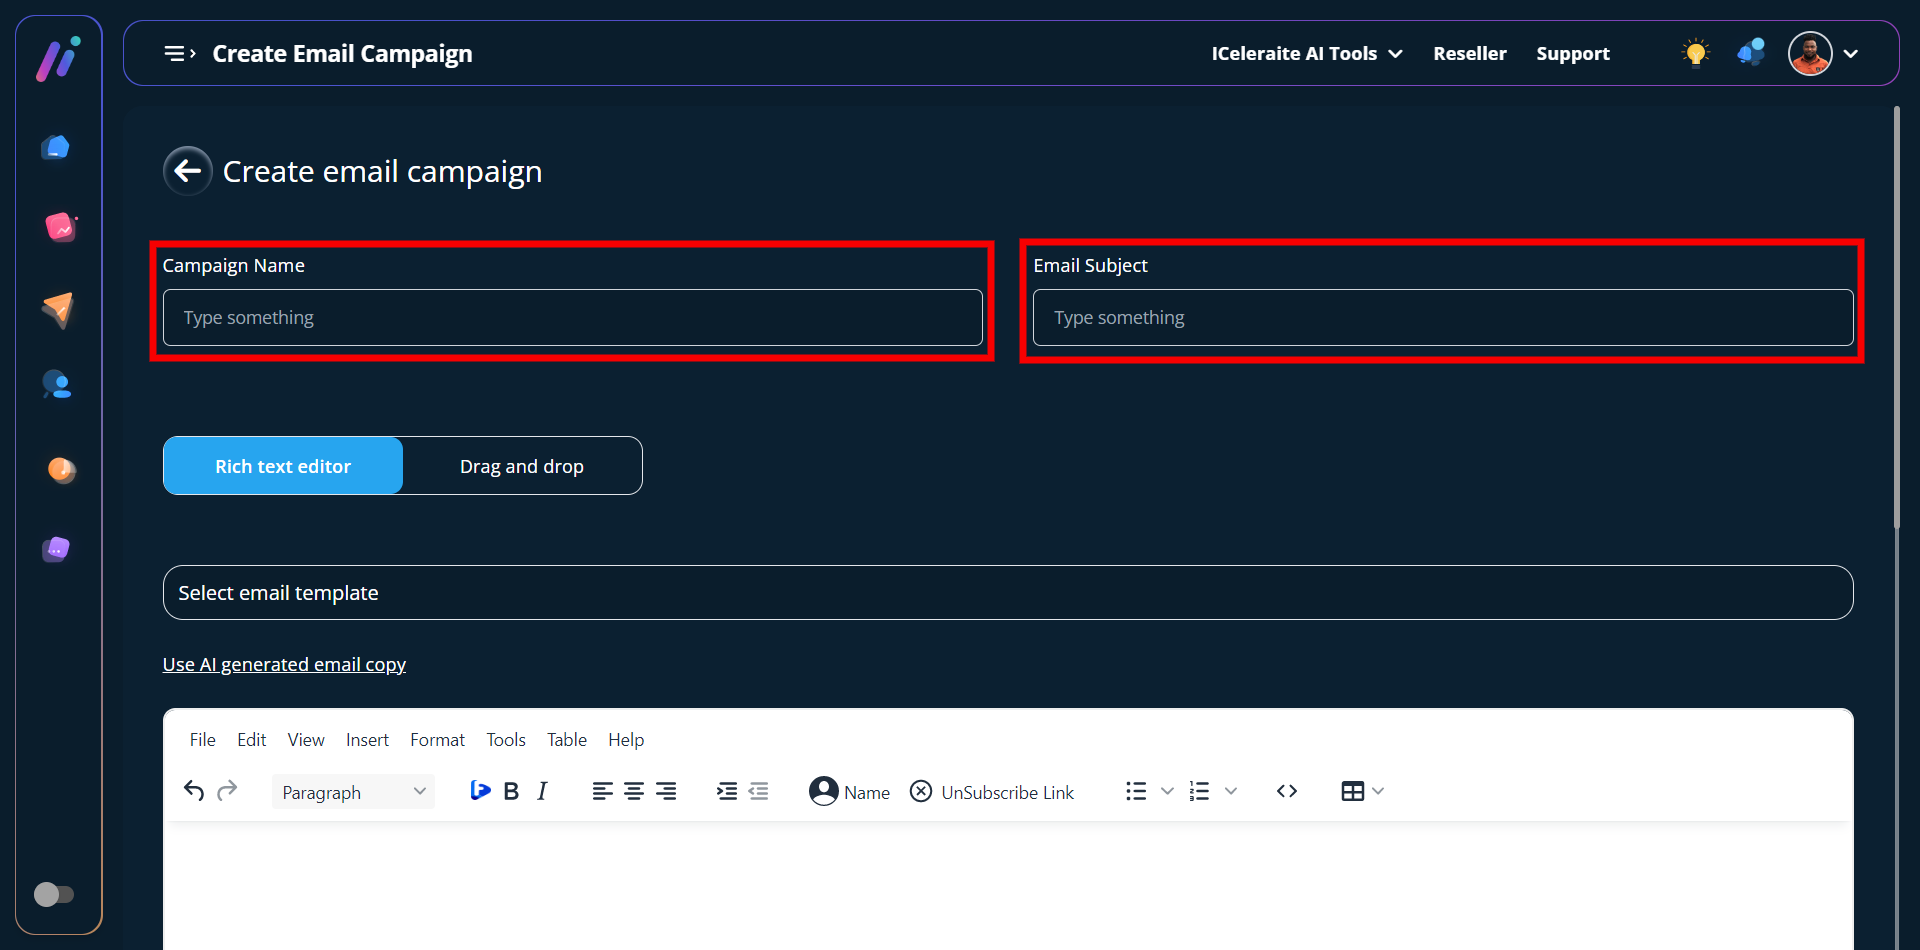
Here’s an example;
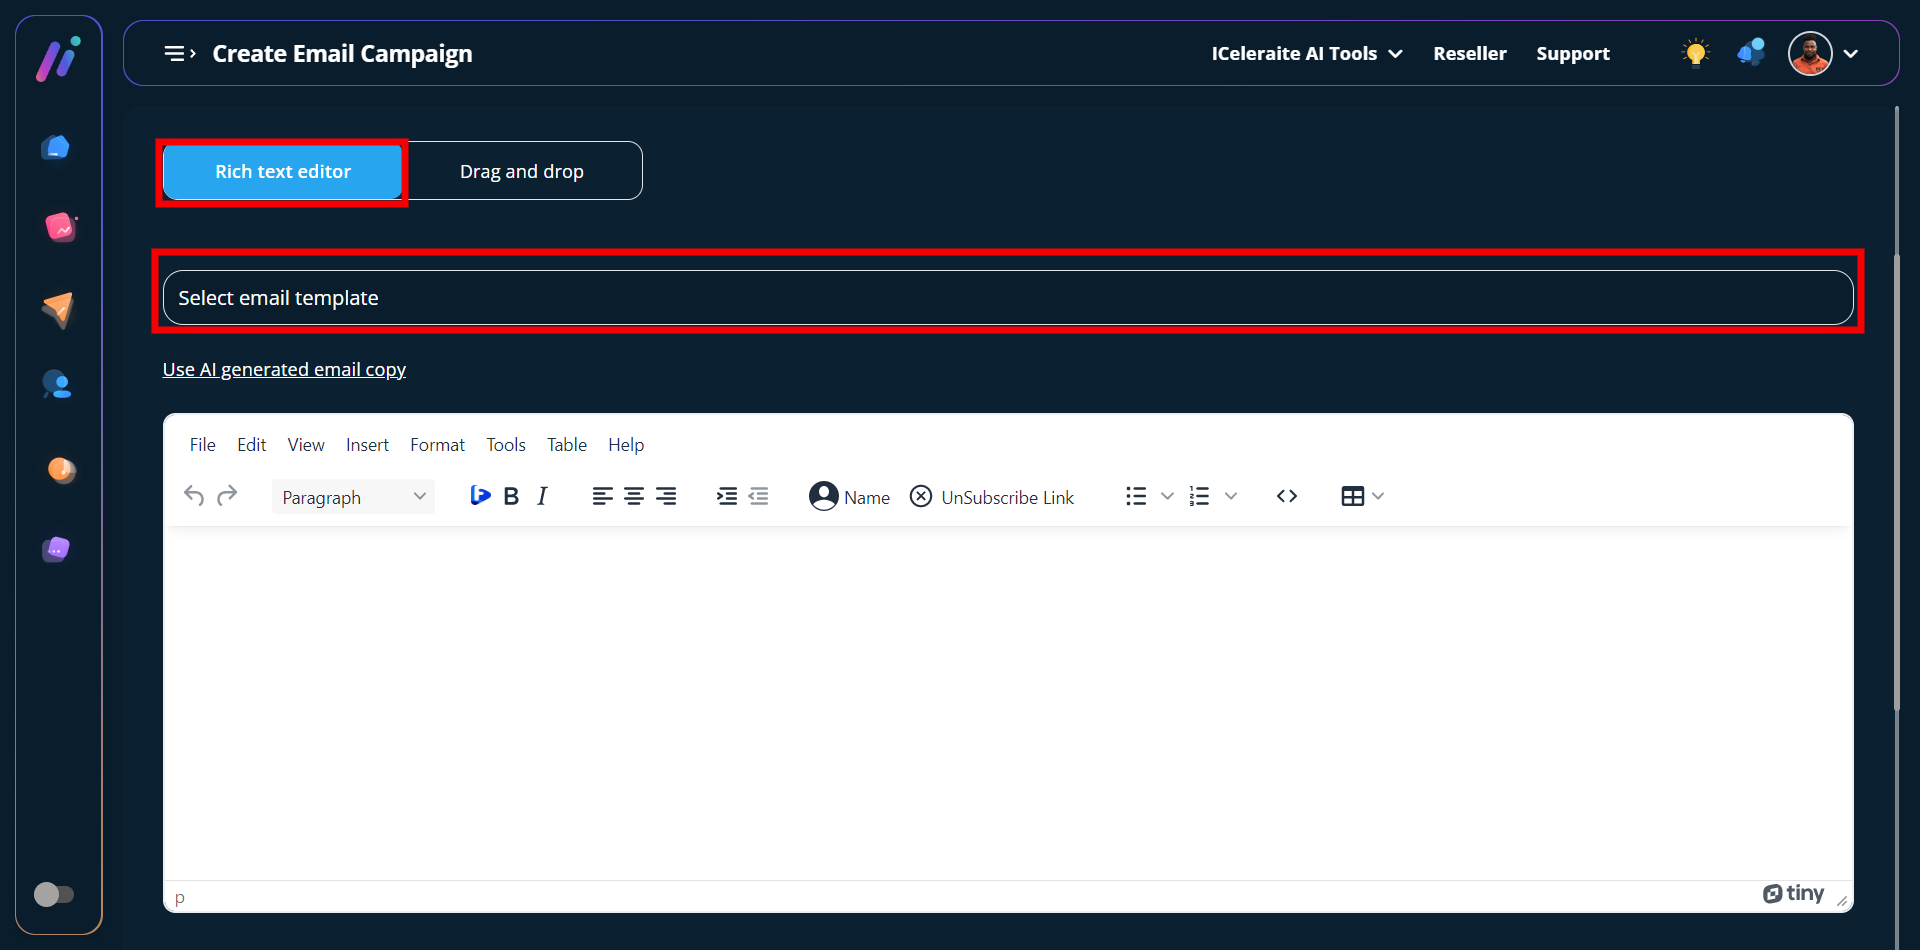
STEP 4: You can create content for your email copy by either using an already existing email template, rich text editor, AI-generated email copy, or Drag and Drop.
Using An Already Existing Email Template (If you choose this option you’d have to select any of your preferred email templates created with a rich text editor)
Note: Before you can select from your already existing template, you will have to create an email template using the rich text editor. Kindly follow this link (How To Create An Email Template)
Using The AI-Generated Email Copy (If you choose this option the AI will write the email copy for you after entering some keywords then you can copy and paste it into the editor)
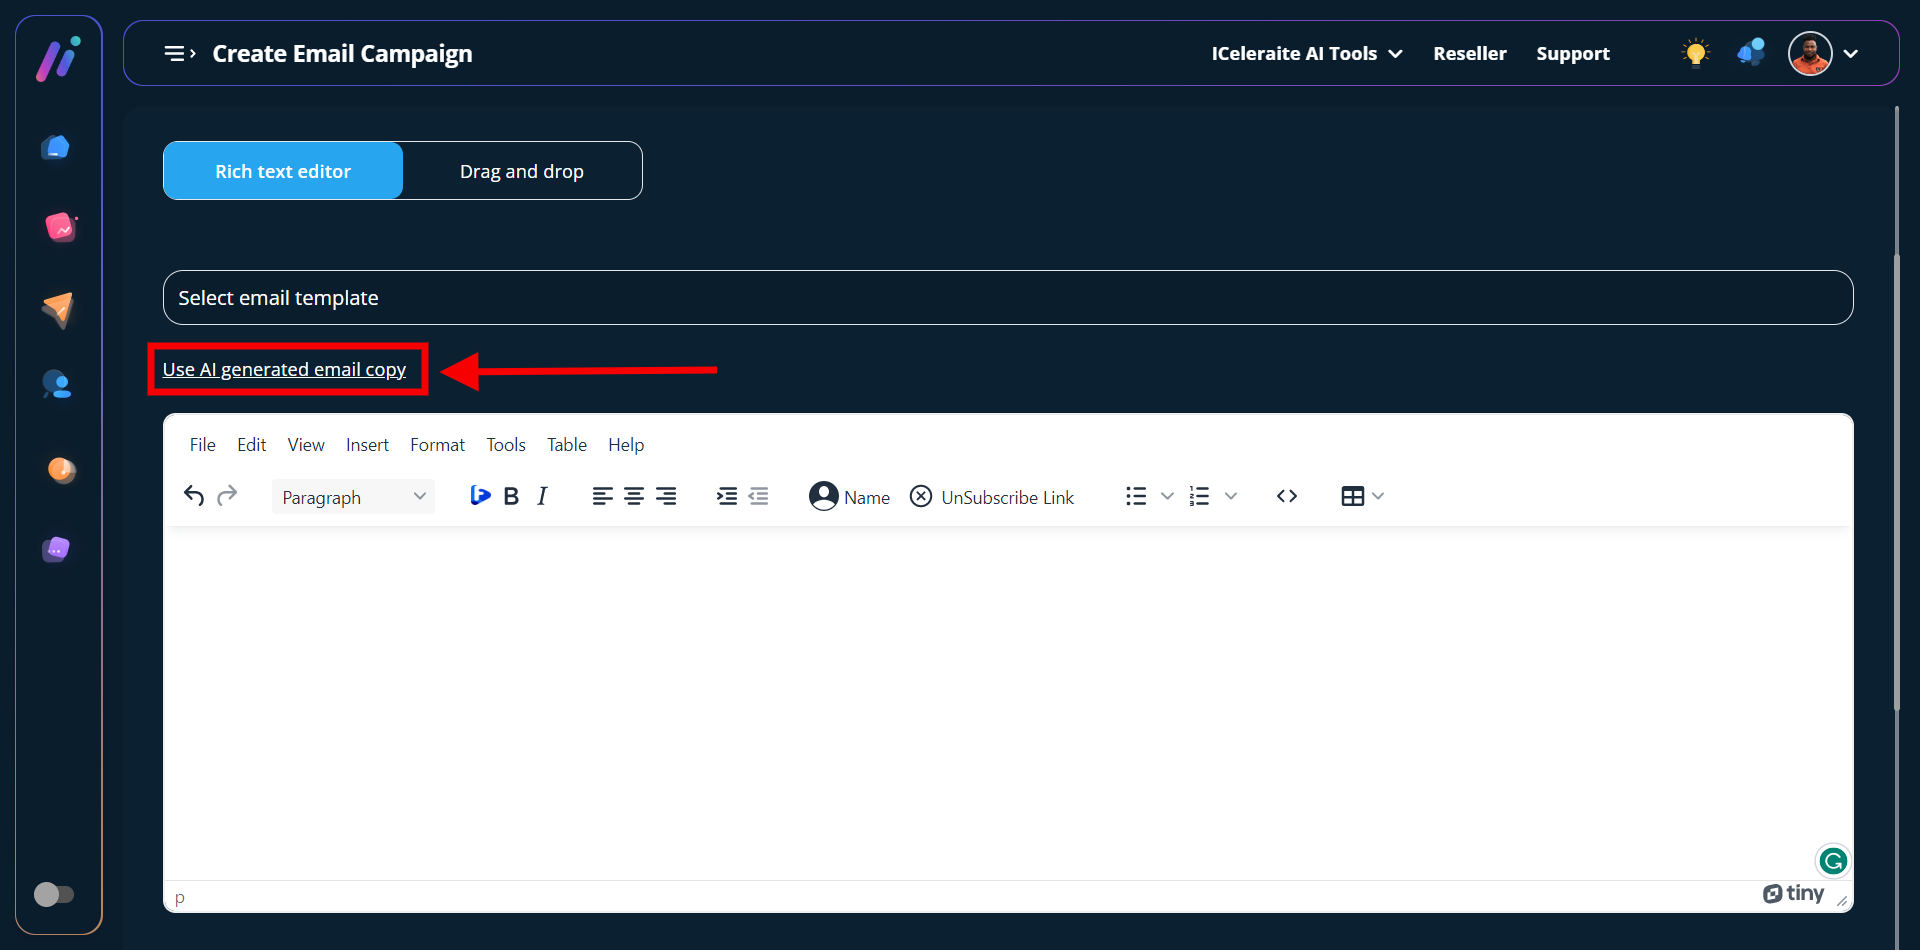
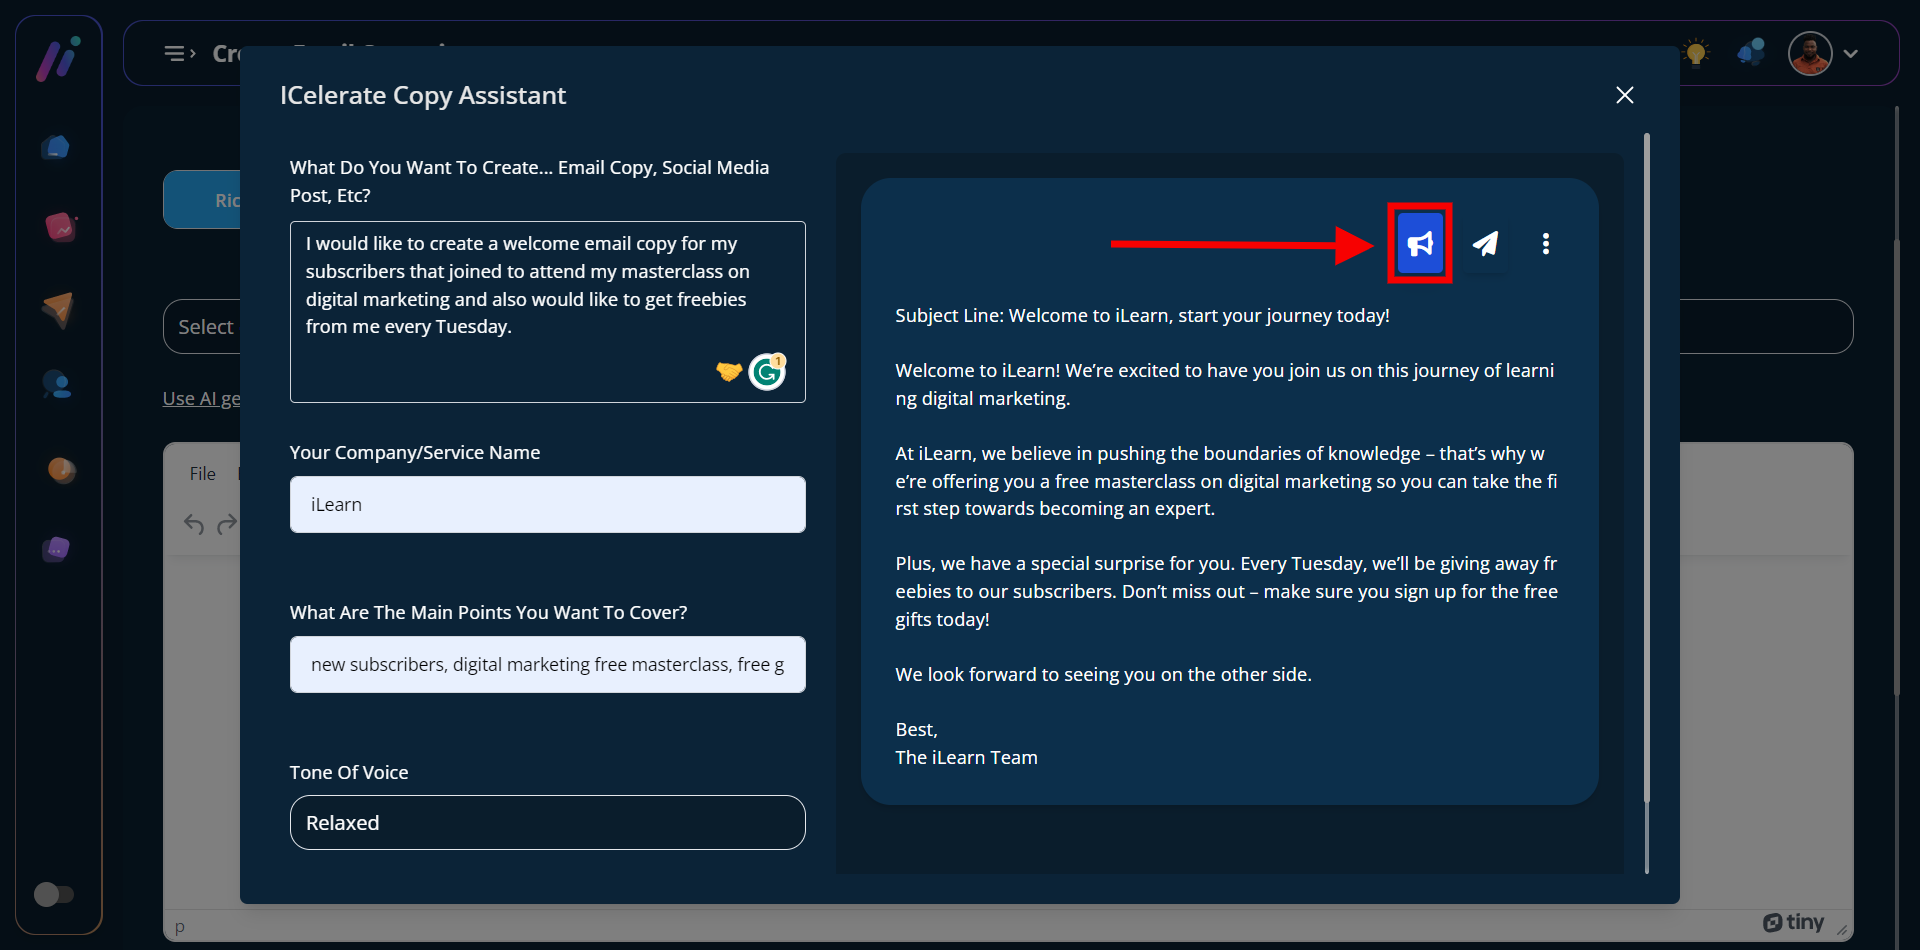
After clicking on the ‘Use AI-Generated Email Copy’ link you would see a pop-up. The next thing you have to do is to reply to all the questions the AI is asking to further create copy that’s suitable for your email campaign.
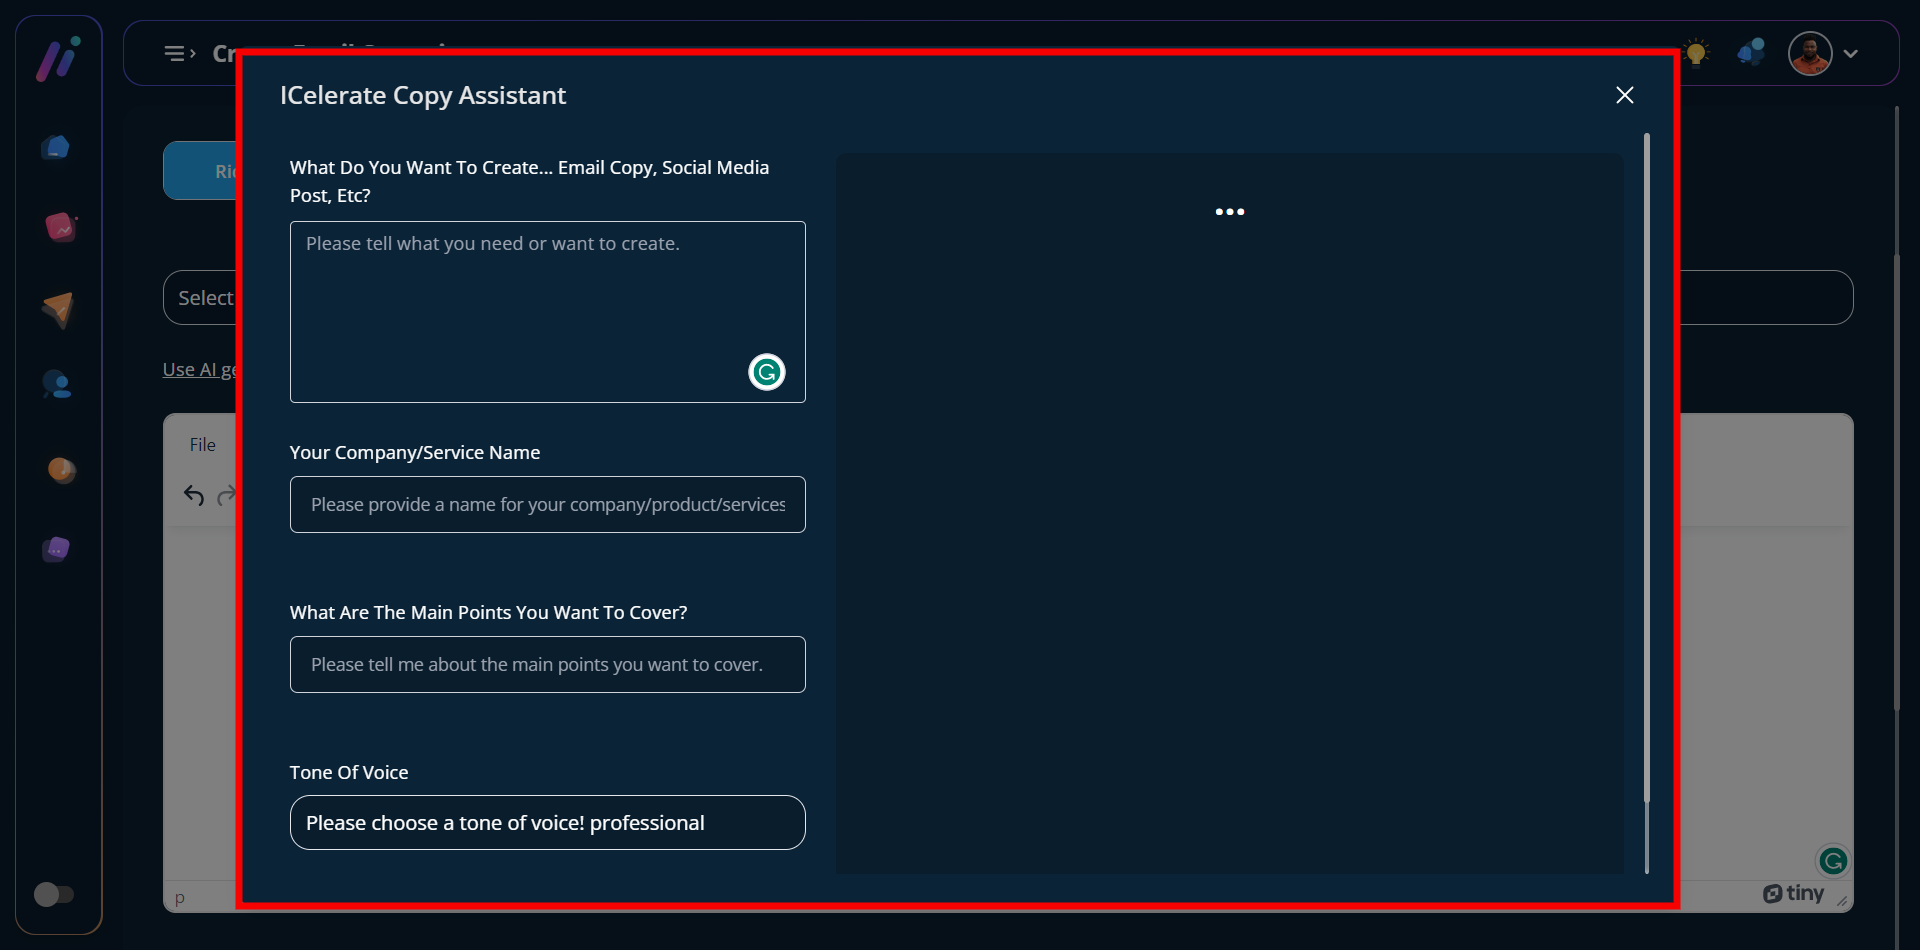
For instance;
AI Question 1: What do you want to create…email copy, social media post, etc?
My Response: I would like to create a welcome email copy for my subscribers that joined to attend my masterclass on digital marketing and also would like to get freebies from me every Tuesday.
AI Question 2: Your Company/Service Name
My Response: iLearn
AI Question 3: What are the main points you want to cover?
My Response: new subscribers, digital marketing free masterclass, free gifts
AI Question 4: Tone of Voice
My Response: Relaxed
Note: Your response will be based on the kind of email copy you want the AI assistant to create for you. The example above is provided to give you a better understanding of what to tell the AI.
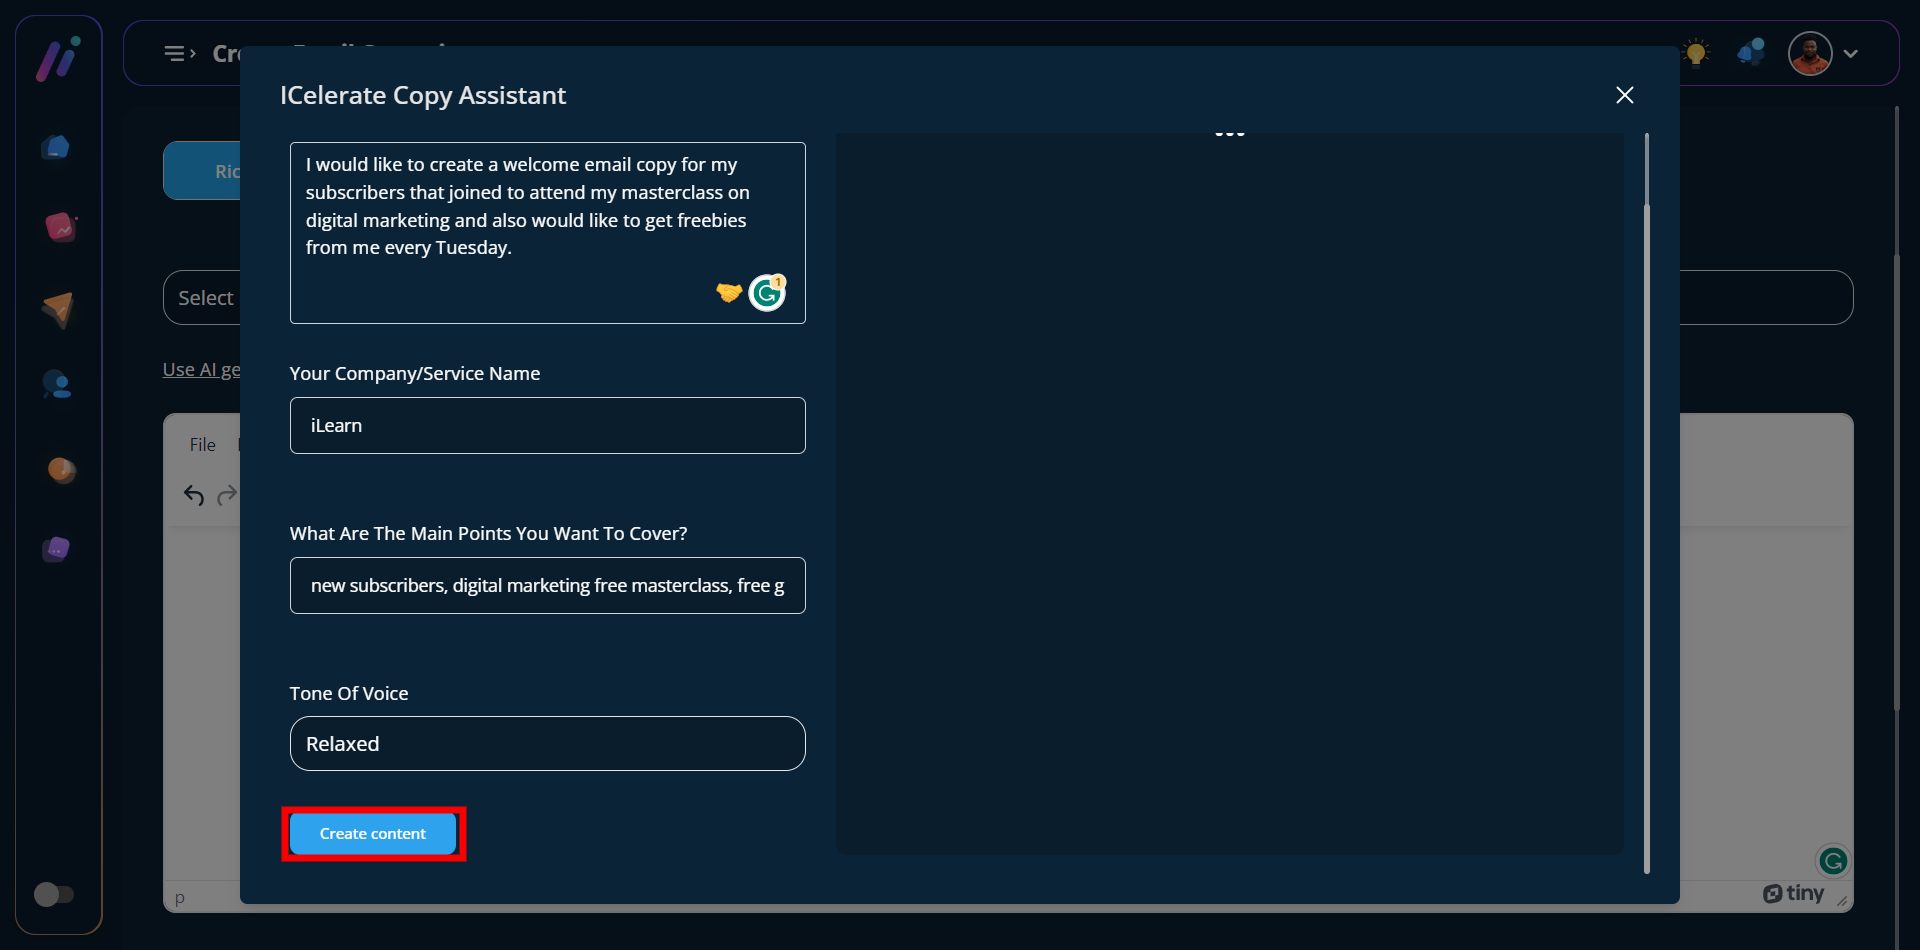
After answering all the questions the AI is asking, you would have to scroll down and click the ”create content” button as shown in the screenshot above.
The next thing you will have to do after clicking the ”create content” button is to click either the “broadcast button that allows you to paste the copy automatically into the rich text editor”, the“share button that allows you to post directly to your preferred social media channel” or the triple dot icon that allows you to save the AI-generated copy as a template or delete it.

For the purpose of this tutorial, I’d use just the broadcast button. Once you click on the “broadcast button” the AI-generated copy would be automatically pasted into the rich text editor area.
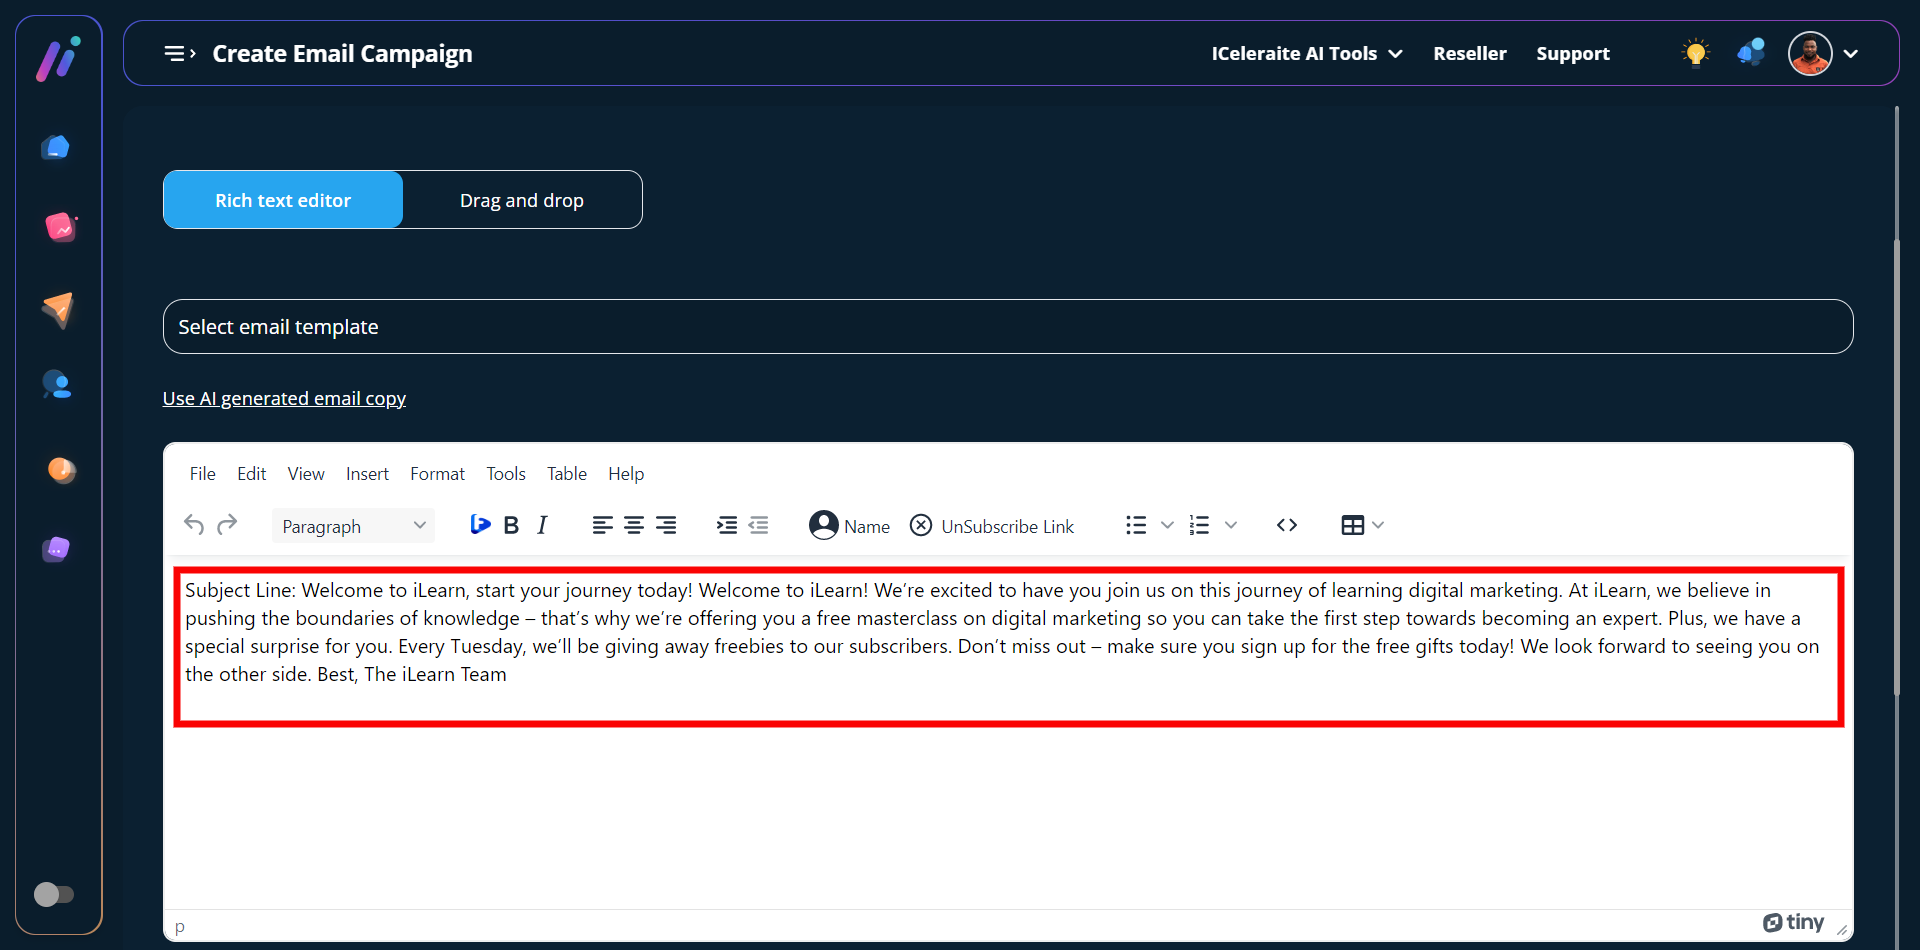
Note: You can go ahead to format the copy using the tools in the rich text editor top menu.
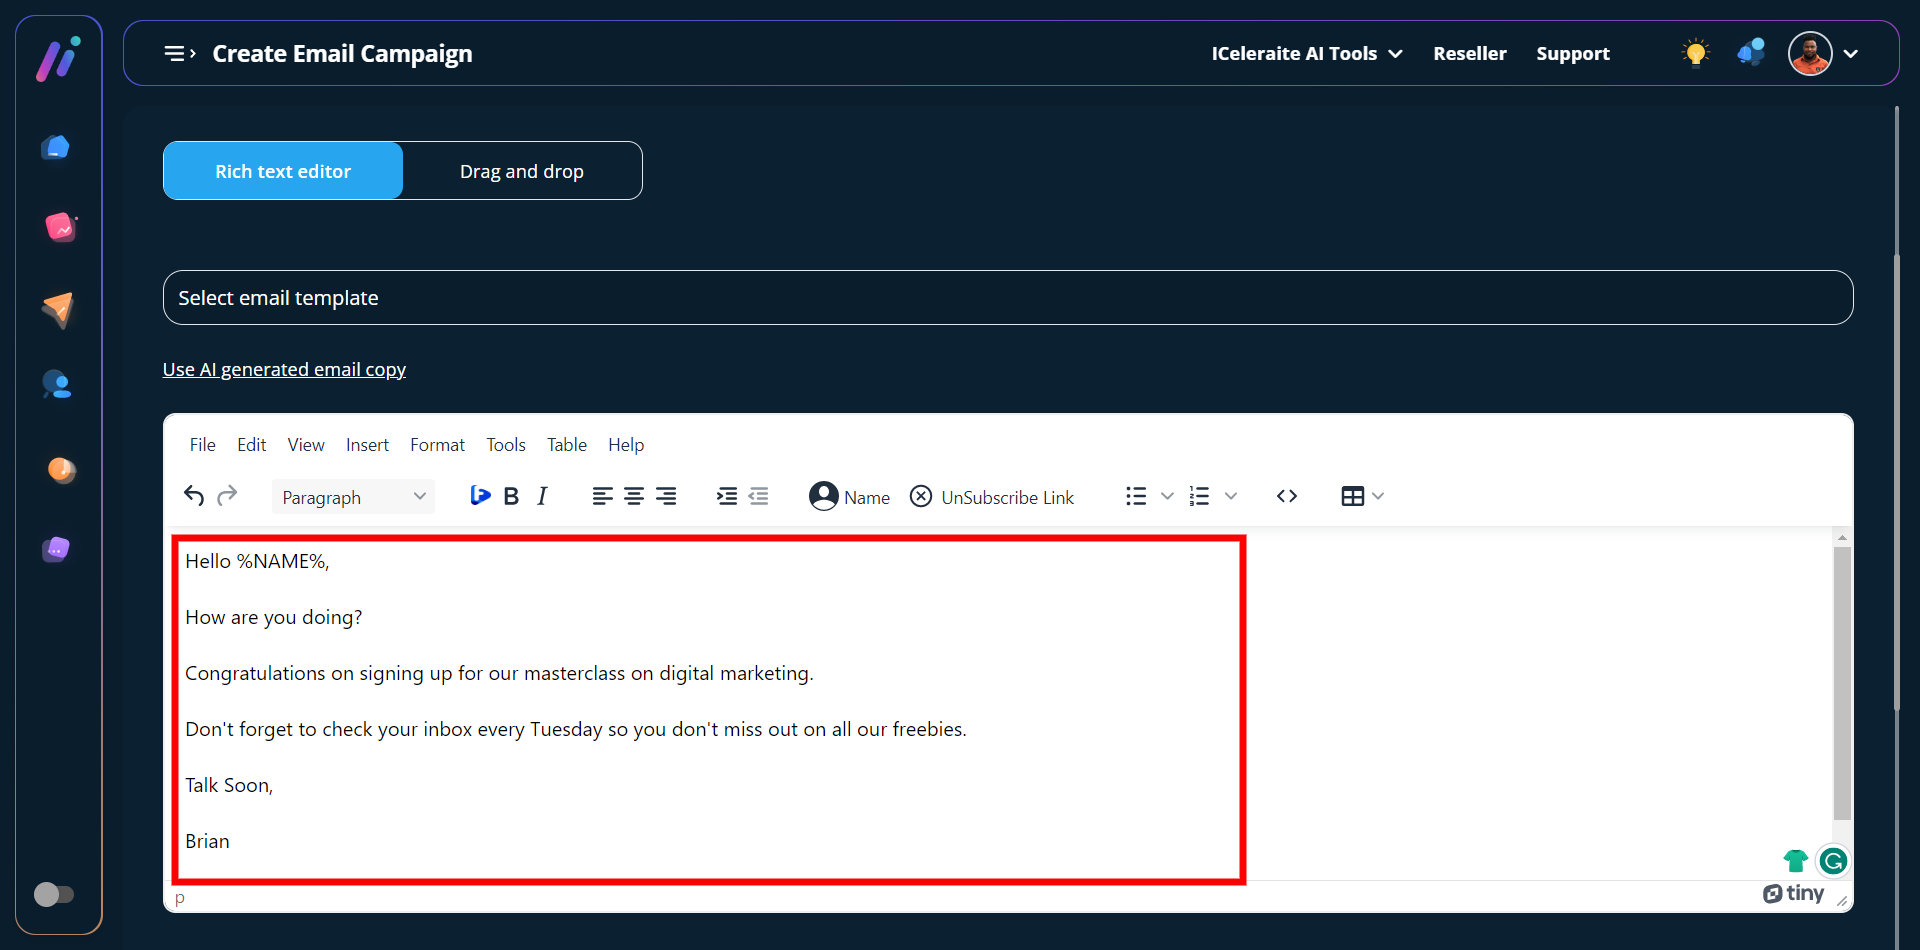
Using The Rich Text Editor (If you choose this option you’d have to write the content yourself)
Using the “Drag and Drop Option”(If you choose this option you’d have to select any of your preferred email templates already created with iCeleraite’s in-built email template builder)
Note: Before you can select from your already existing templates, you will have to create an email template using the drag-and-drop builder. Kindly follow this link (How To Create An Email Template) You can also preview and edit the template as desired.
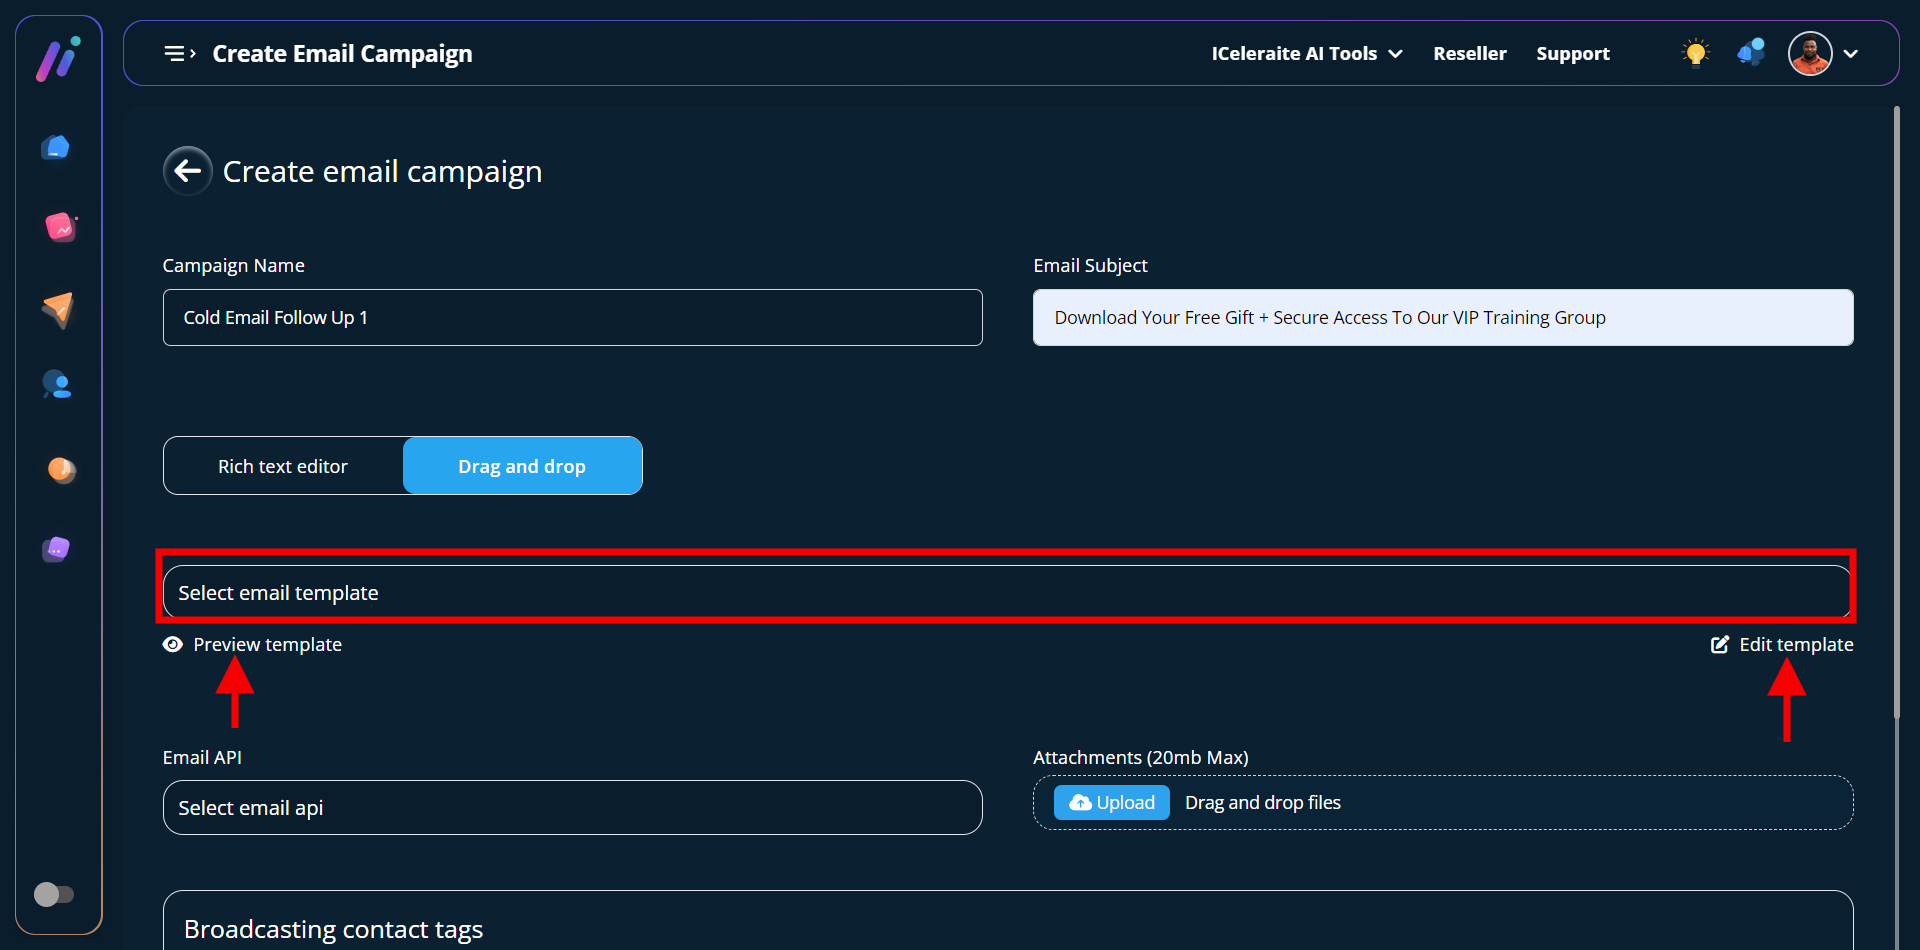
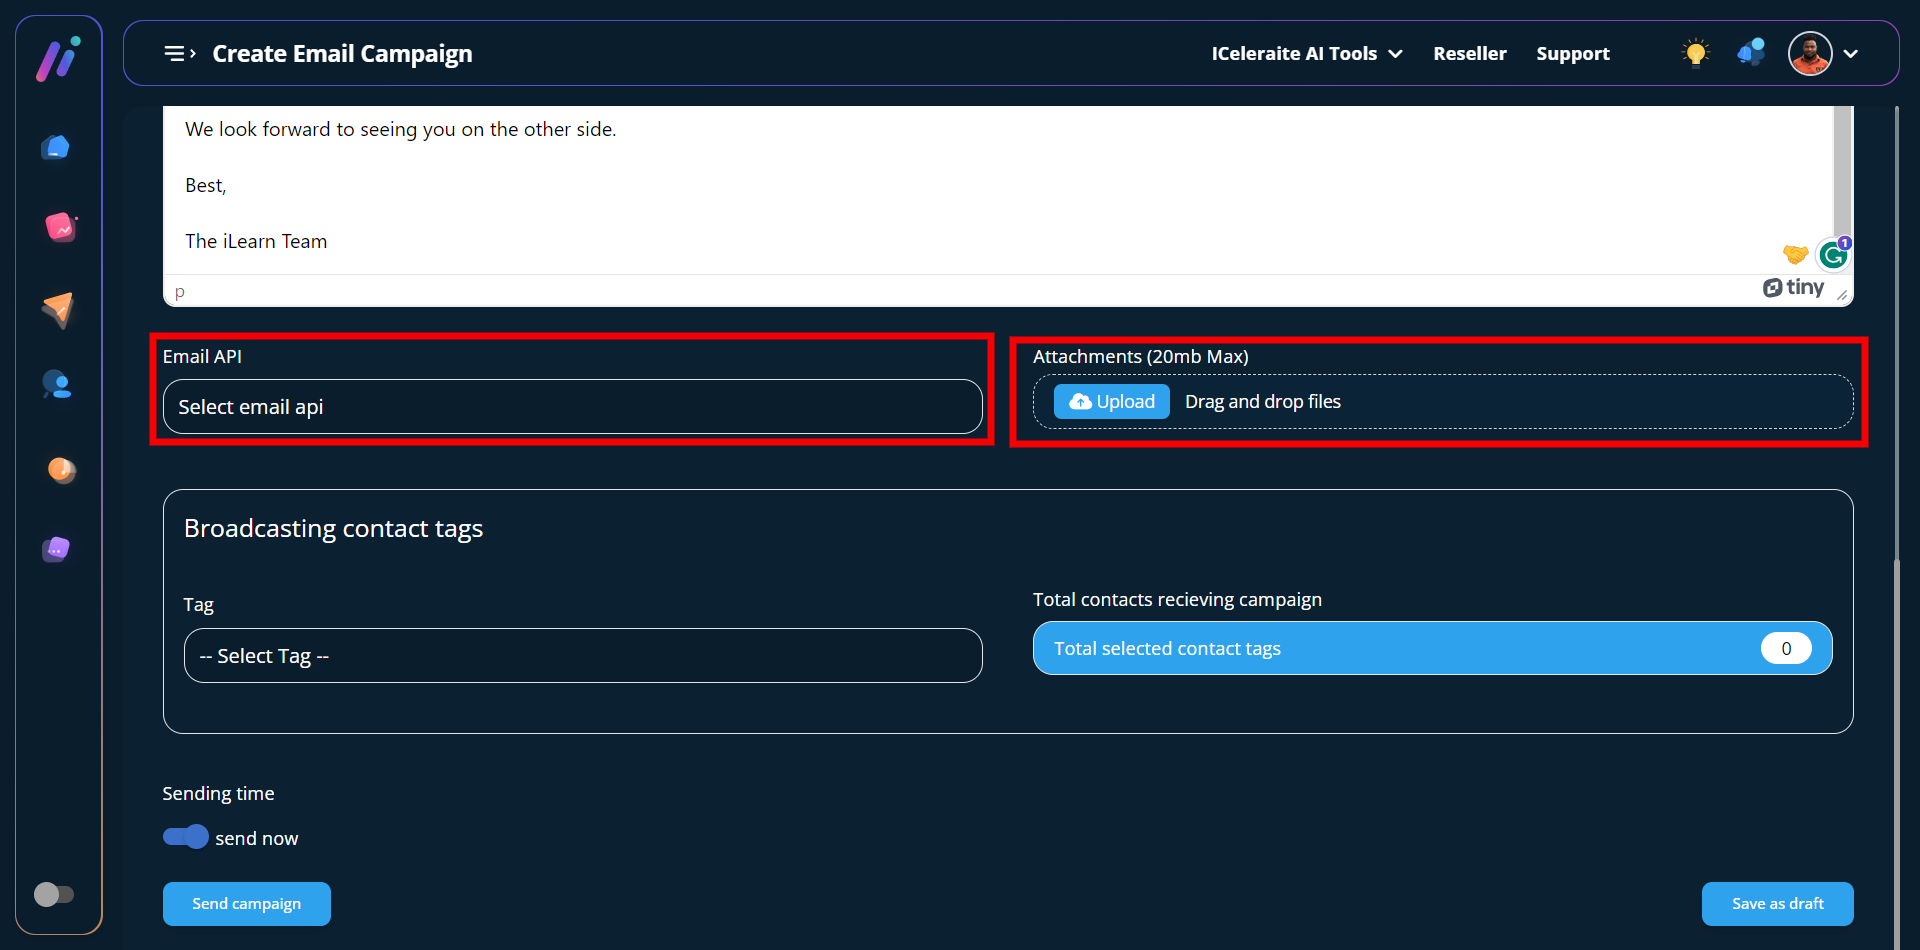
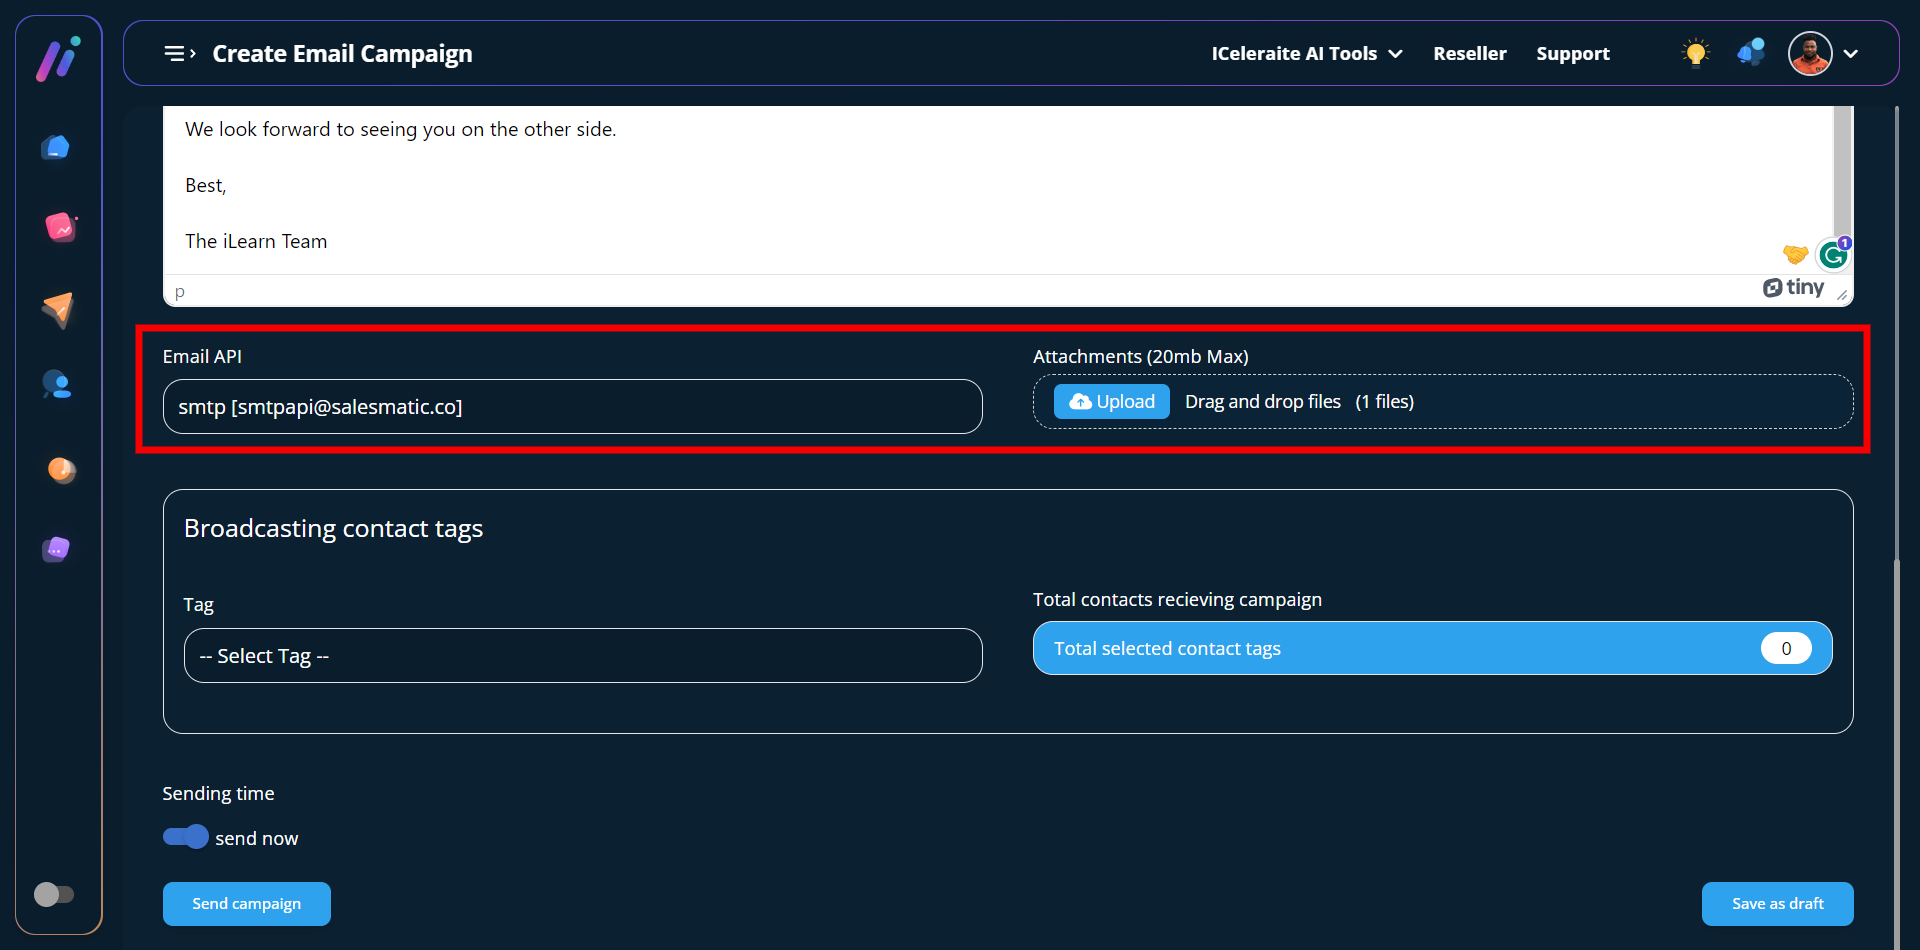
STEP 5: After using your preferred option to create your copy for the email campaign you’d have to select an email API.
Note: Before you can select an email API, you will have to integrate your preferred email API.
Kindly follow any of the links (How To Integrate An Email SMTP, How To Integrate Sendgrid, How To Integrate Mailgun, How To Integrate Mandrill, How To Integrate Gmail, How To Create Integrate AWS, )
It is optional to upload attachments, you should also note that iCeleraite only allows you to upload zipped files and images as an attachment.
STEP 6: You need to create tags so you can easily segment your contacts by assigning them to different tags.
Note: Before you can select your broadcasting contact tags, you will have to create a tag and a contact. Kindly follow the link to see the respective articles (How to create a contact and a contact tag )
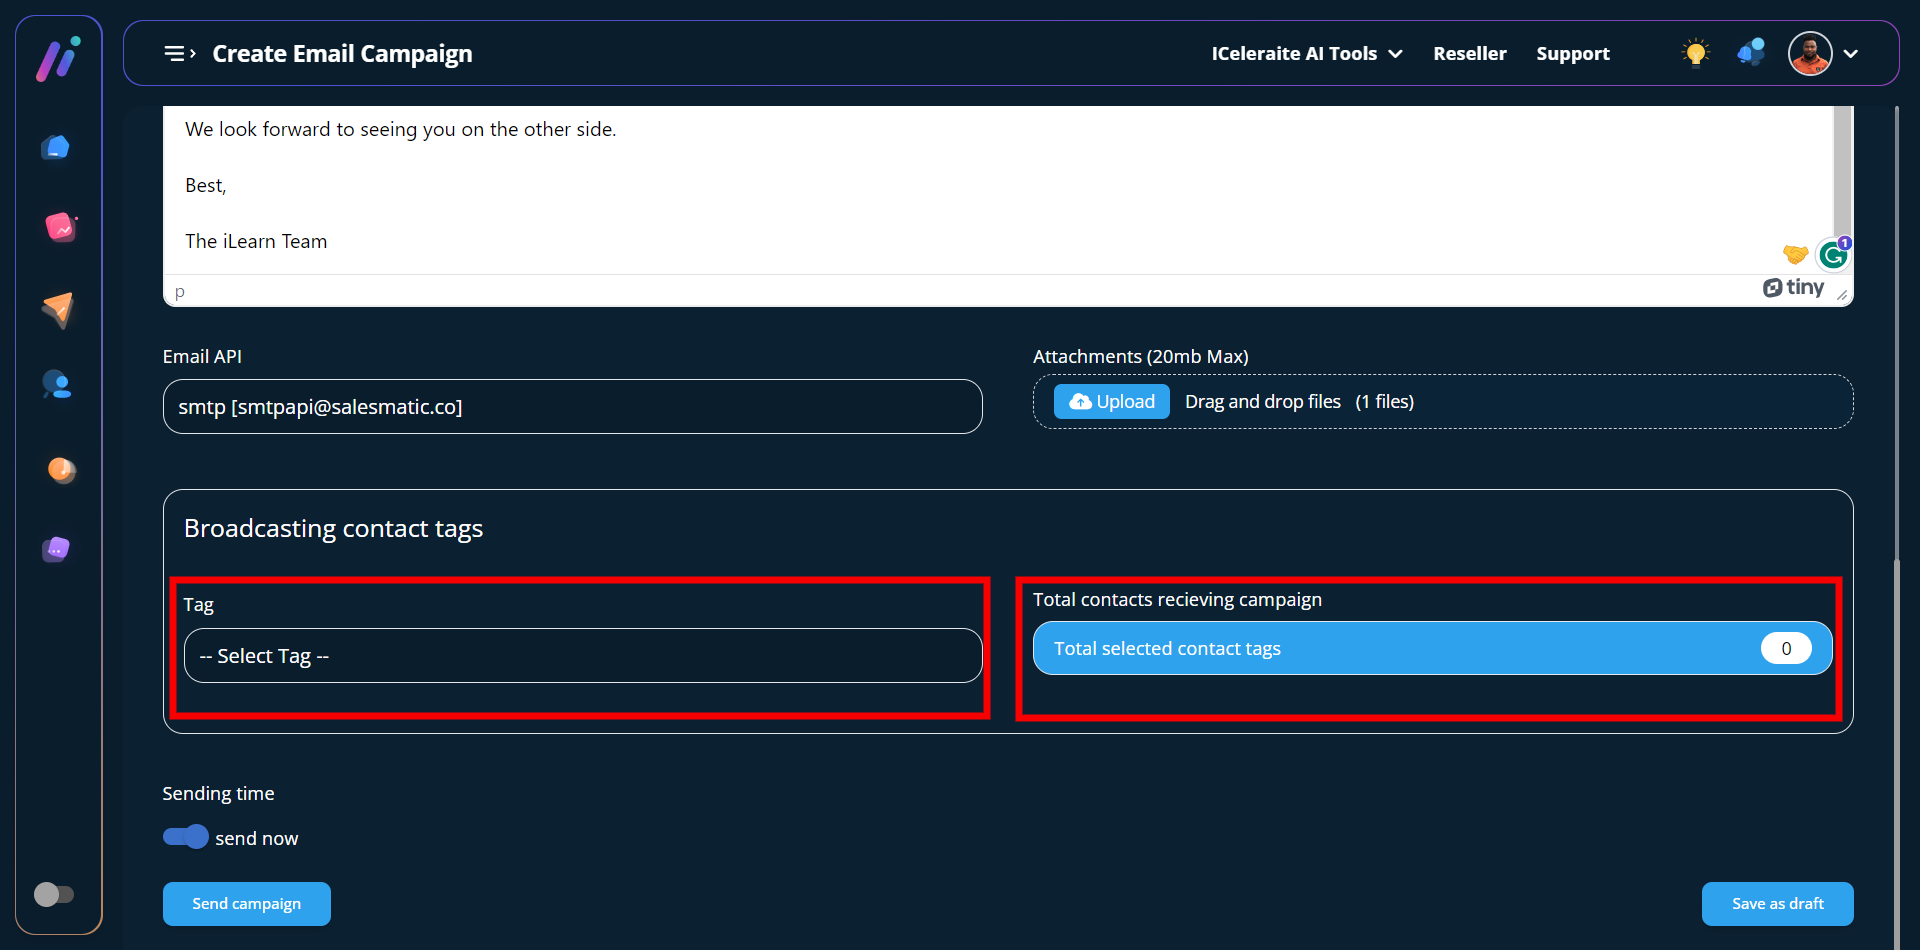
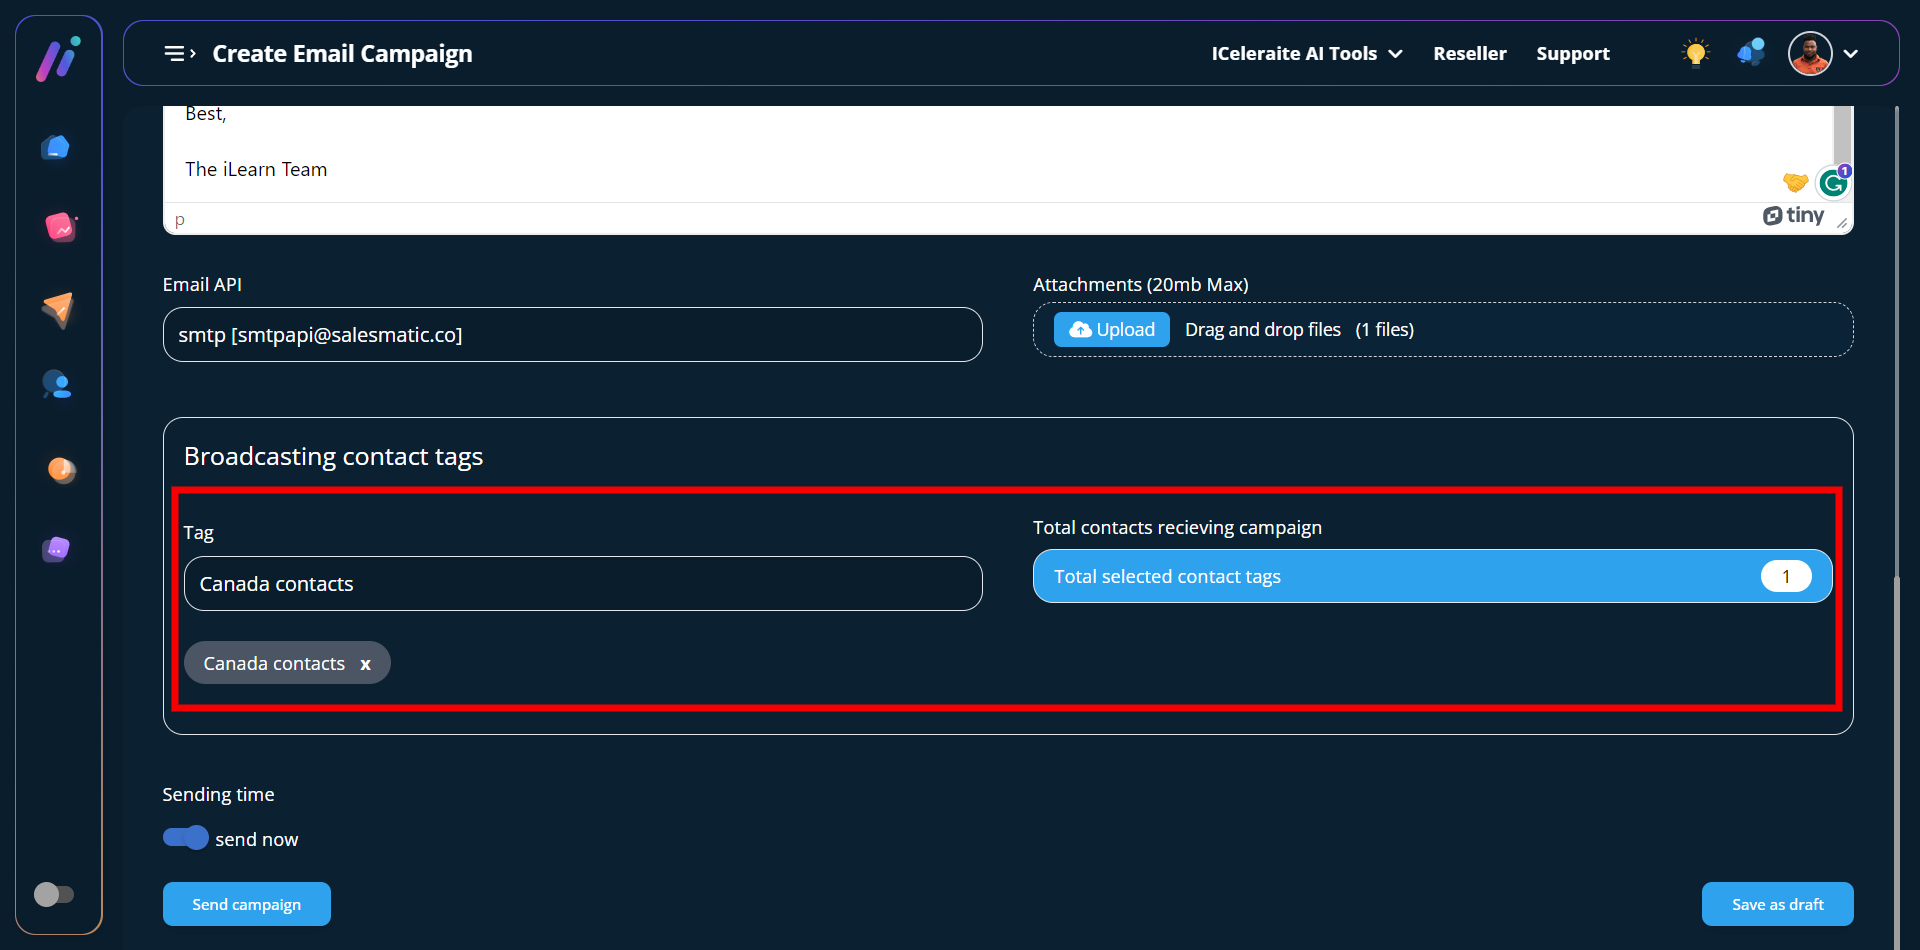
After selecting your preferred tag, you will be able to see the total contacts assigned to that particular as shown above in the screenshot.
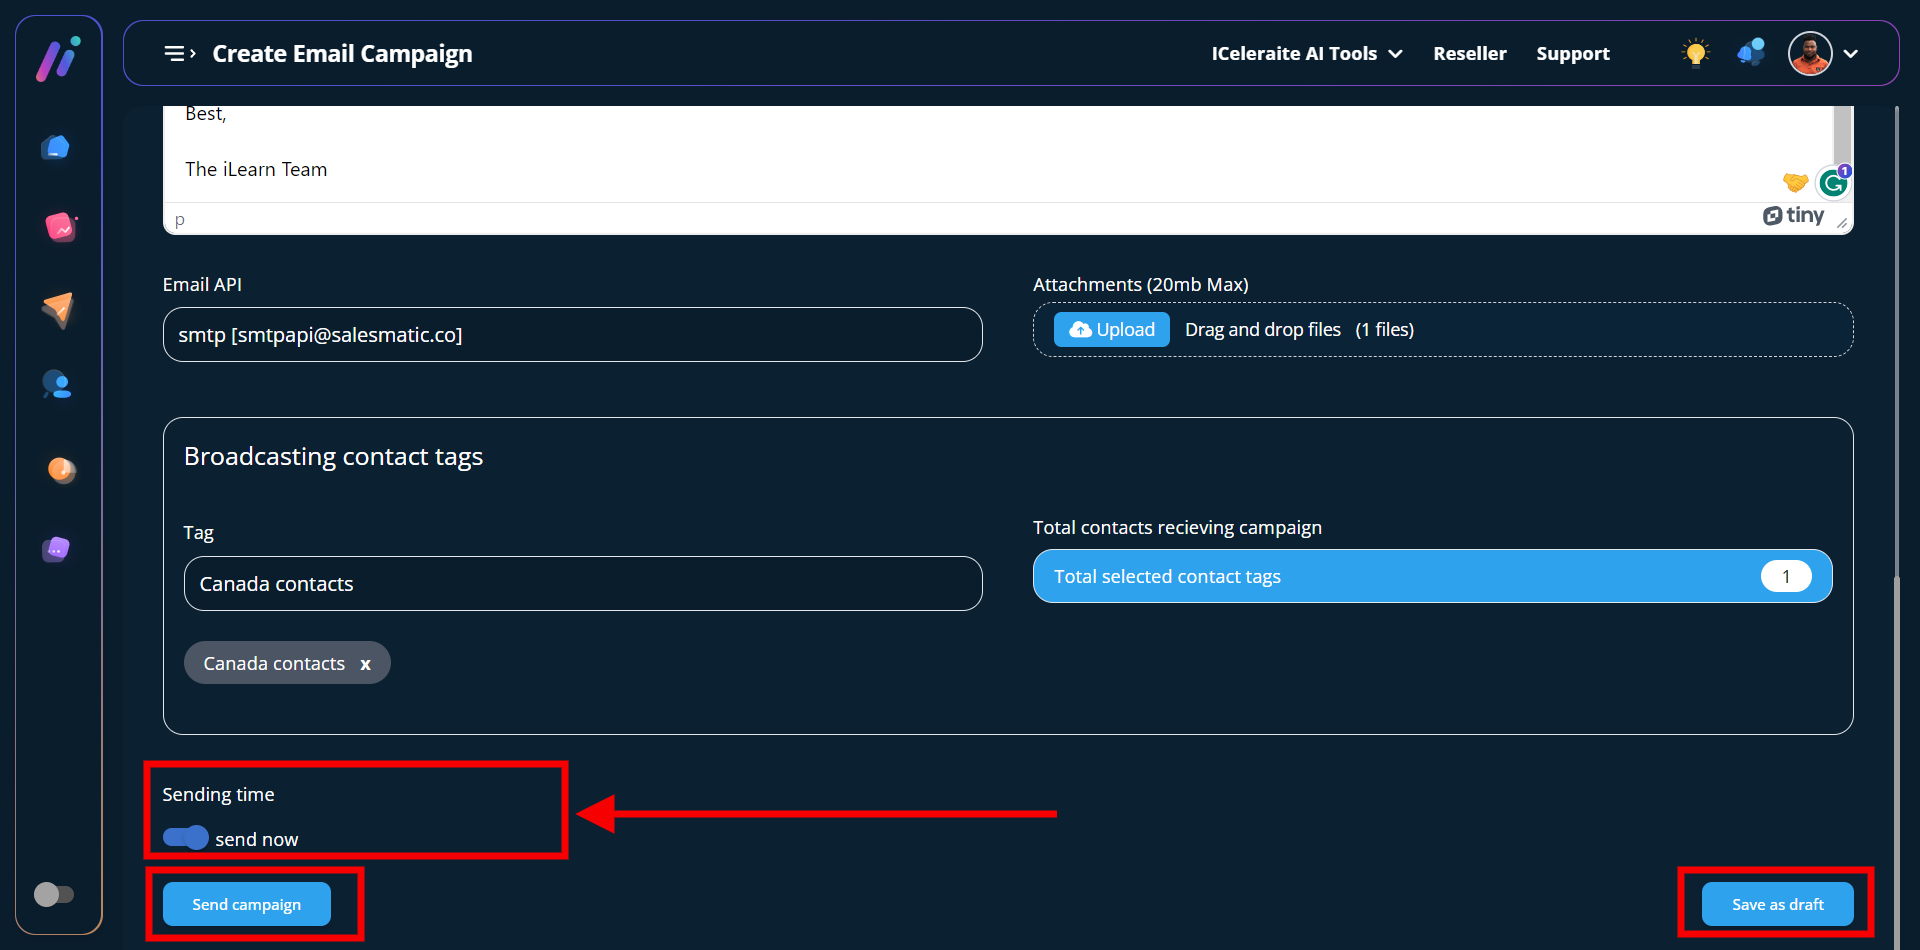
STEP 7: This is the final step where you will have to send your email campaign. When the toggle button for the sending time is turned on you will see two different options. The two options are the “send campaign” button and the “save as draft” button.
You can decide to either instantly send your campaign or save it as draft to continue later.
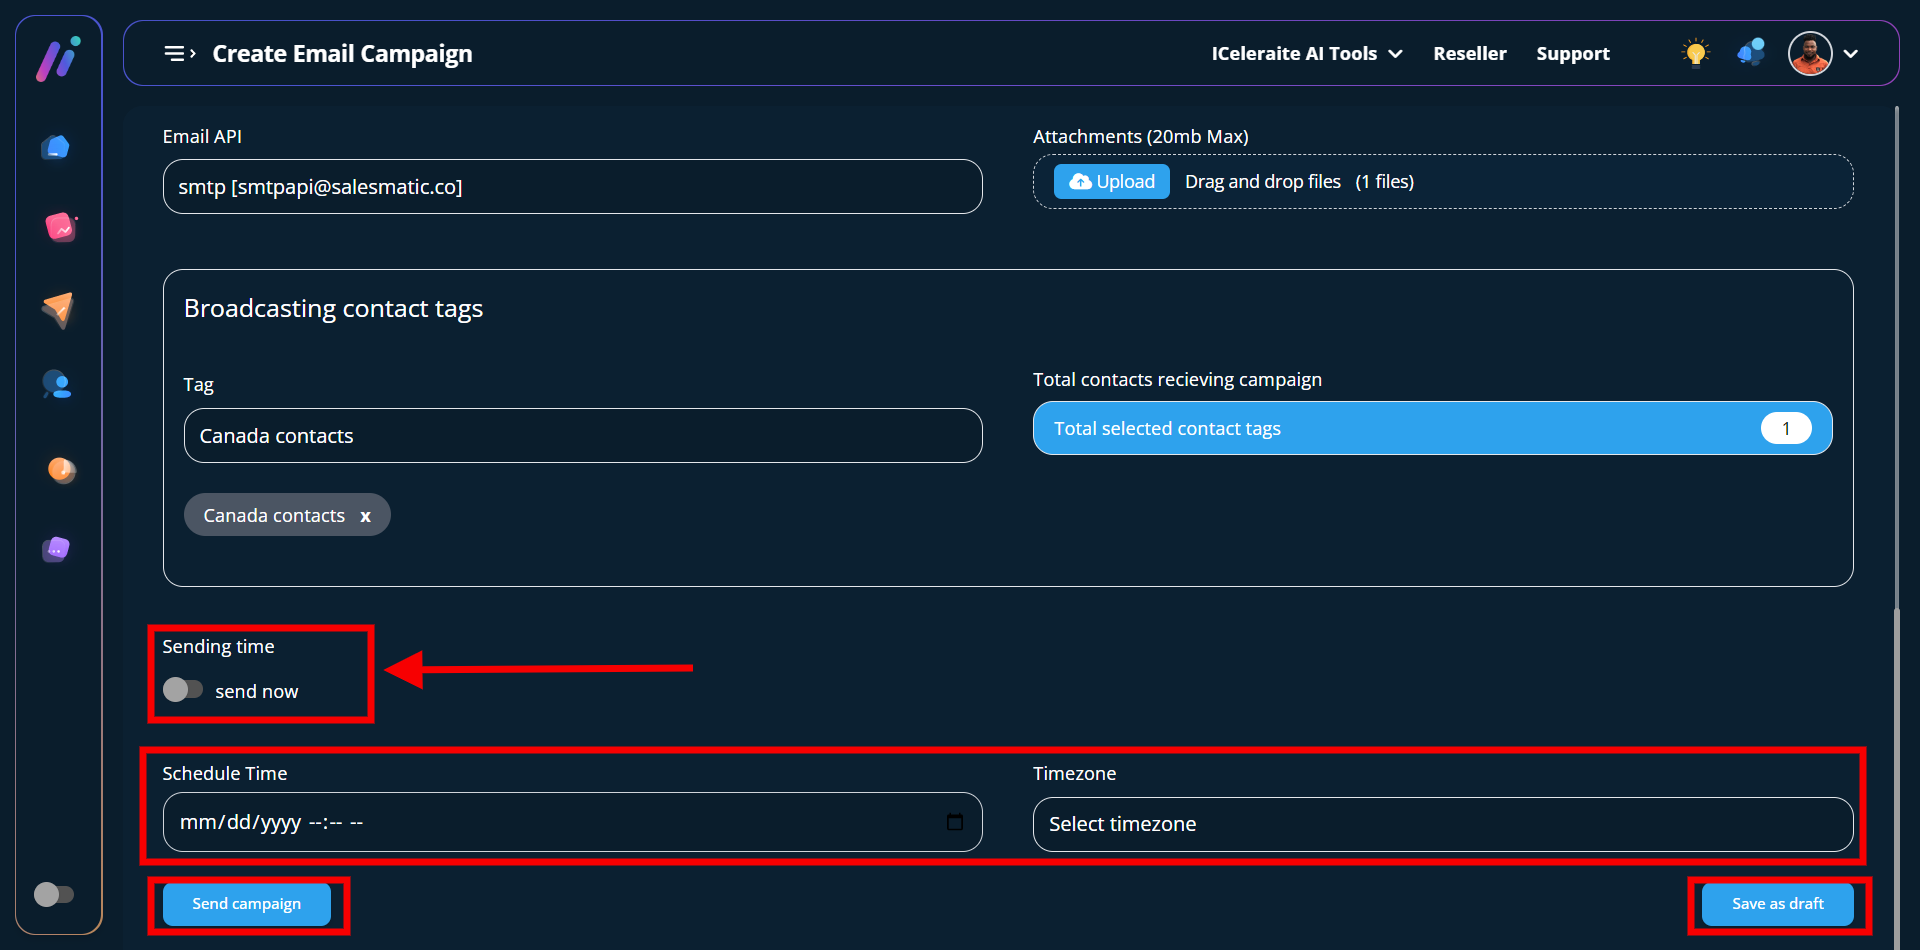
Whereas if the toggle button for the sending time is turned off you will get the option to schedule your preferred date and time as well as the timezone.
After which you can decide to either use the “send campaign” button or the “save as draft” button.
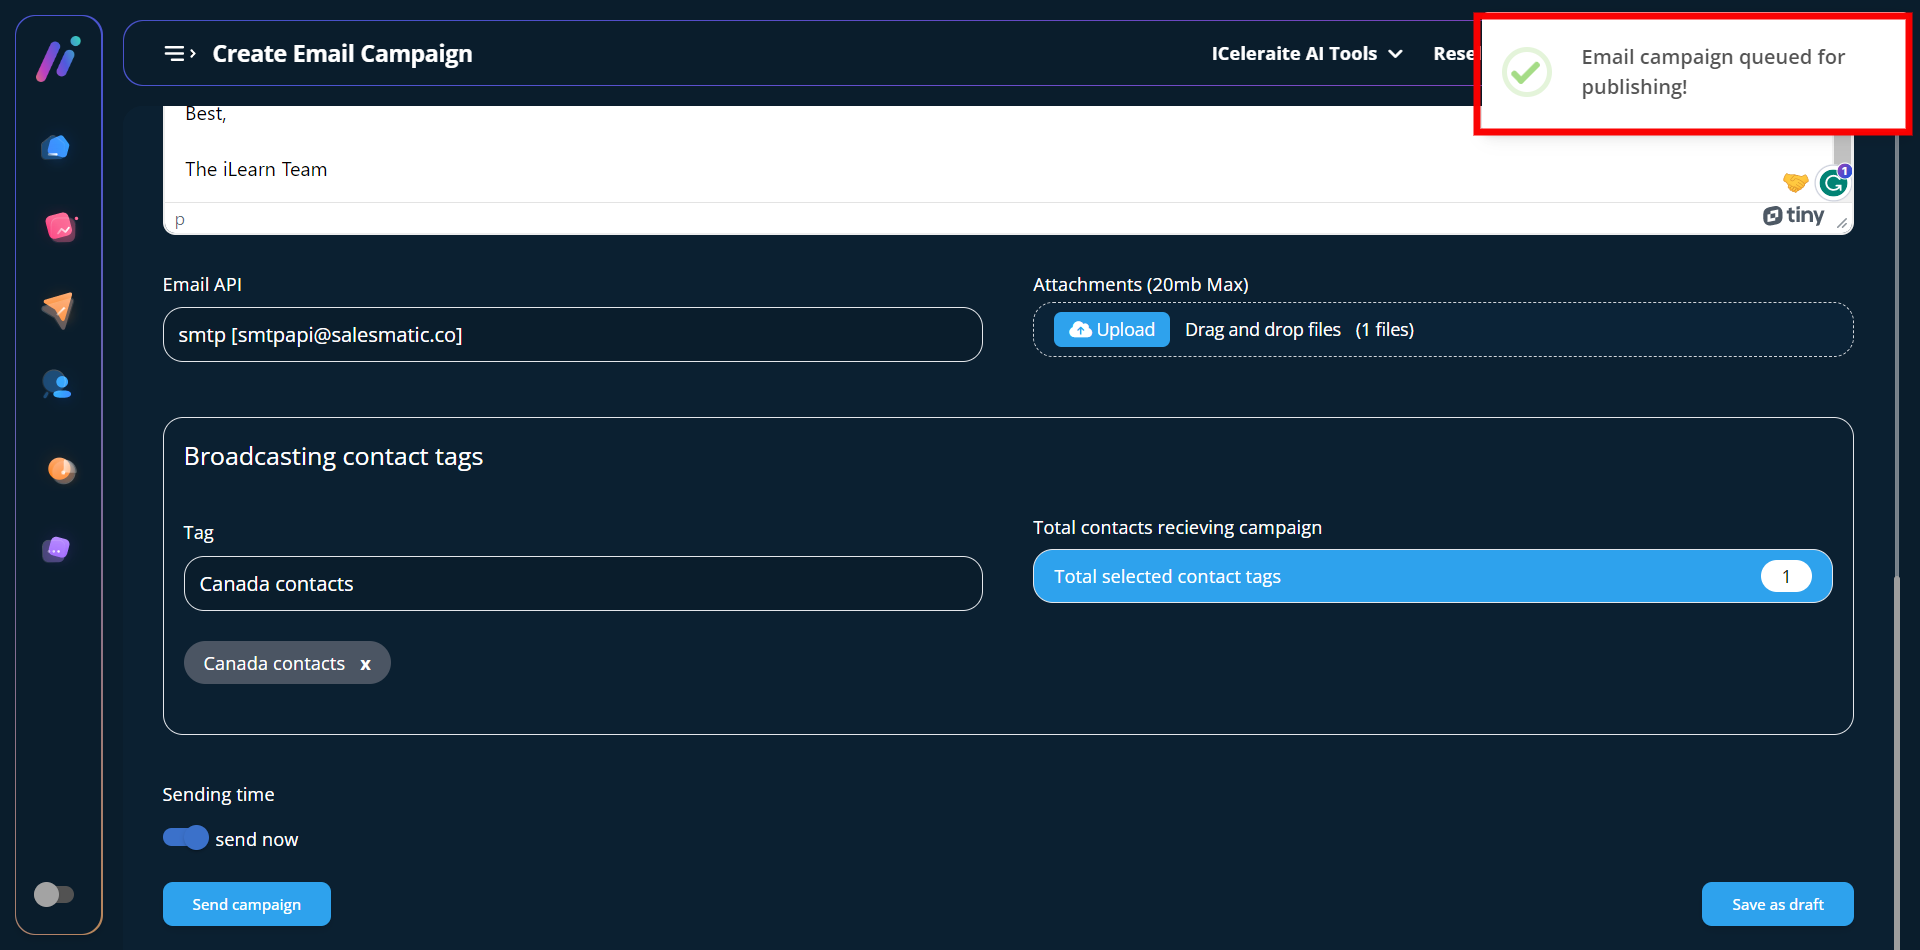
STEP 8: You will get a successful pop-up stating that; the email campaign is queued for publishing after which you will be redirected to the email campaign status area where you can see the details of all your campaigns.
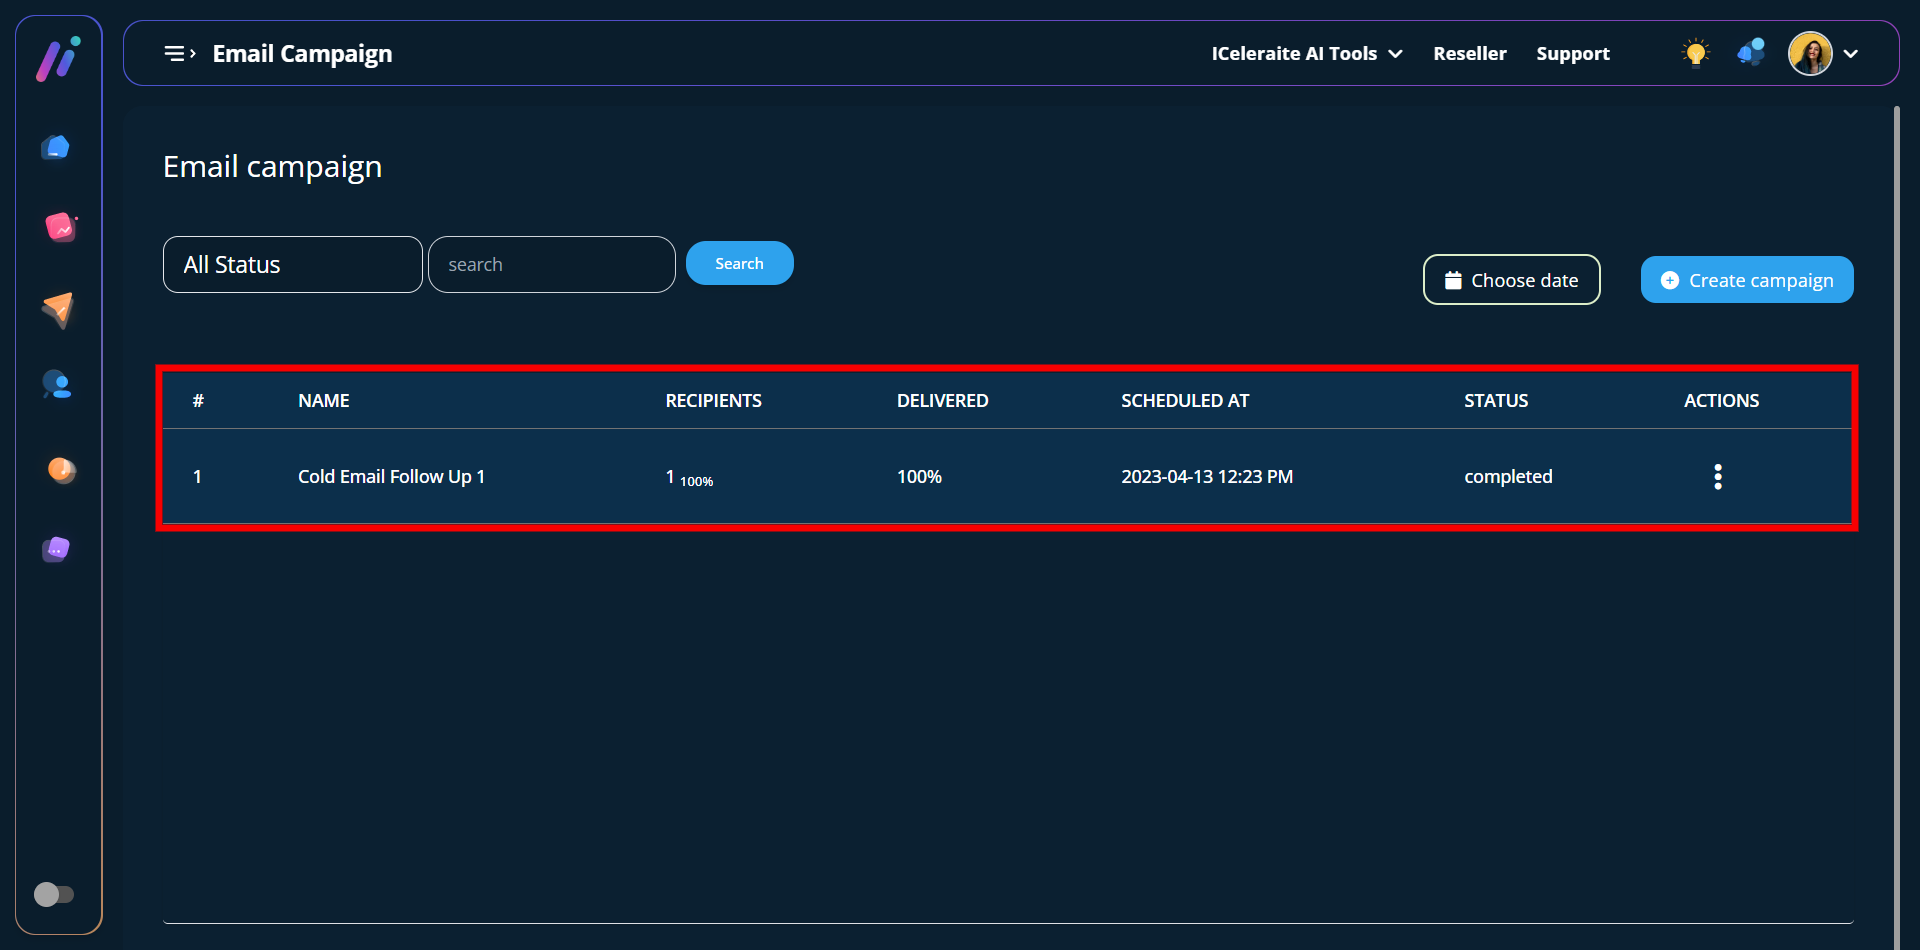
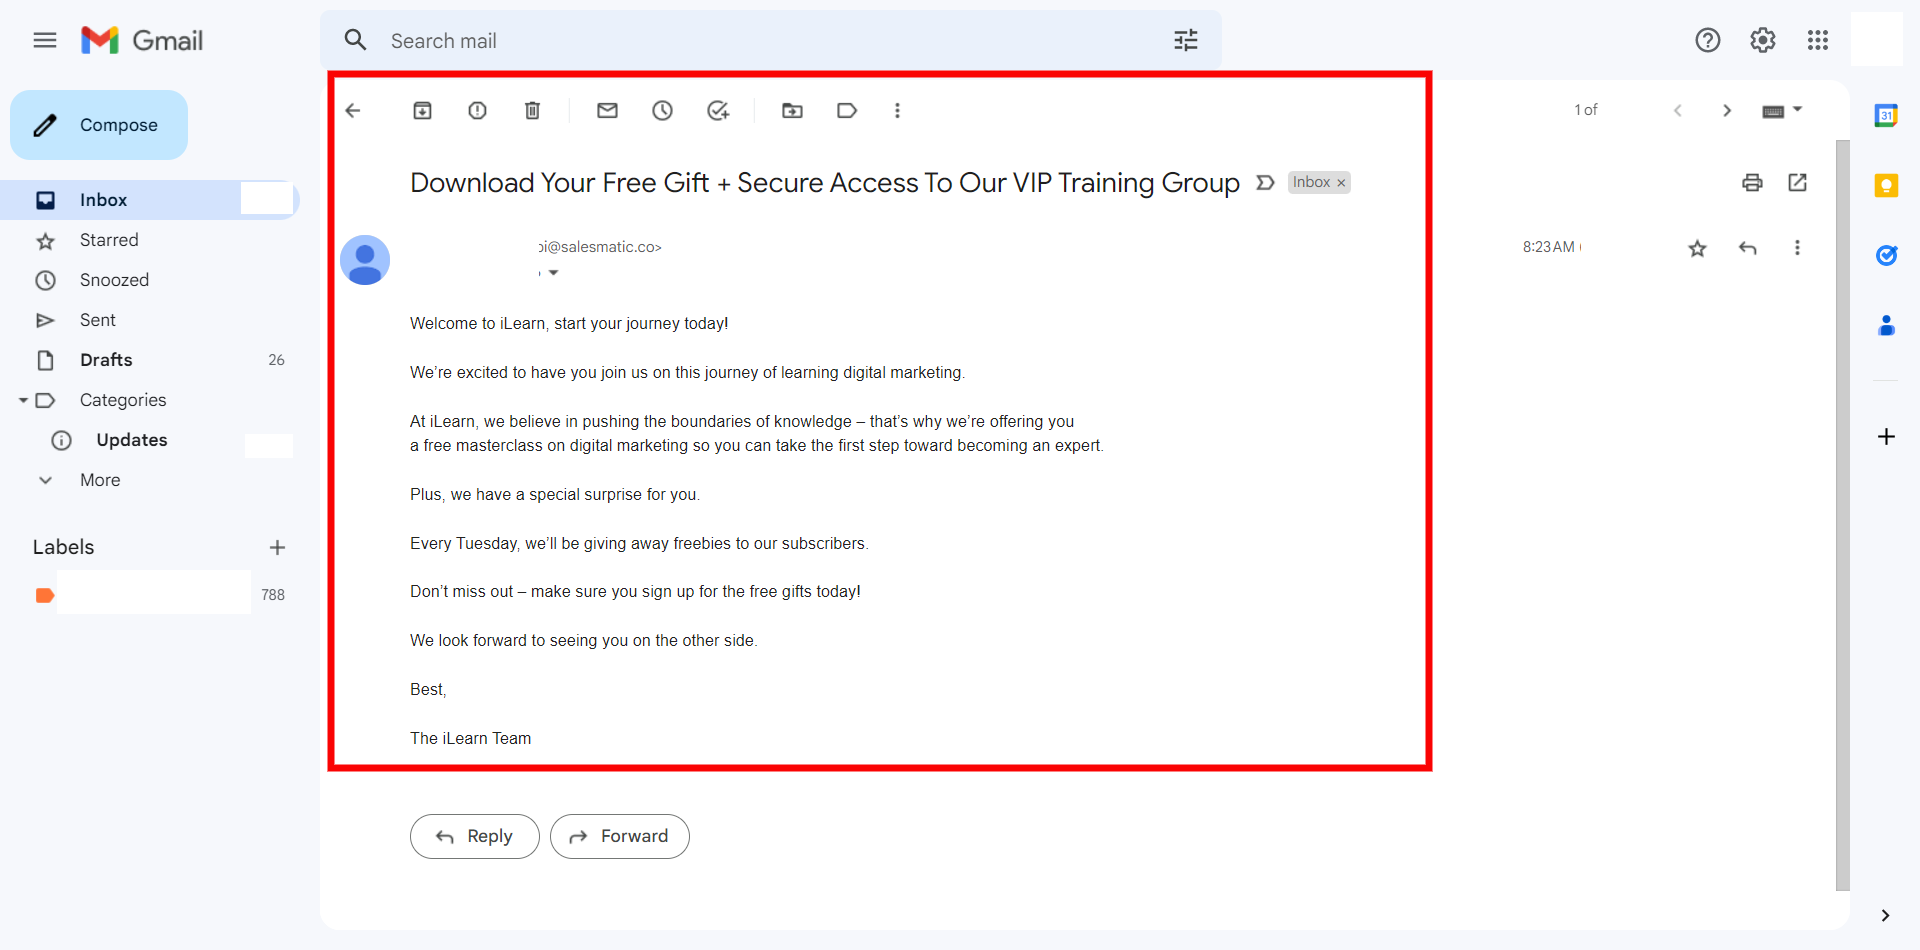
The email campaign has been delivered to the recipient successfully.